Free Fur Bunny crochet pattern
Free Crochet Pattern, Fur Bunny
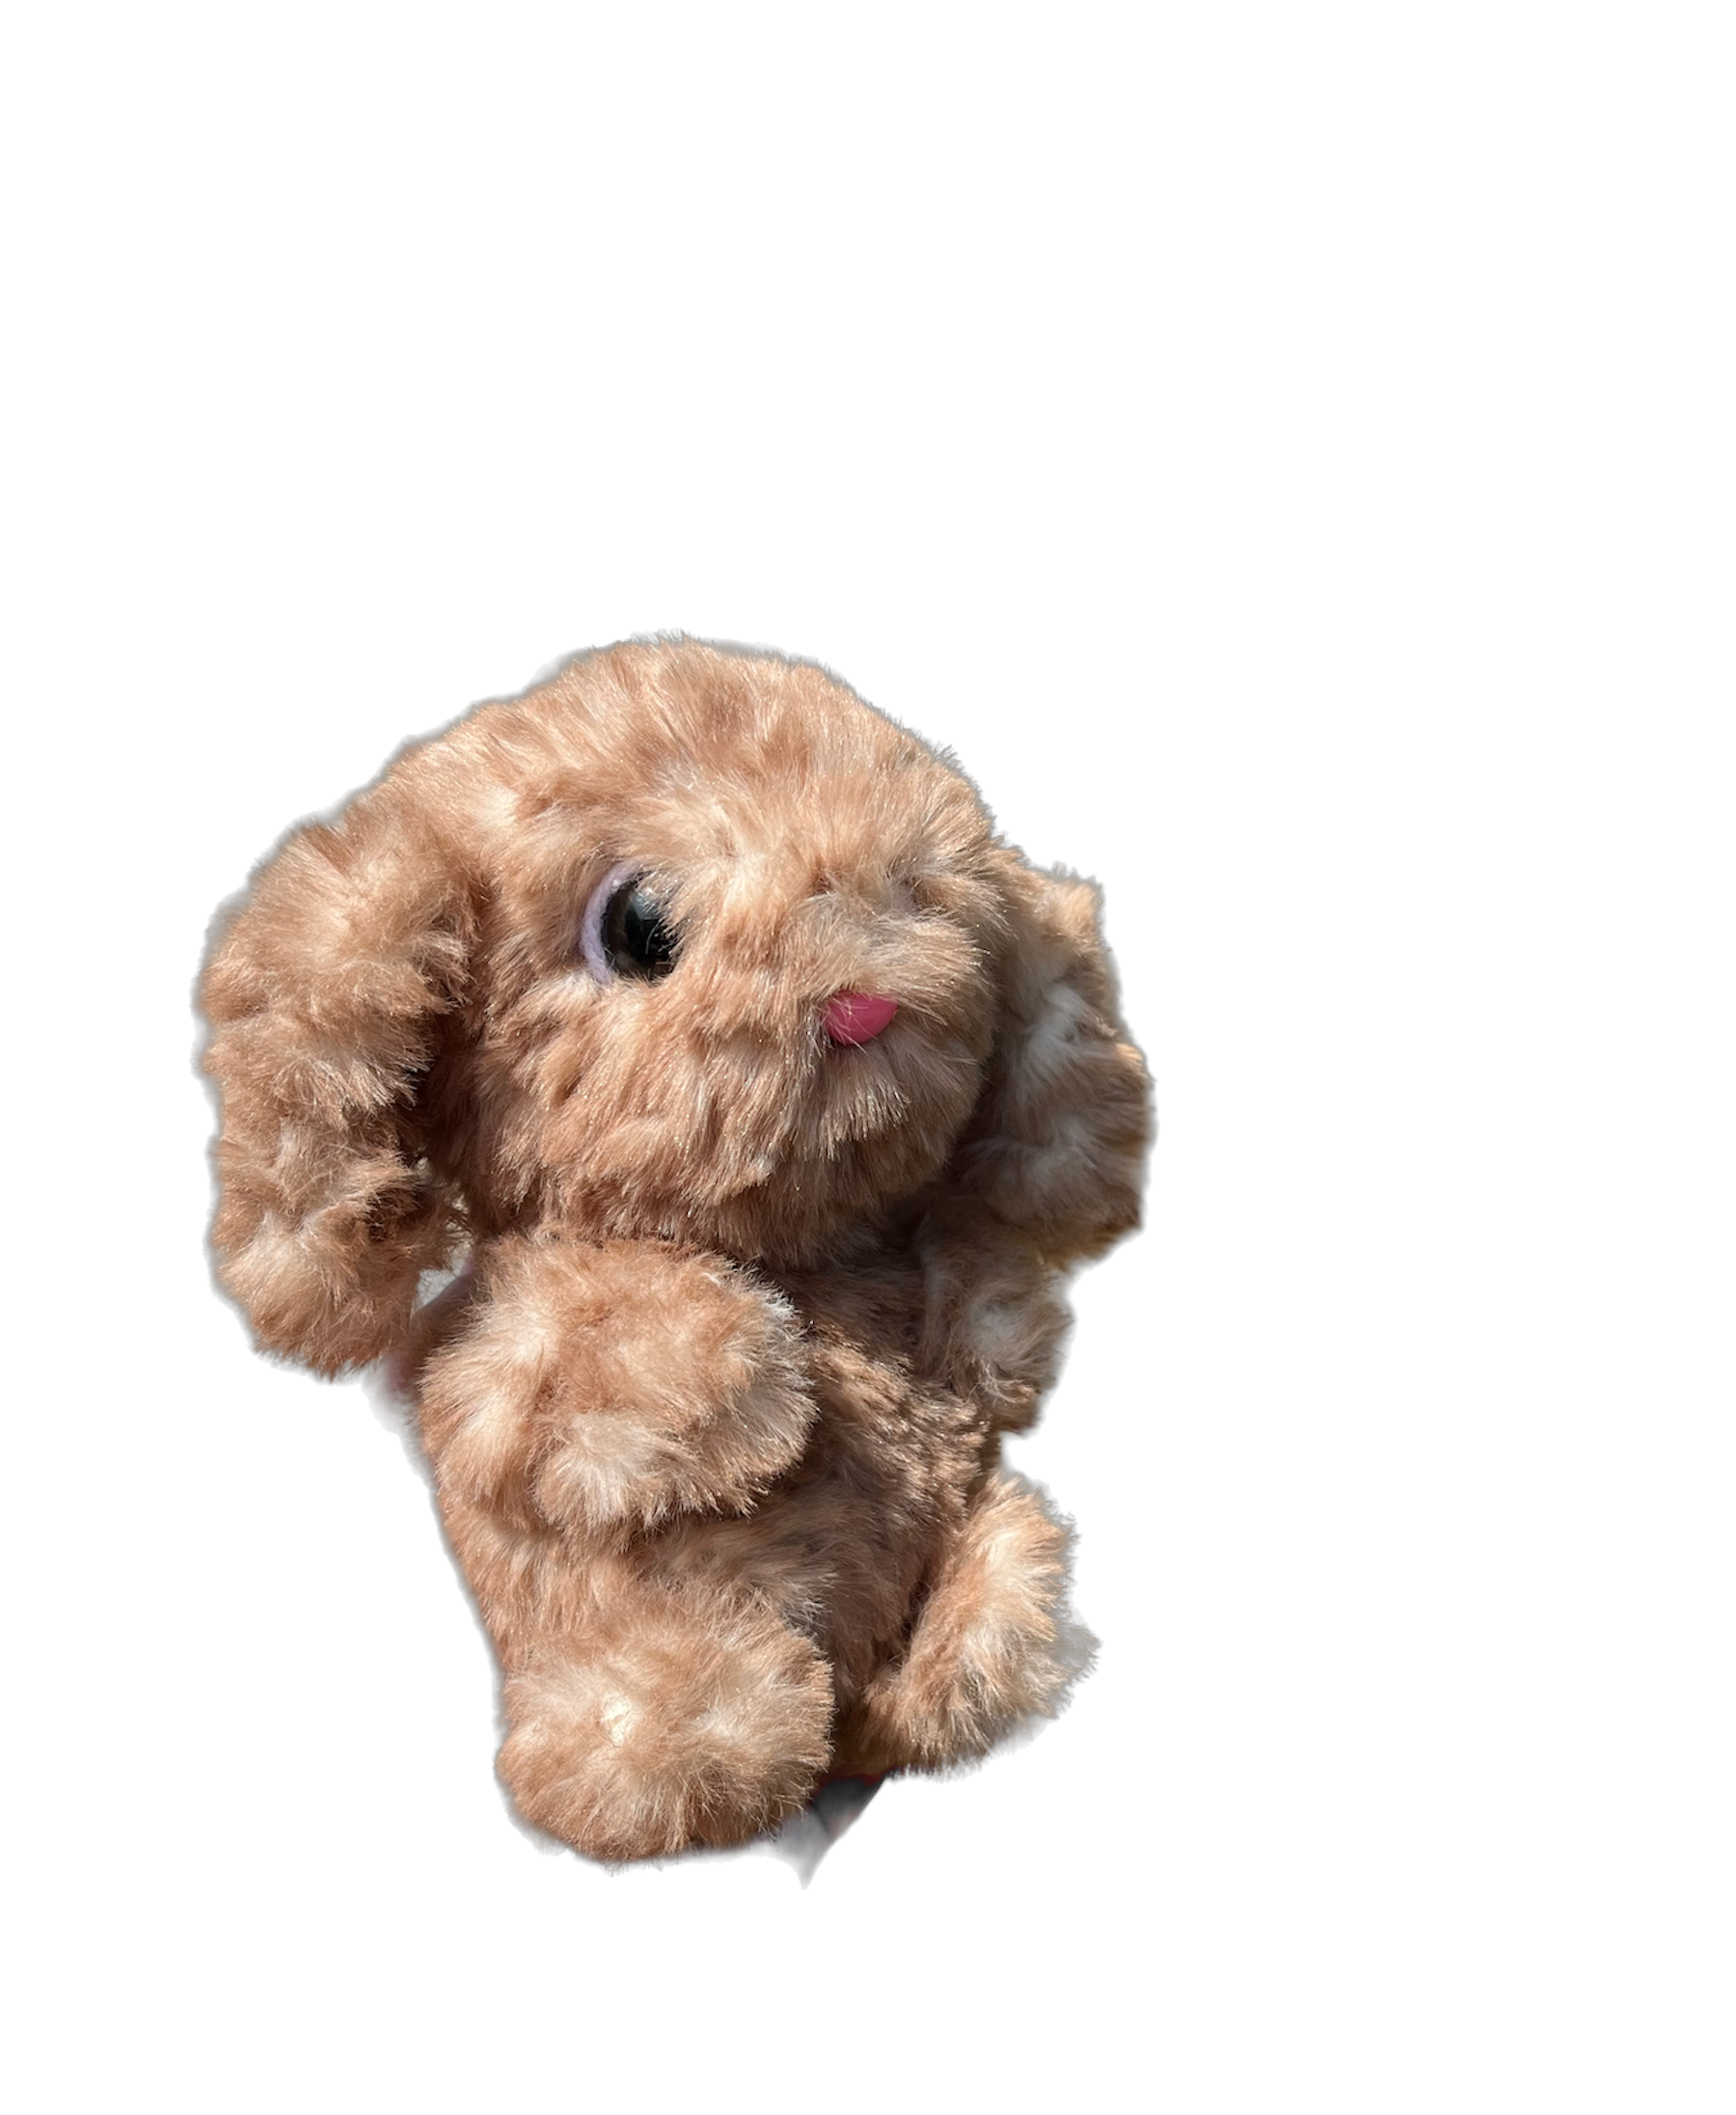
This super cute, soft, adorable cuddly bunny is entirely made of faux fur yarn. I know this yarn can intimidate some people but it is not as hard as it looks. Here is a few tips to use this yarn:
-Take your time
Have a lot of lighting around you
Go by feel, you will be able to feel the stitches as you won’t be able to see them
Leave your work inside out to have more fluff
once done brush your bunny with a wire brush to make the fluff come out more (we have some in our shop if needed)
most of all, have fun and practice!!
Materials:
Faux Fur Yarn #6 color of your choice.
I used brown
4mm crochet hook
18mm safety eyes x2
11mm safety nose in pink
stuffing
tapestry needle
stitch marker
Level: intermediate
ENG US TERMS
MC: magic circle
R: round
Sc: single crochet
CH: chain
HDC: half double crochet
INC: increase
DEC: decrease
F/O: fasten off
COPYRIGHTS: This pattern is my creation, please do not share the pattern with anyone, post it as free on the internet or alternate the pattern any way. You can sell the final product made with this pattern. Please note CocoKnittedCreations as the designer. Happy Crocheting!! cocoknittedcreations.com social media: CocoKnittedCreations Email: cocoknittedcreation@gmail.com
Head in brown
R1: MC 6
R2: INC x6 (12)
R3: (1sc, Inc) x6 (18)
R4: (2Sc, Inc) x6 (24)
R5-R8: 24sc (24) (4 rounds)
R9: (2Sc, dec) x6 (18)
R10: (1sc, dec) x6 (12)
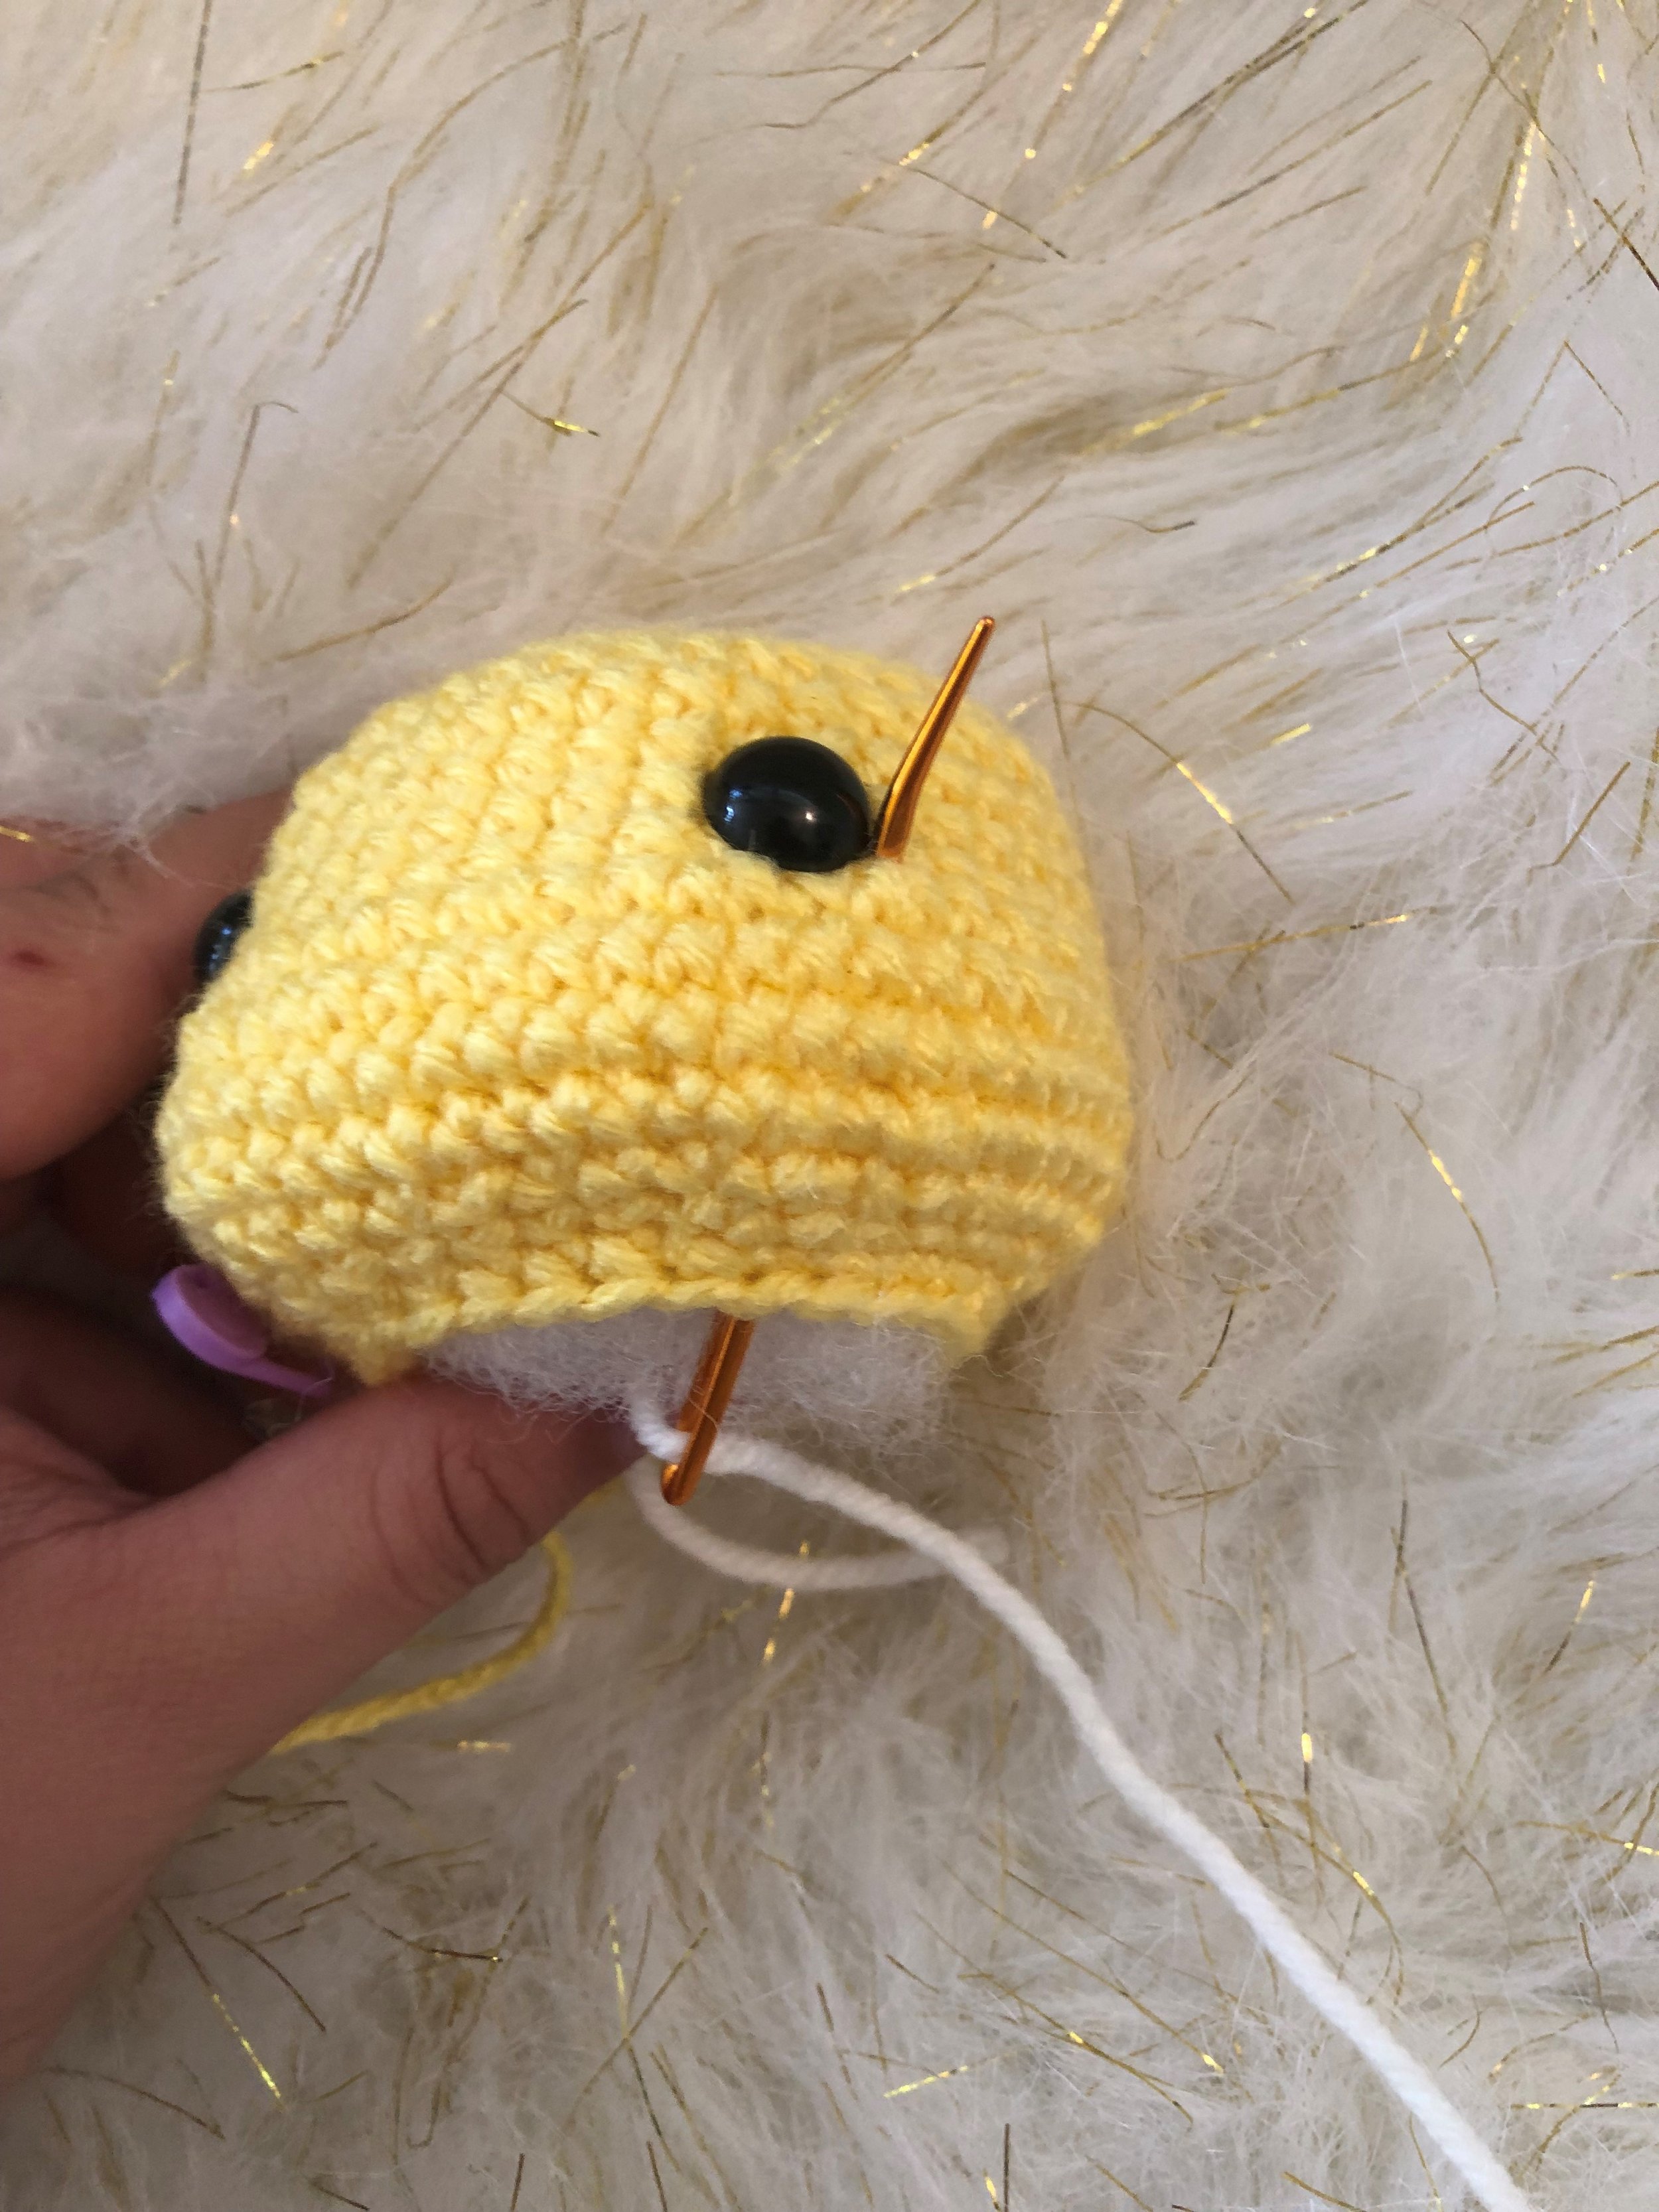
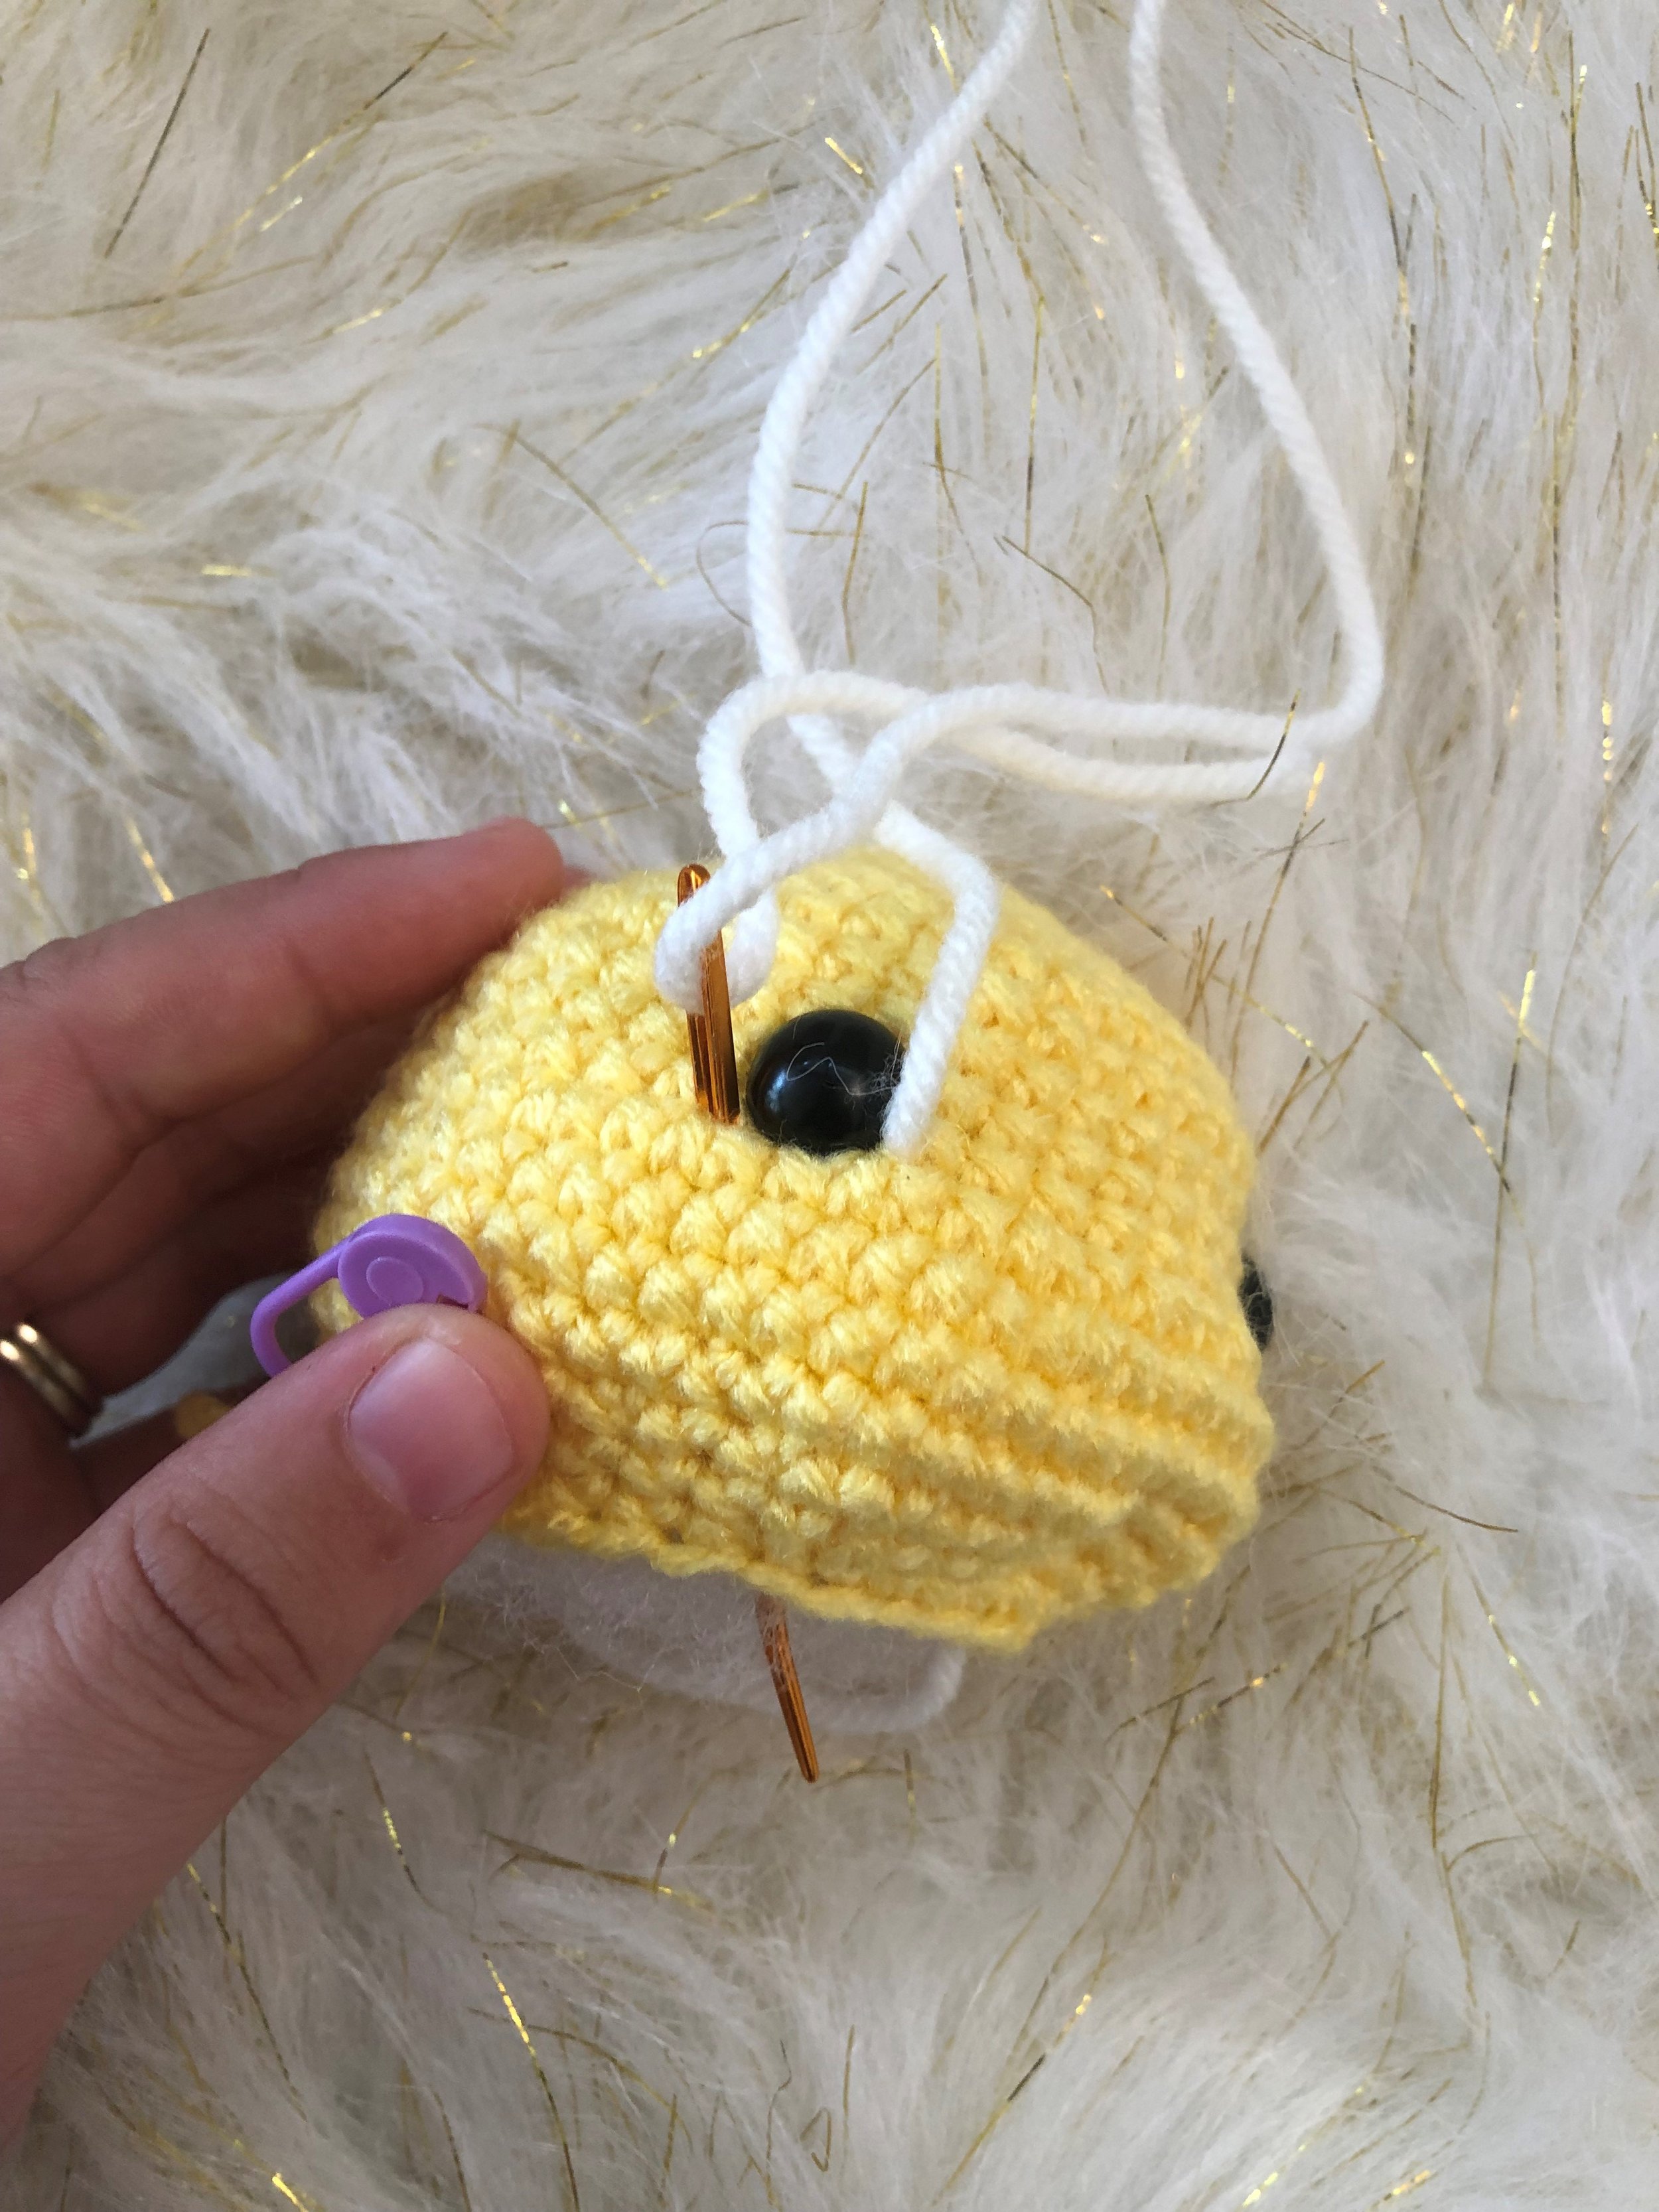
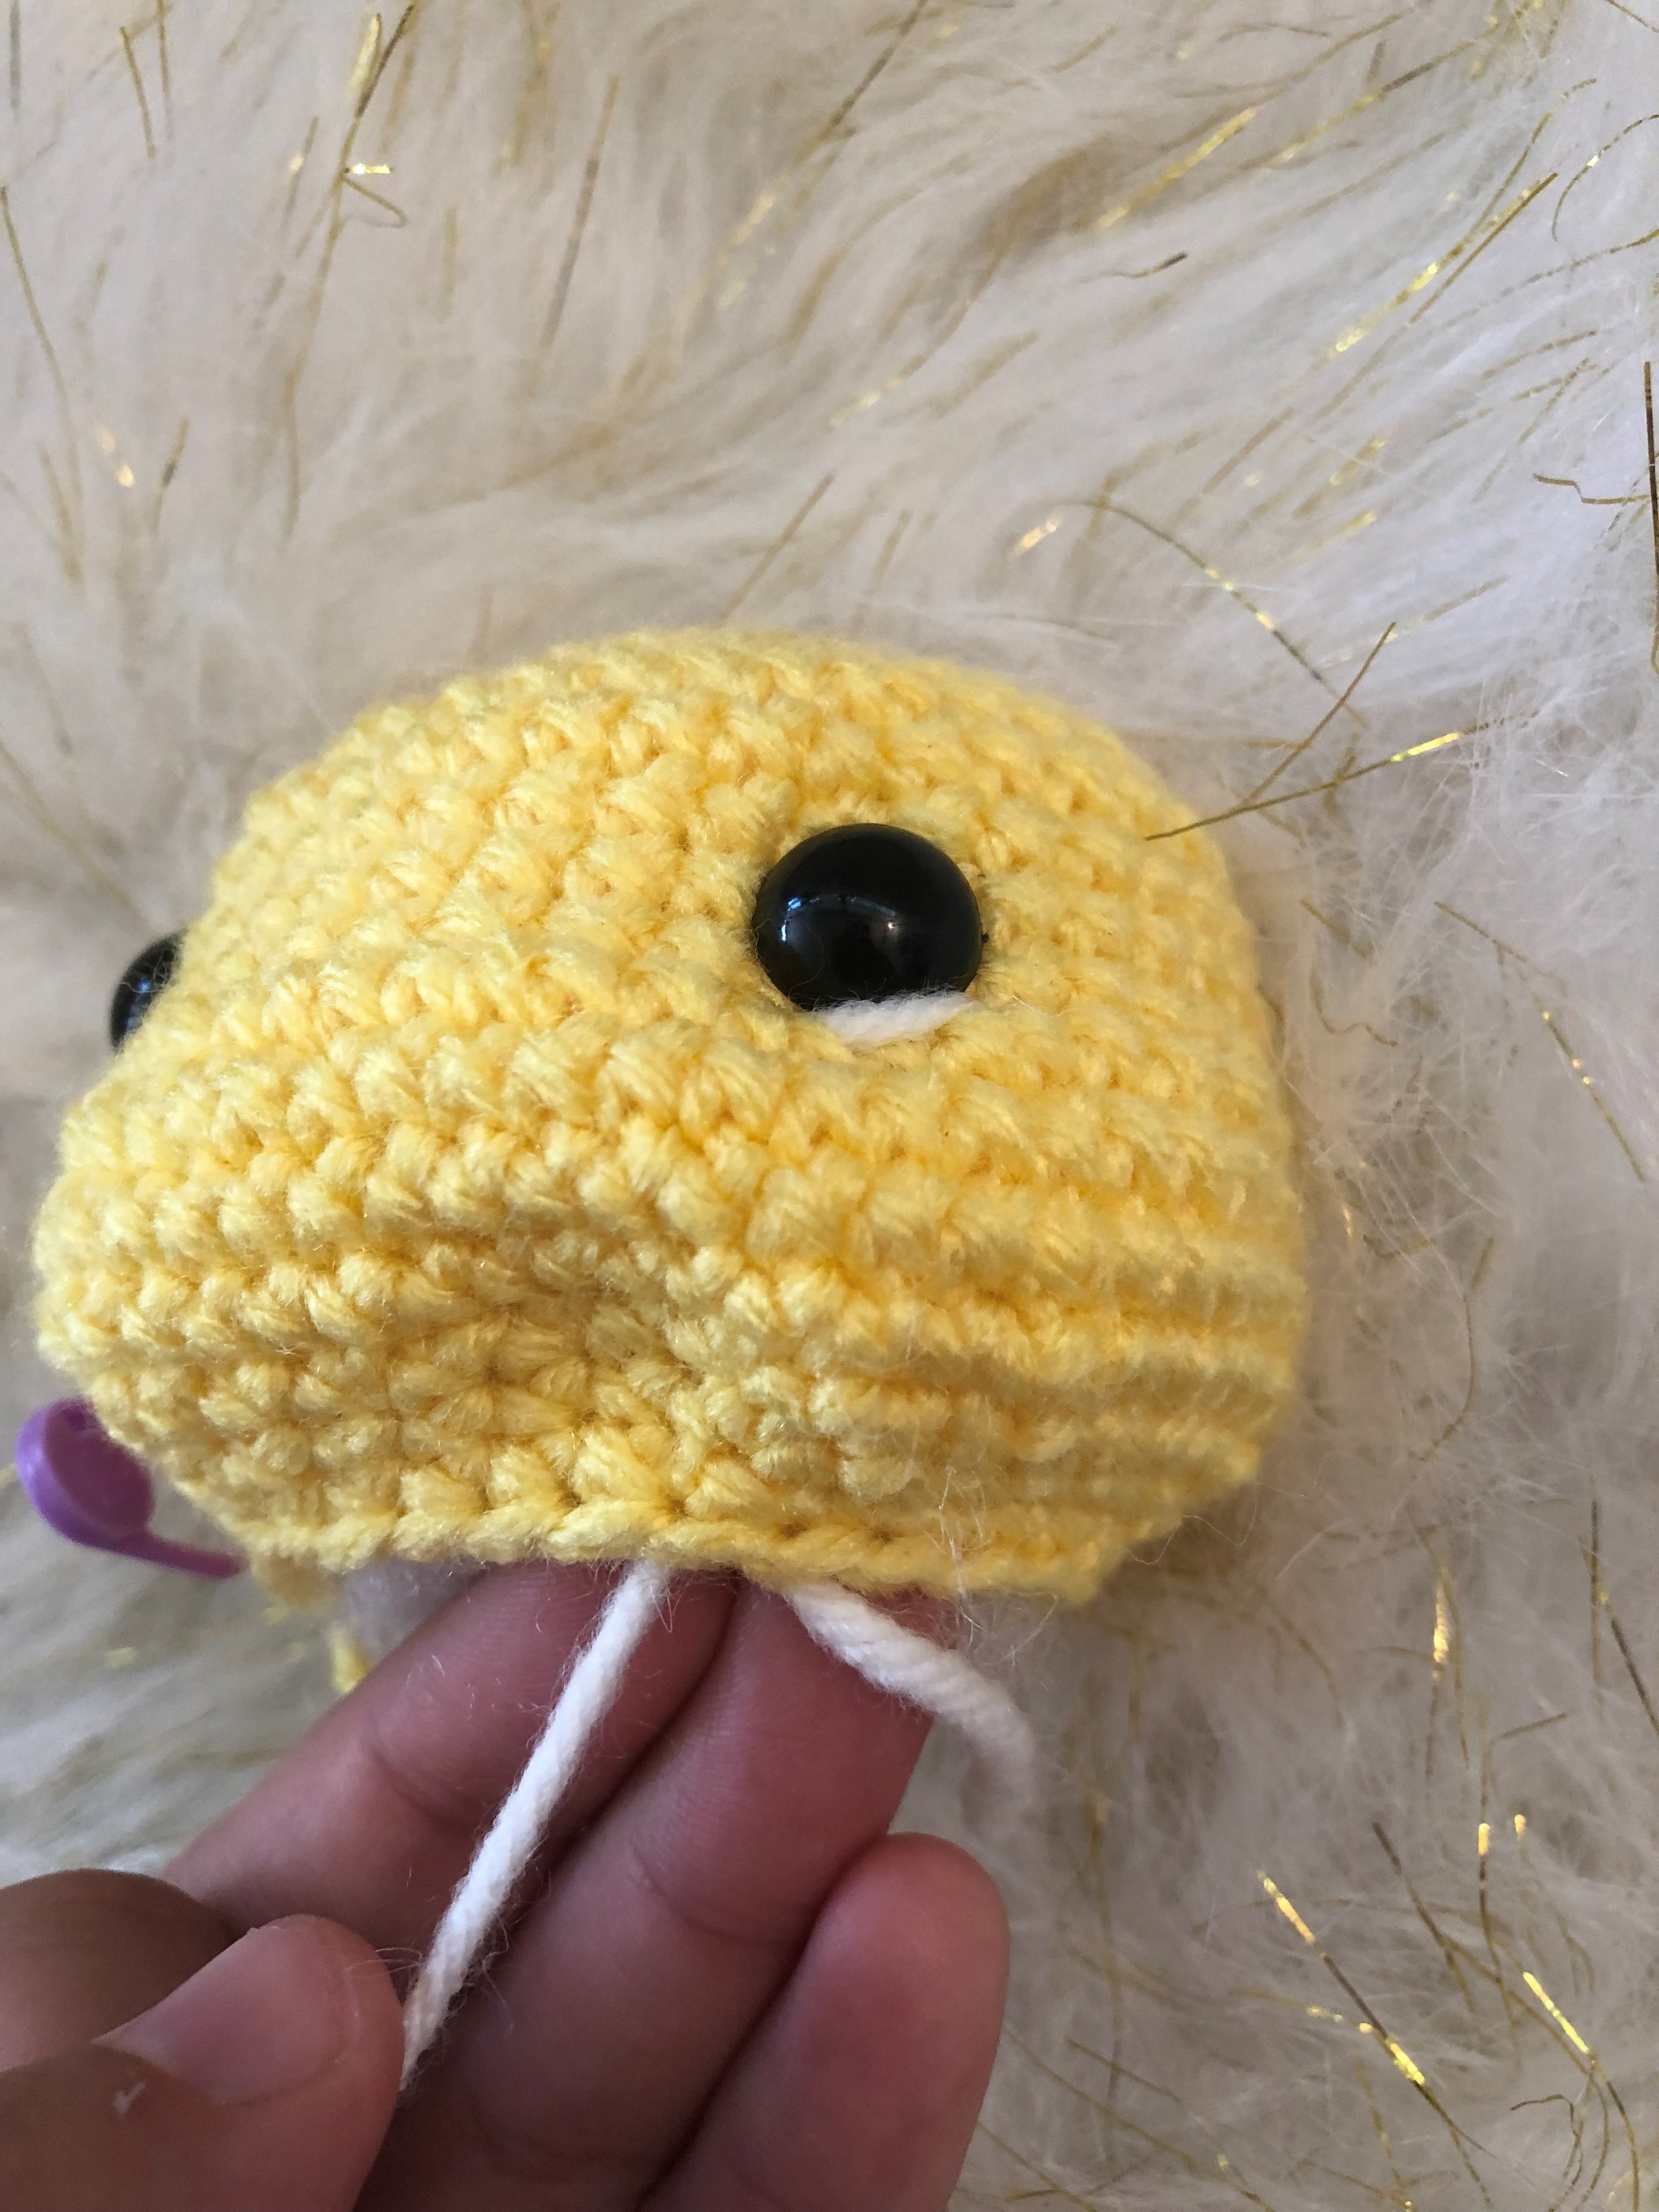
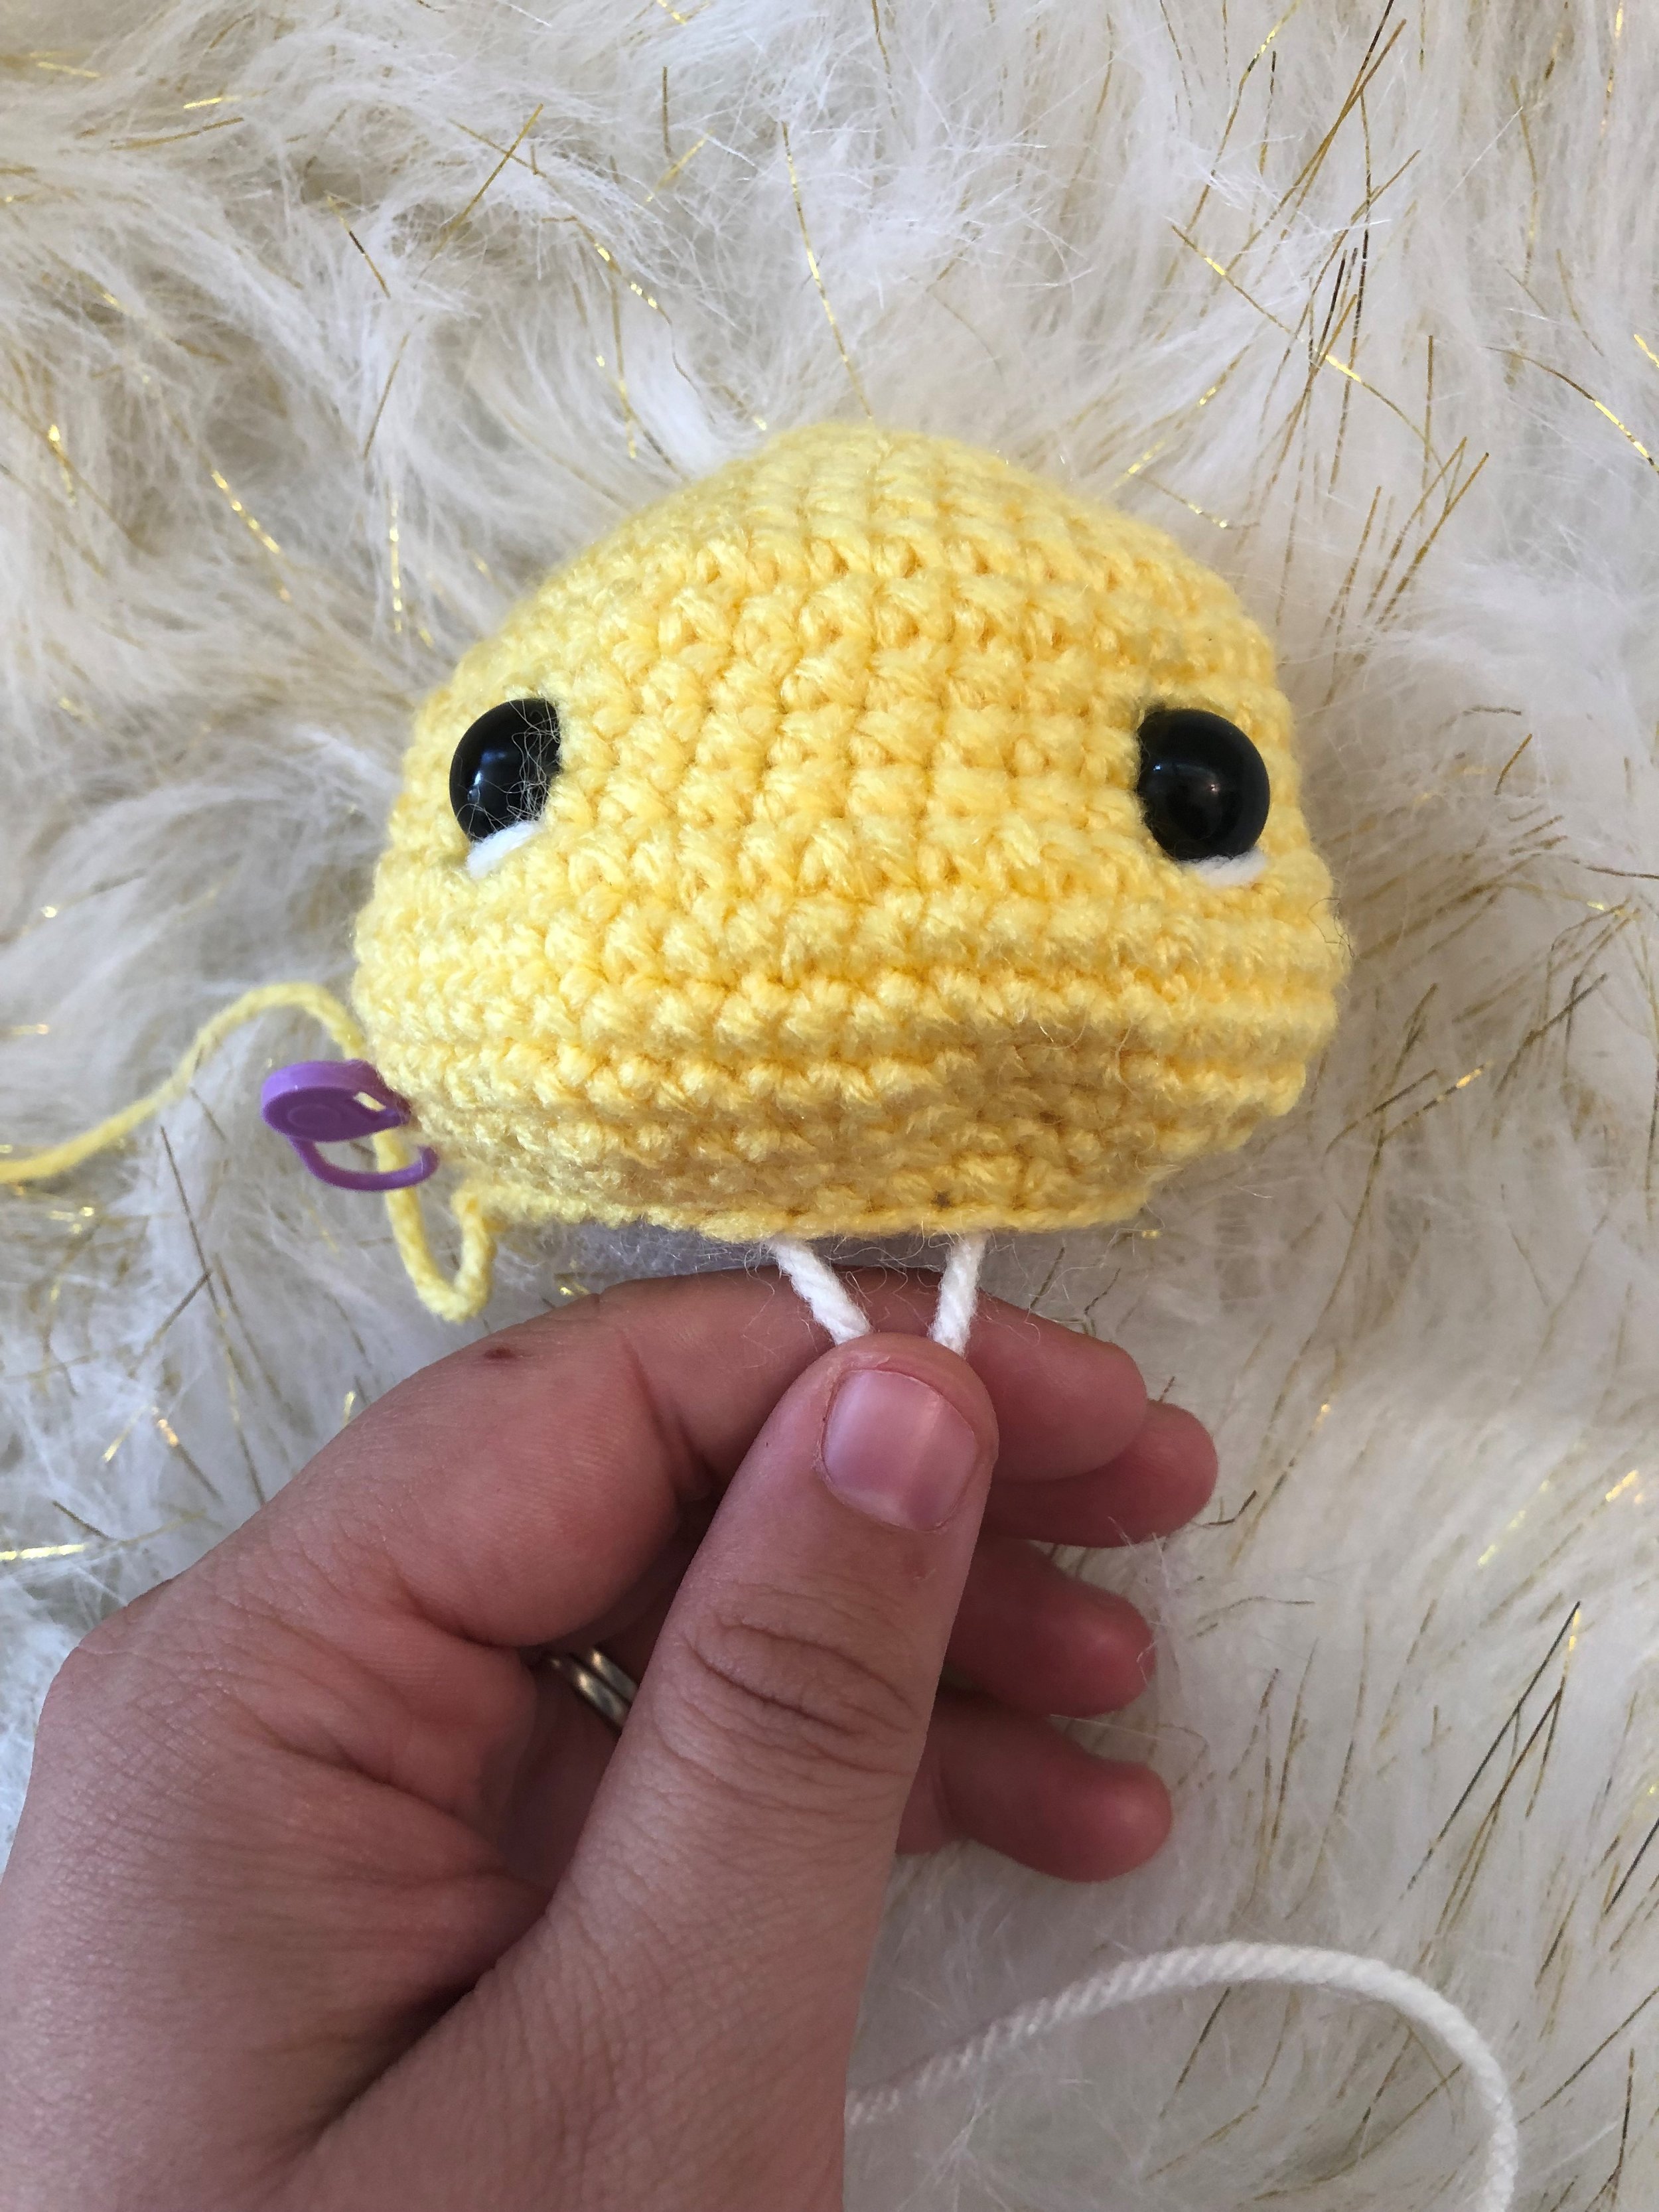
F/O add the eyes between R4 and R5, add the nose on round 6, centered between the eyes. Stuff the head firmly and hide the tail inside the head.
Body in brown
R1: MC 6
R2: inc x6 (12)
R3: (1sc, inc) x6 (18)
R4: (2sc, inc) x6 (24)
R5-R7: 24sc (24) (3 rounds)
R8: (2sc, dec) x6 (18)
R9: 18sc (18)
stuff the body
R10: (1sc, dec) x6 (12)
R11: 12sc (12)
finishing stuffing F/O leave a long tail for sewing
Ears x2 in brown
R1: CH 8, HDC in the sec ch from the hook, HDC in the remaining ch.
F/O leave a tail for sewing.
Arms and legs x4 in brown
R1: CH 5, HDC in the sec ch from the hook, HDC in the remaining ch. F/O leave a long tail for sewing
Tail in brown R1: MC 8 F/O leave a tail for sewing
Assembly:
Sew the head onto the body, stuff the neck as you sew to make it firm. It will keep the head from moving.
Sew the ears Between R5, 2 sts from the eyes.
Sew the arms on the Round right under the neck, the arms laying on the belly.
Sew the legs on R3 of the body, 2 sts apart.
Sew the tail between R4 and R7 of the body

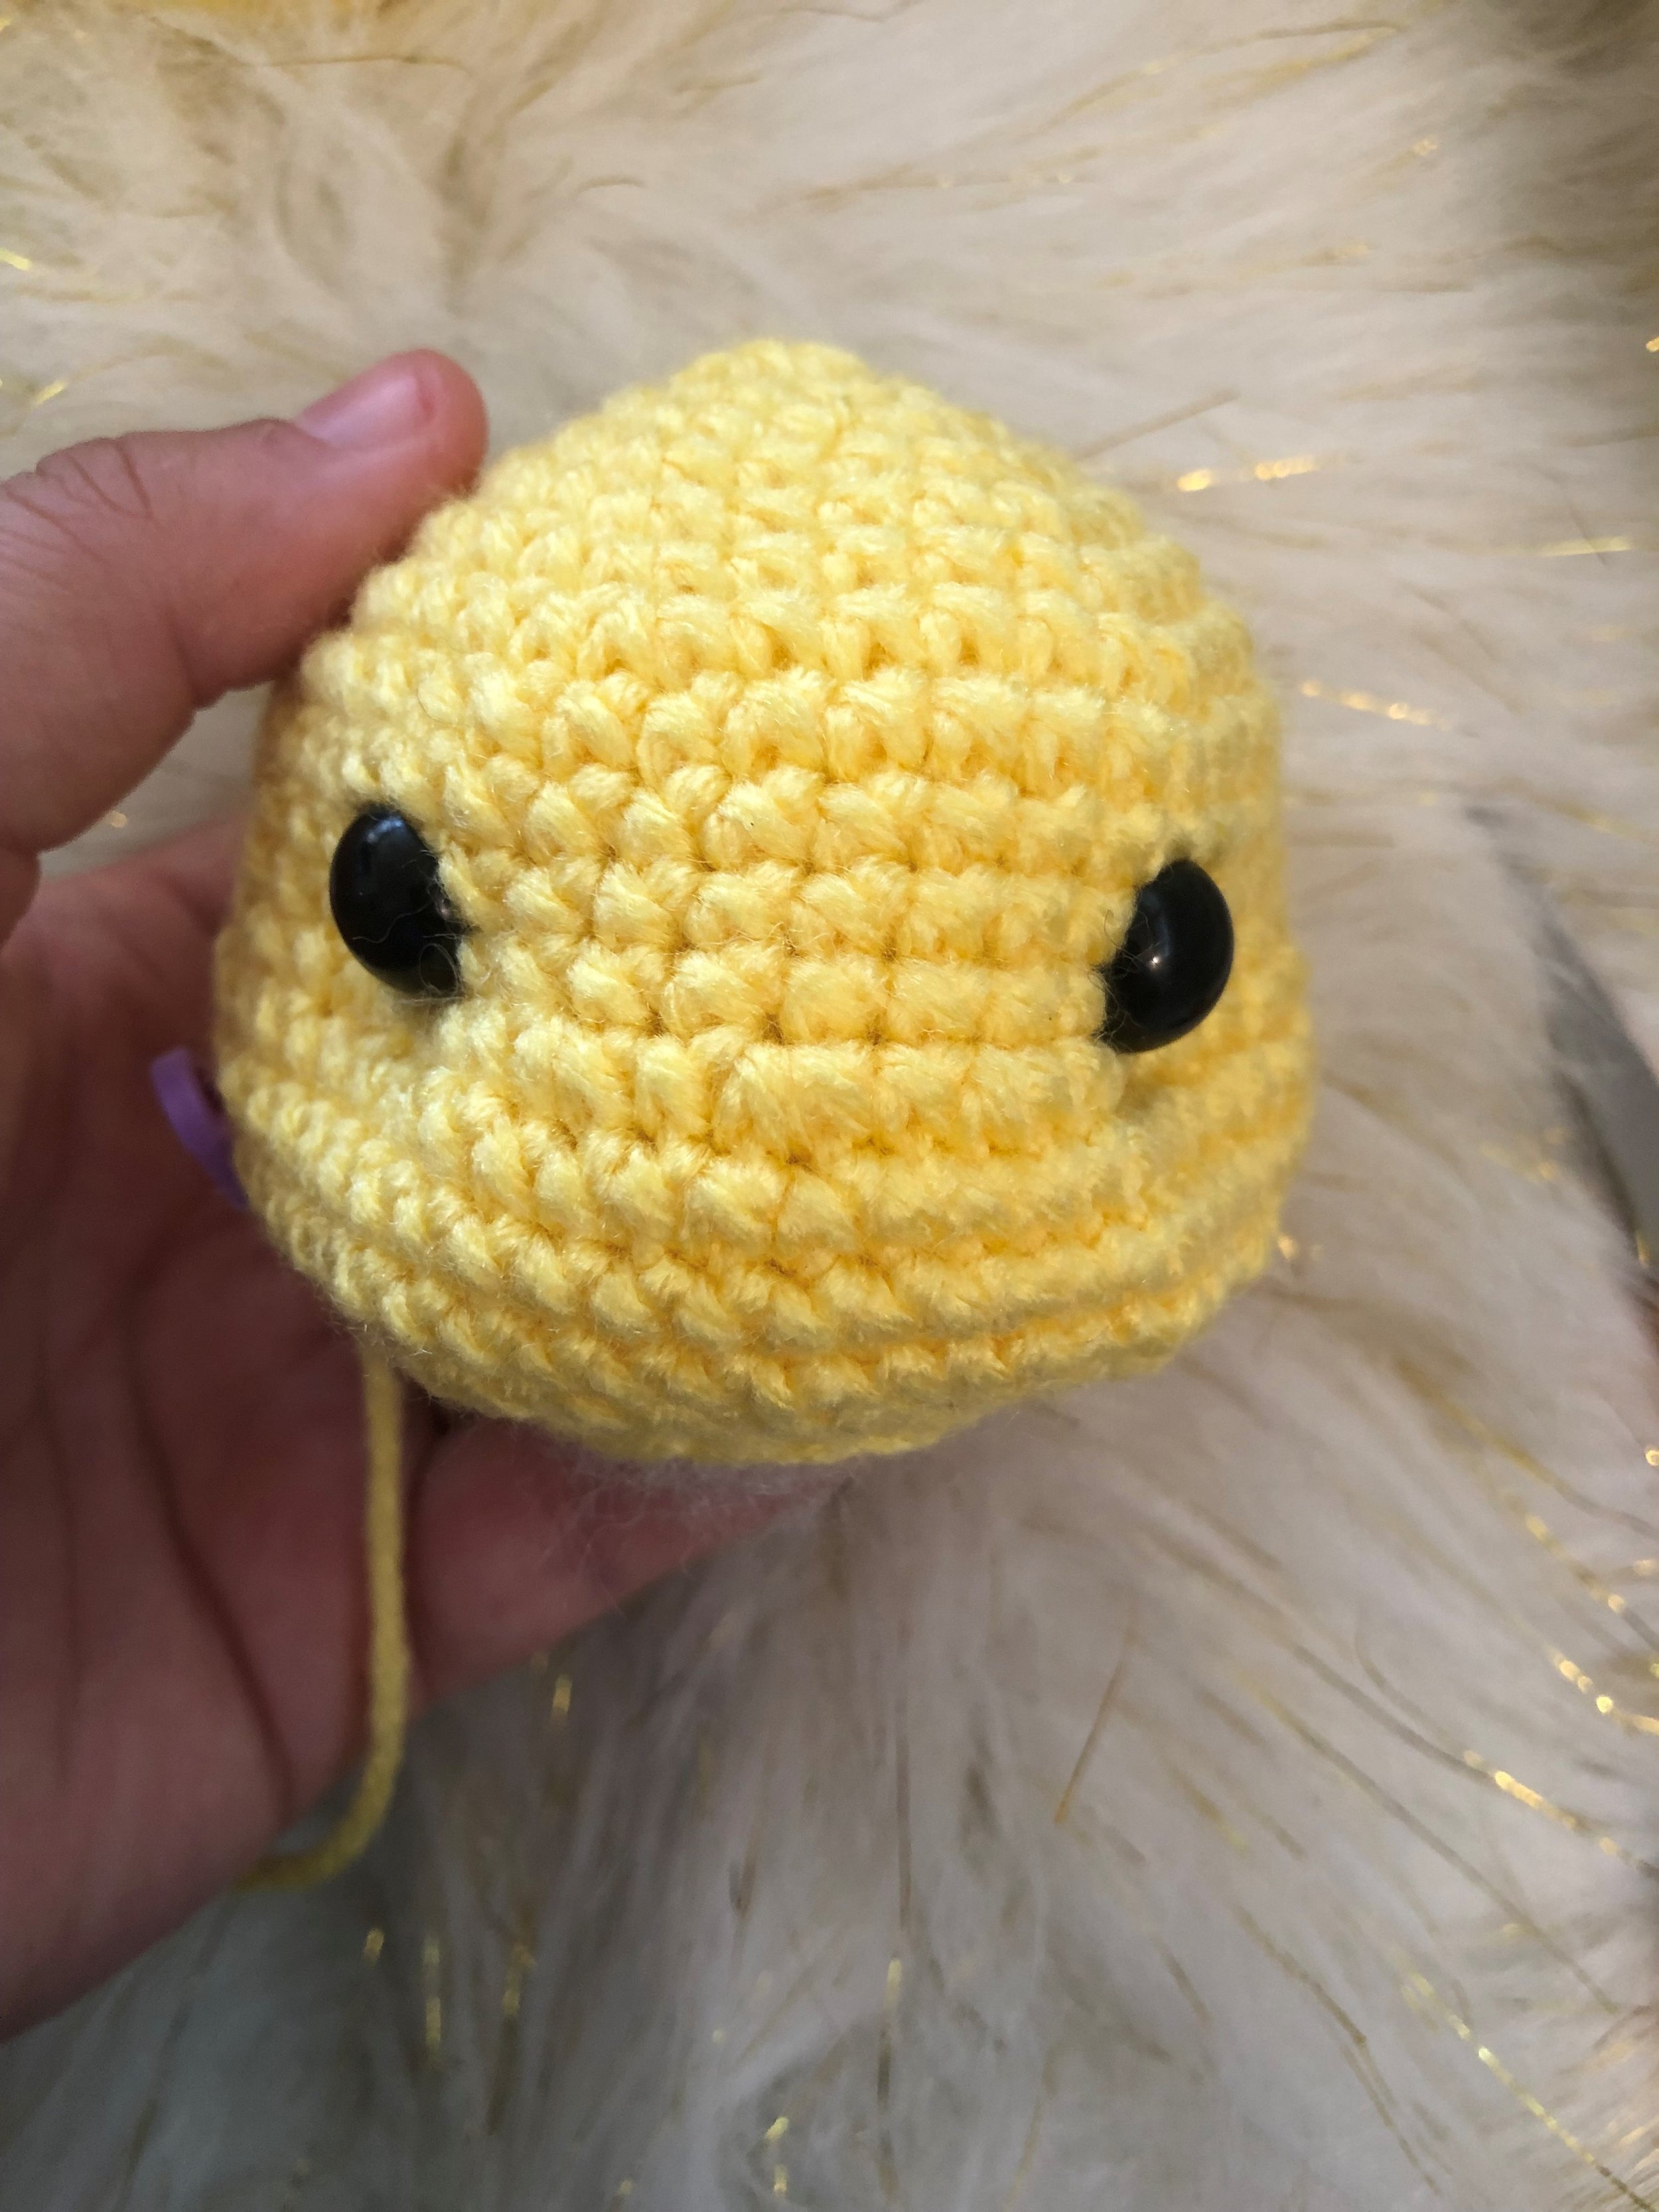
free Indoor safe ball crochet pattern
Free Crochet Pattern, Indoor Safe Ball

Looking for something fun to make for kids of all ages? Something that is quick? Something that is safe for your children and your furniture’s? Here is our indoor safe ball! Your kids will have a blast playing with these and they won’t get hurt or destroy your house!!
Materials:
4mm crochet hook
stitch marker
scissors
tapestry needle
stuffing
size #5 yarn of your choice
ENG US TERMS
Level: Beginner
SC: single crochet
MC: magic circle
INC: increase
DEC: decrease
F/O: fasten off
R: round
COPYRIGHT: This pattern is my creation, please do not share the pattern with anyone, post it as free on the internet or alternate the pattern any way. You can sell the final product made with this pattern. Please note CocoKnittedCreations as the designer. Happy Crocheting!! cocoknittedcreations.com social media: CocoKnittedCreations Email: cocoknittedcreation@gmail.com
R1: MC 6
R2: INC x6 (12)
R3: (1sc, inc) x6 (18)
R4: (2sc, inc) x6 (24)
R5: (3sc, inc) x6 (30)
R6: (4sc, inc) x6 (36)
R7: (5sc, inc) x6 (42)
R8: (6sc, inc) x6 (48)
R9: 48sc (48)
R10: (7sc, inc) x6 (54)
R11: 54sc (54)
R12: (8sc, inc) x6 (60)
R13-R21: 60sc (60) (9 rounds)
R22: (8sc, dec) x6 (54)
R23: 54 sc (54)
R24: (7sc, dec) x6 (48)
R25: 48sc (48)
start stuffing the ball firmly
R26: (6sc, dec) x6 (42)
R27: (5sc, dec) x6 (36)
R28: (4sc, dec) x6 (30)
R29: (3sc, dec) x6 (24)
R30: (2sc, dec) x6 (18)
finish stuffing the ball firmly
R31: (1sc, dec) x6 (12)
R32: (1sc,dec) x4 (8)
F/O close the opening.
Hide the tail inside your ball.

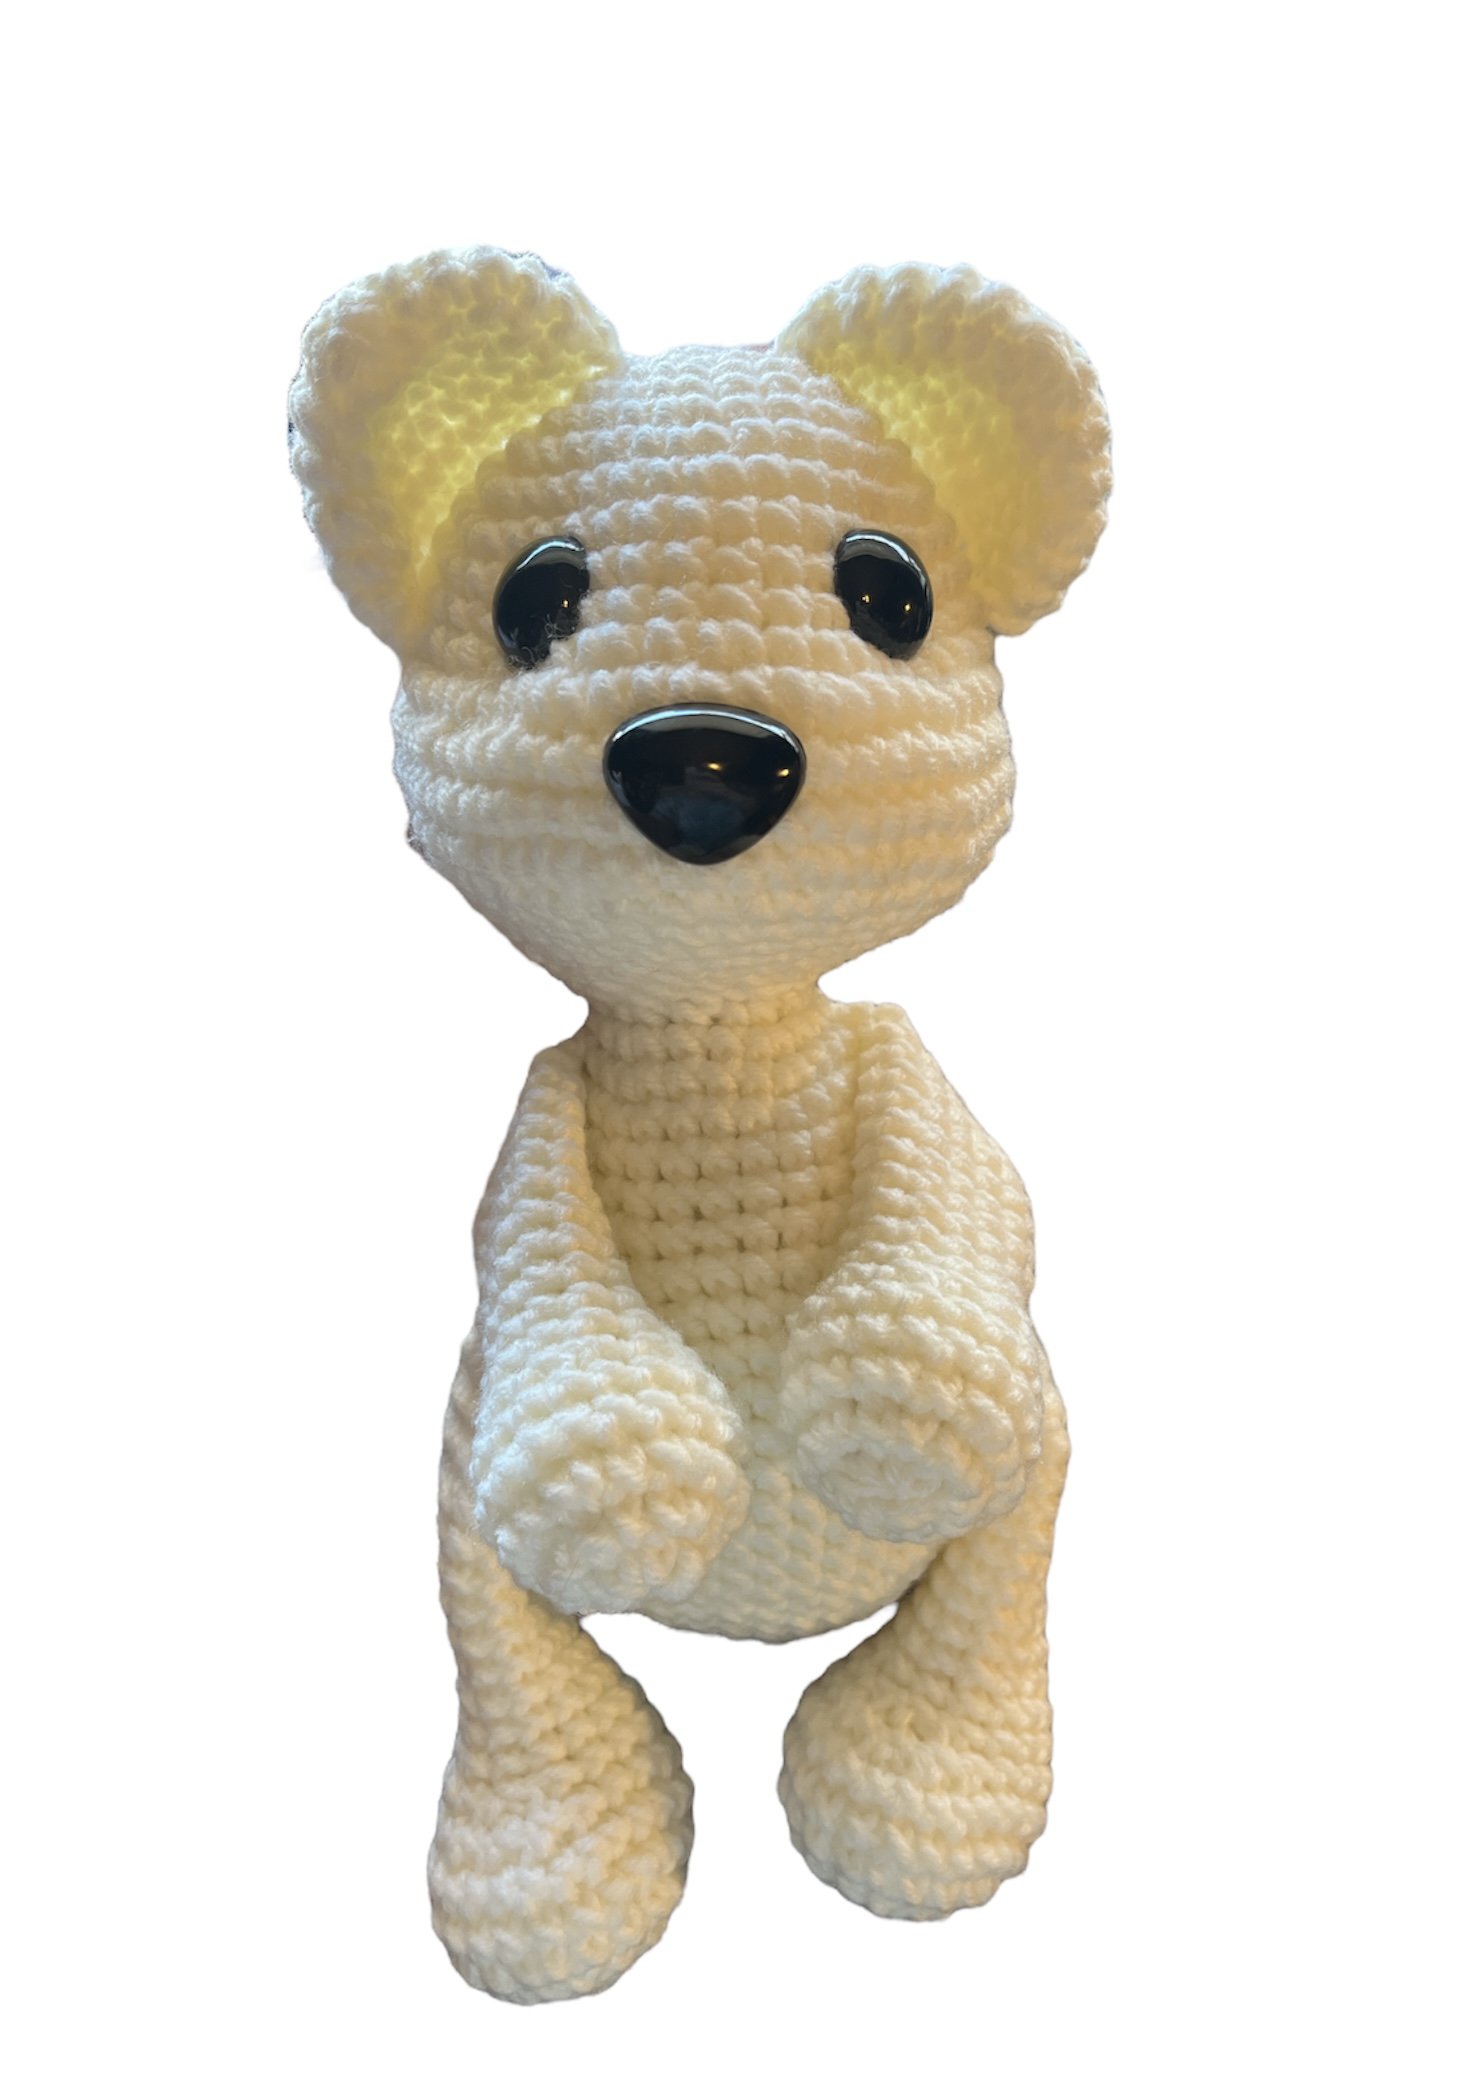
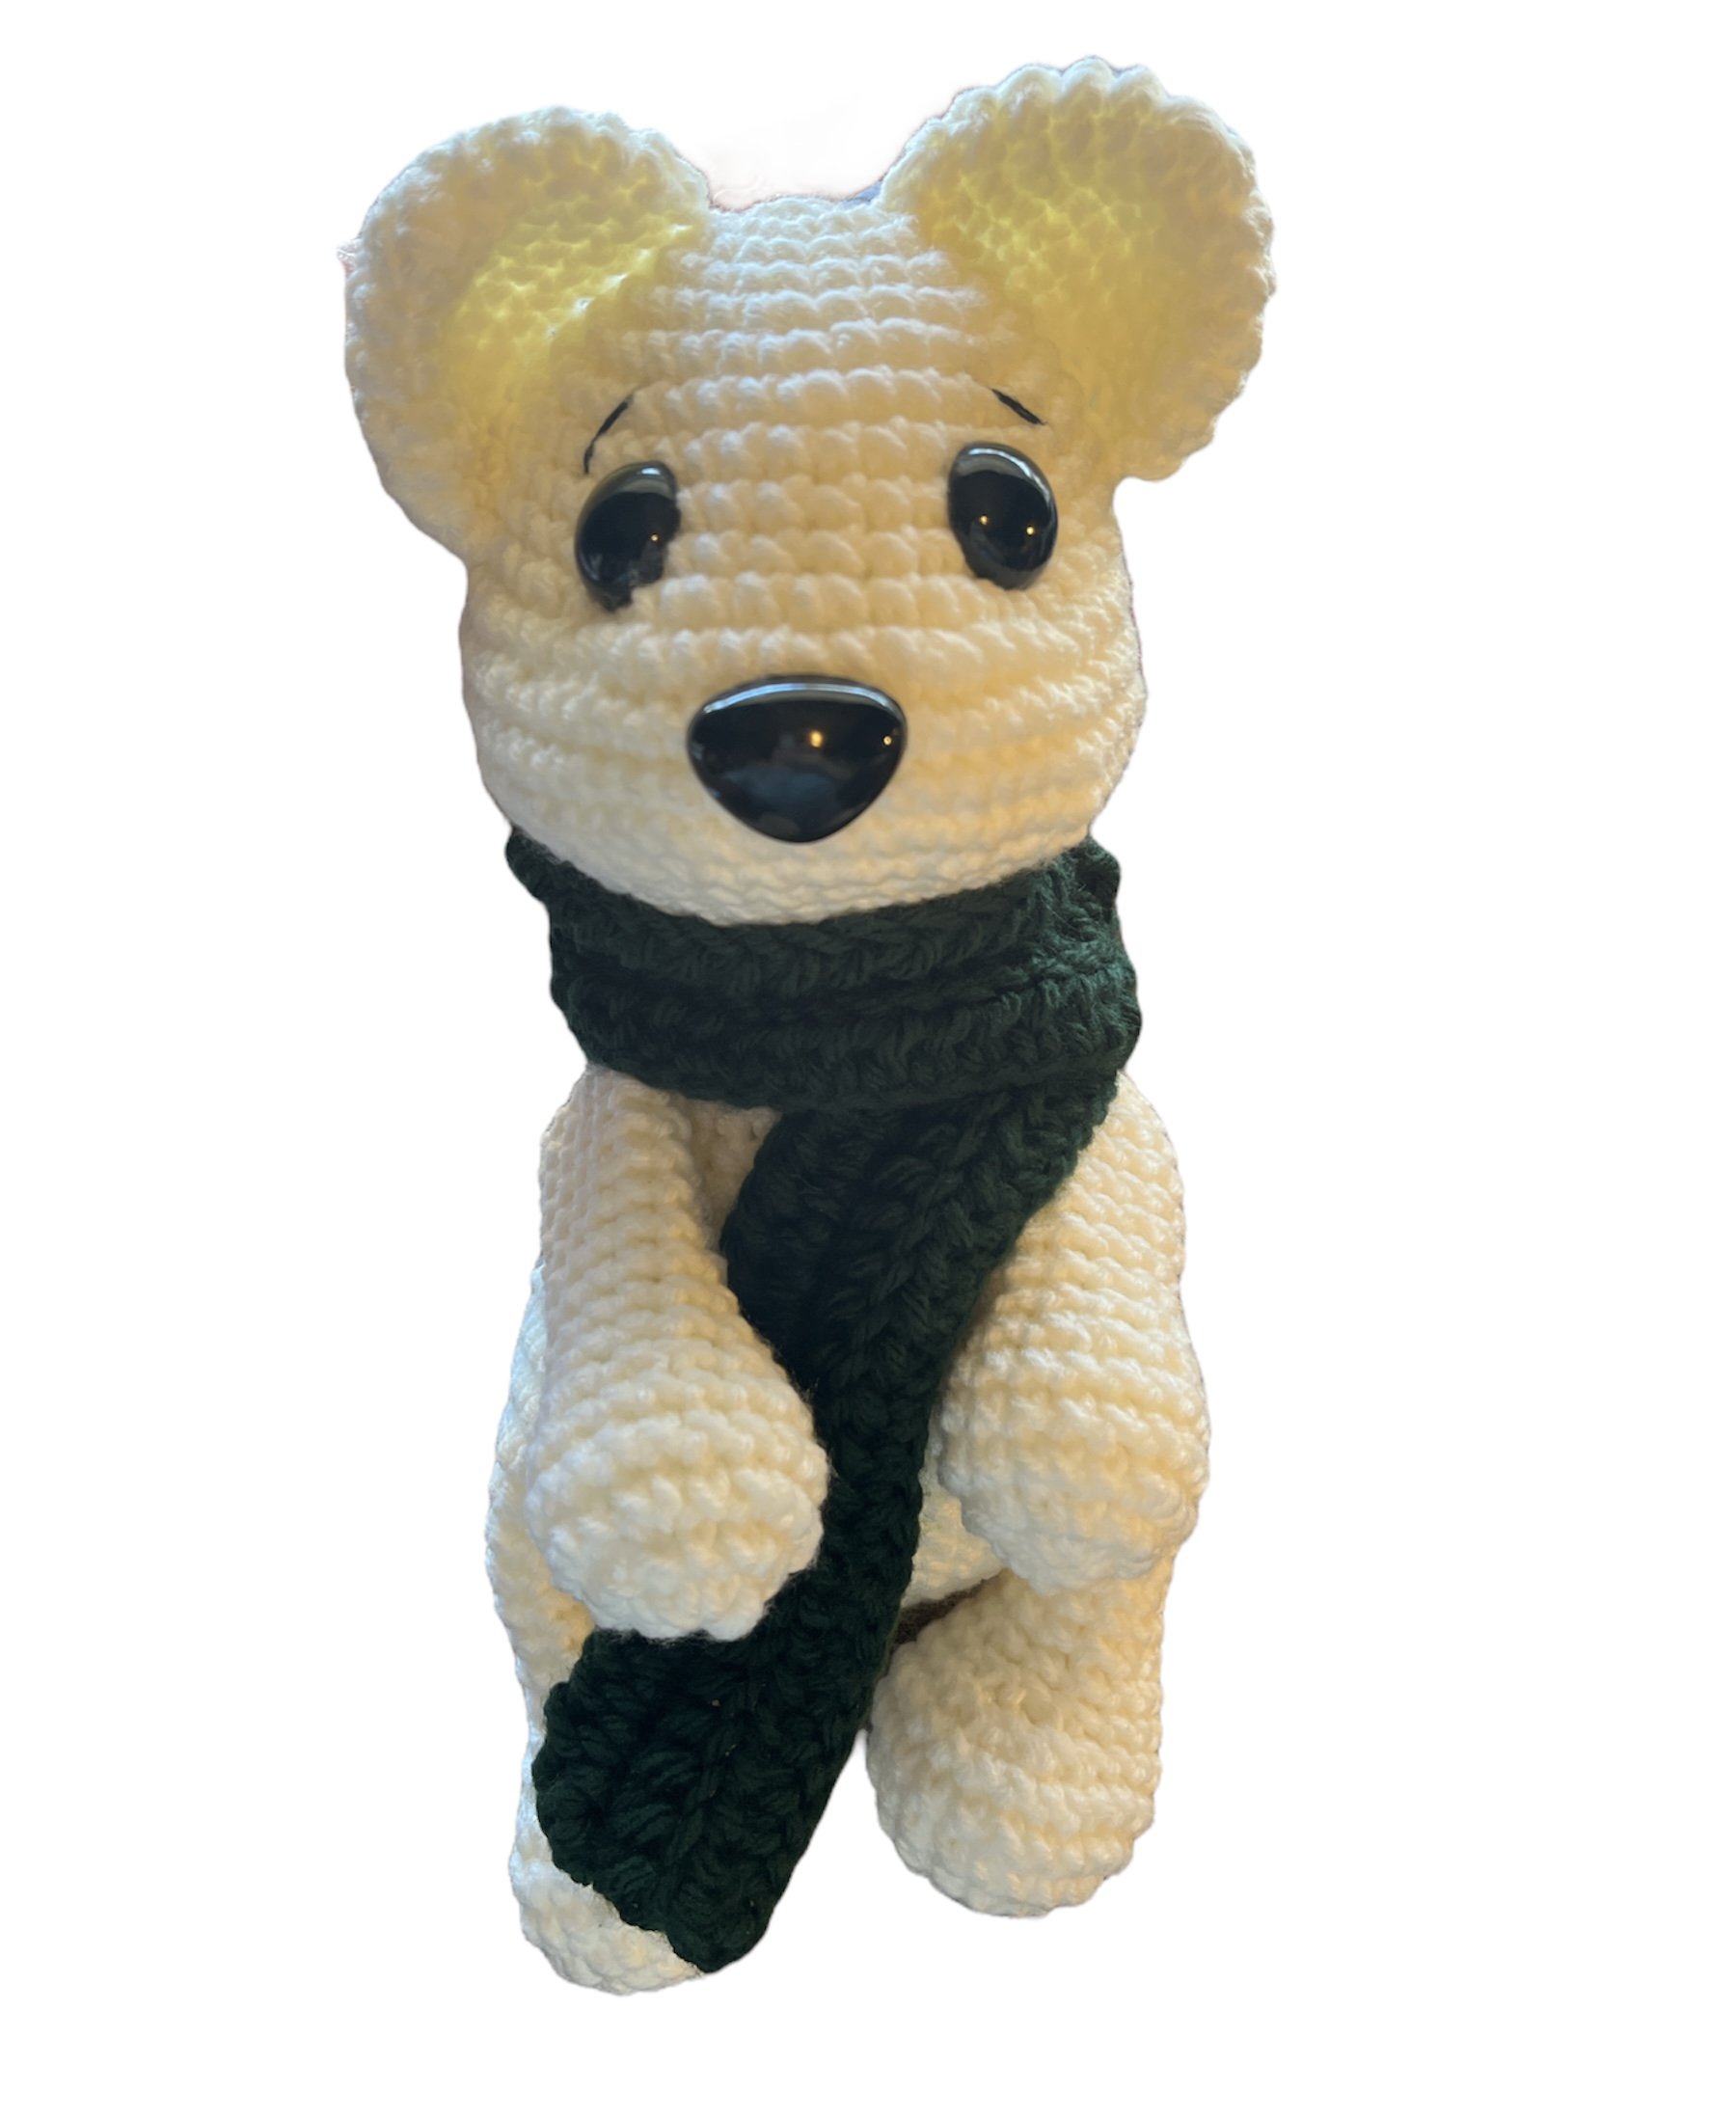
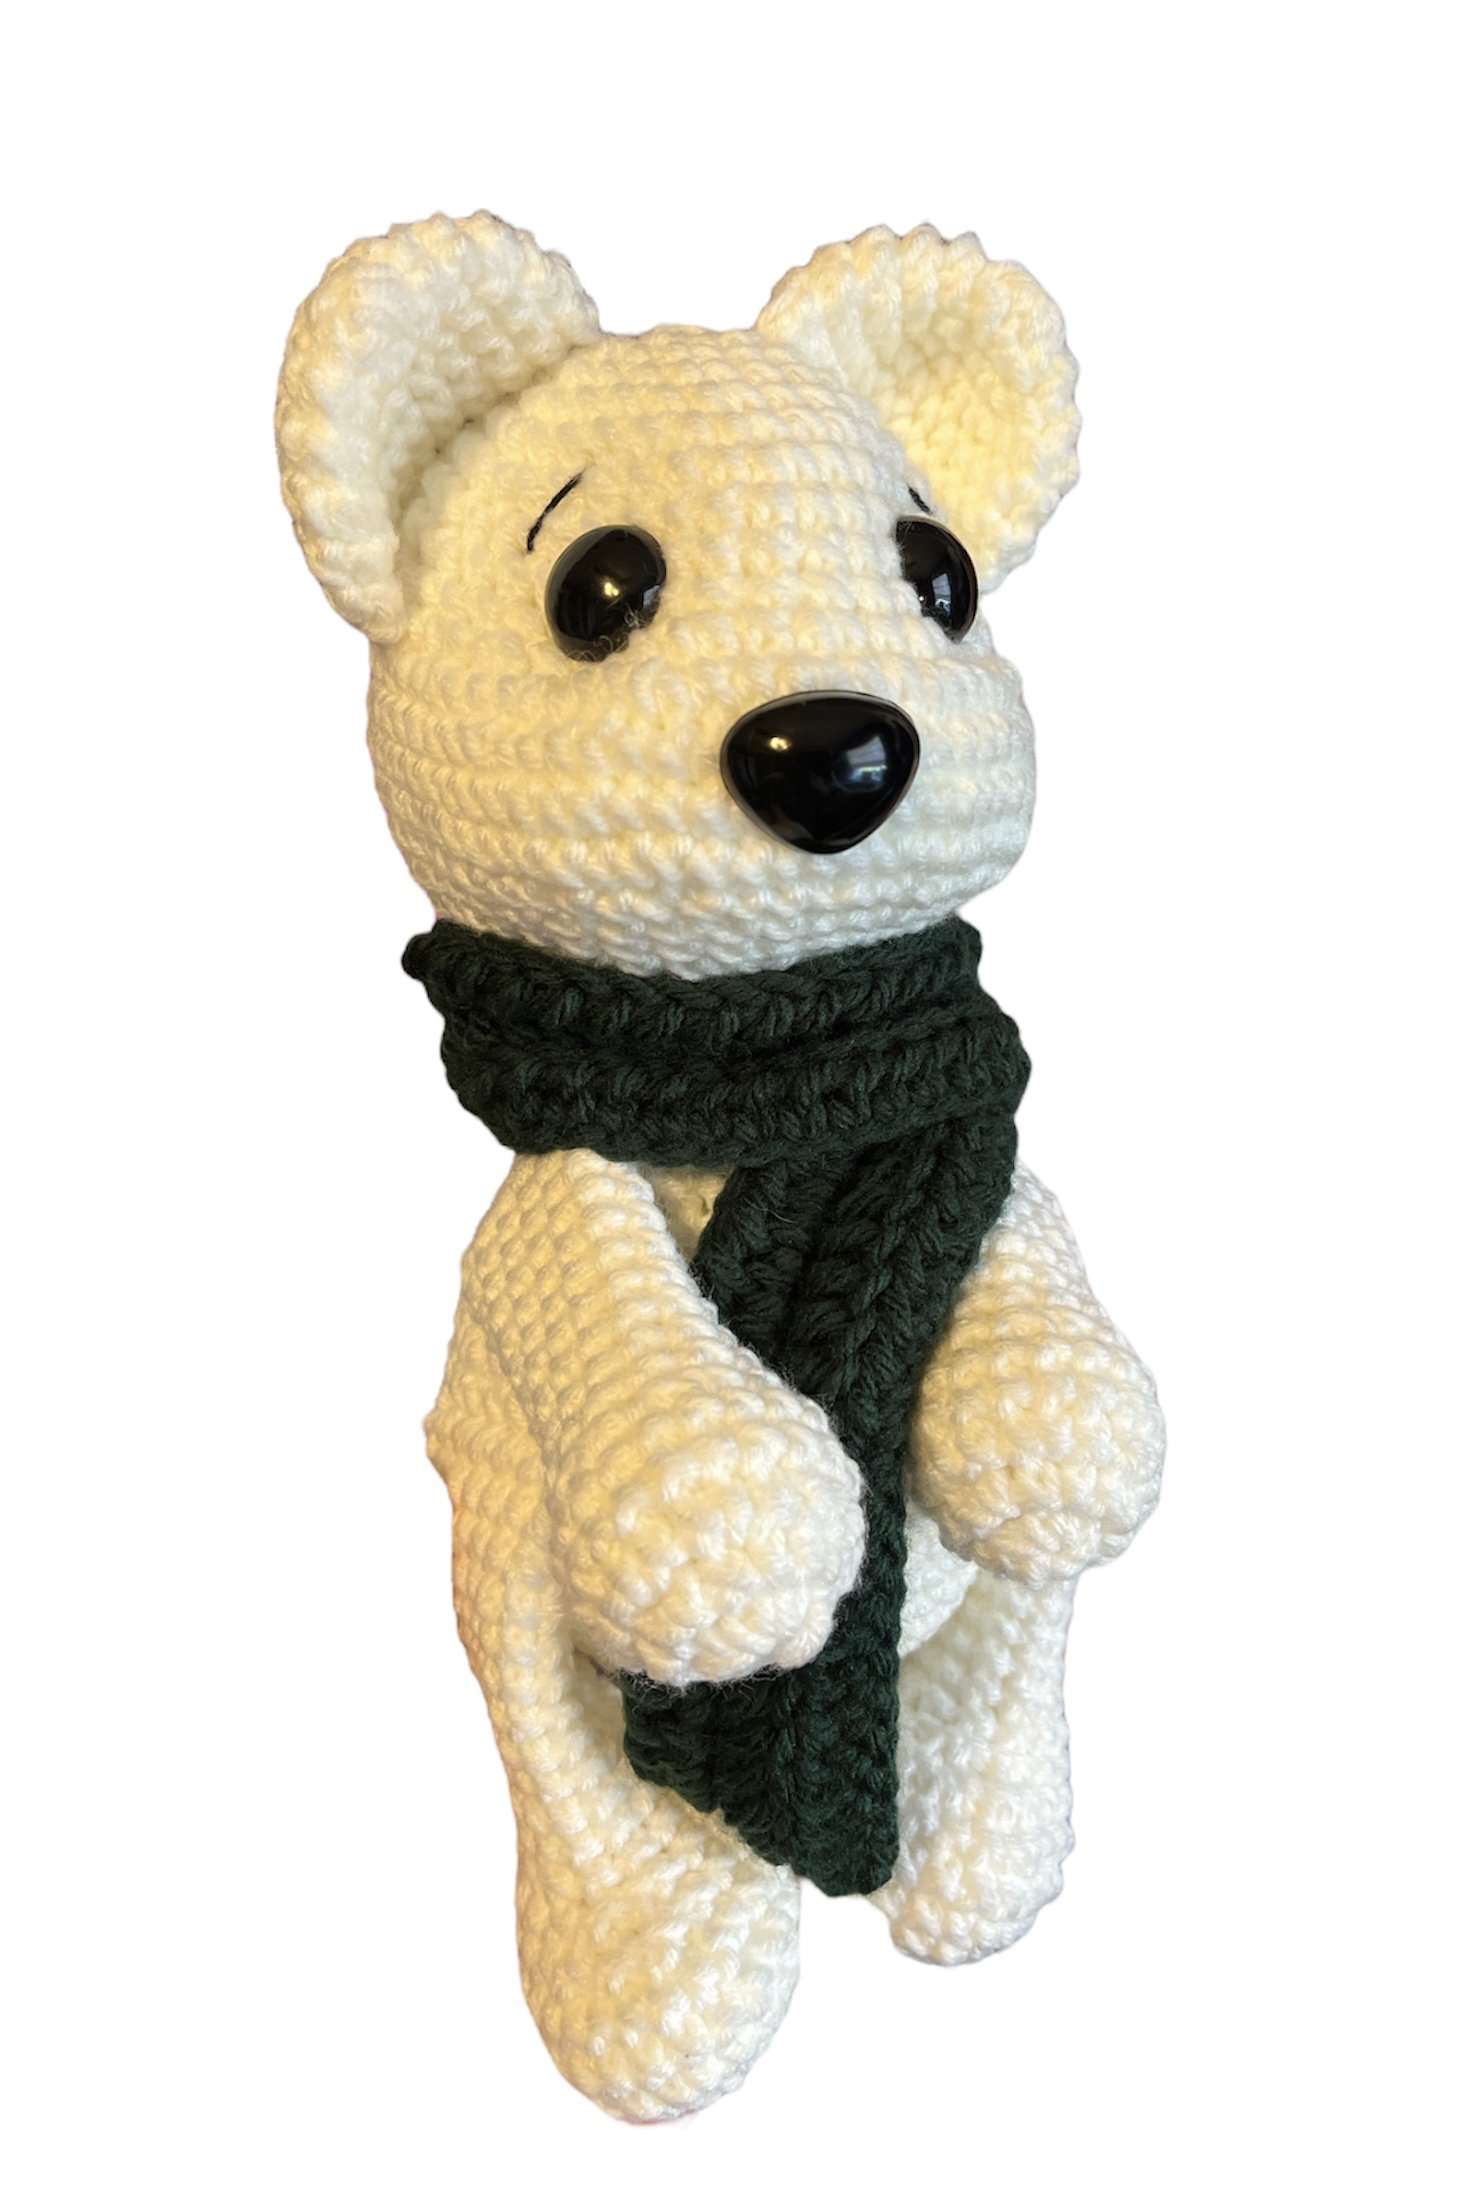
Penny the polar bear part 3.
Free crochet along.

Welcome to the third part for Penny the polar bear. Penny is part of a 3 part crochet along. This crochet along has 4 amazing arctic animal patterns from 4 different designers. You can find the other animal on Instagram on the cal page: crochetwizzardcal
If you wish not to wait for the parts you can also purchase the bundle right here!
Part 1: January 22nd 2023
Part 2: January 24th 2023
Part 3: January 26th 2023
this pattern is very quick and easy to make. Prefect for beginners. You will learn how to do face sculpting and how to make the head and the body in one piece.
Materials
3.5 mm hook
20 mm safety eyes x2
26 mm safety nose
Stuffing
Crafter's secret big idea color white
Big Twist Color Green Forest
Stitch markers
Scissors
Level: easy
U.S ENG Terms
MC: Magic Circle SC: Single Crochet
R: Rounds
INC: Increase
DEC: Decrease
ST: Stitch
Tail in white
R1: MC 6
R2: Inc x6 (12)
R3: 12sc (12)
F/O leave a tail for sewing

scarf in green
R1: ch 61, HDC in the second ch from the hook, HDC in the remaining ch, ch1 and turn (60)
R2-R3: BLO 60hdc, ch1 and turn (60)
F/O leave a tail if you want to sew the scarf to the bear. If not
weave in the tails.

Assembly:
Sew the ears between R2 and R10, 3sts apart
Sew the arms between R25 an R30.
Sew the legs On R35.
Sew the tail between R36 and R40, stuff lightly.
Add the scarf to the bear.

Penny the polar bear part 2.
Free crochet along.

Welcome to the second part for Penny the polar bear. Penny is part of a 3 part crochet along. This crochet along has 4 amazing arctic animal patterns from 4 different designers. You can find the other animal on Instagram on the cal page: crochetwizzardcal
If you wish not to wait for the parts you can also purchase the bundle right here!
Part 1: January 22nd 2023
Part 2: January 24th 2023
Part 3: January 26th 2023
this pattern is very quick and easy to make. Prefect for beginners. You will learn how to do face sculpting and how to make the head and the body in one piece.
Materials
3.5 mm hook
20 mm safety eyes x2
26 mm safety nose
Stuffing
Crafter's secret big idea color white
Big Twist Color Green Forest
Stitch markers
Scissors
Level: easy
U.S ENG Terms
MC: Magic Circle SC: Single Crochet
R: Rounds
INC: Increase
DEC: Decrease
ST: Stitch
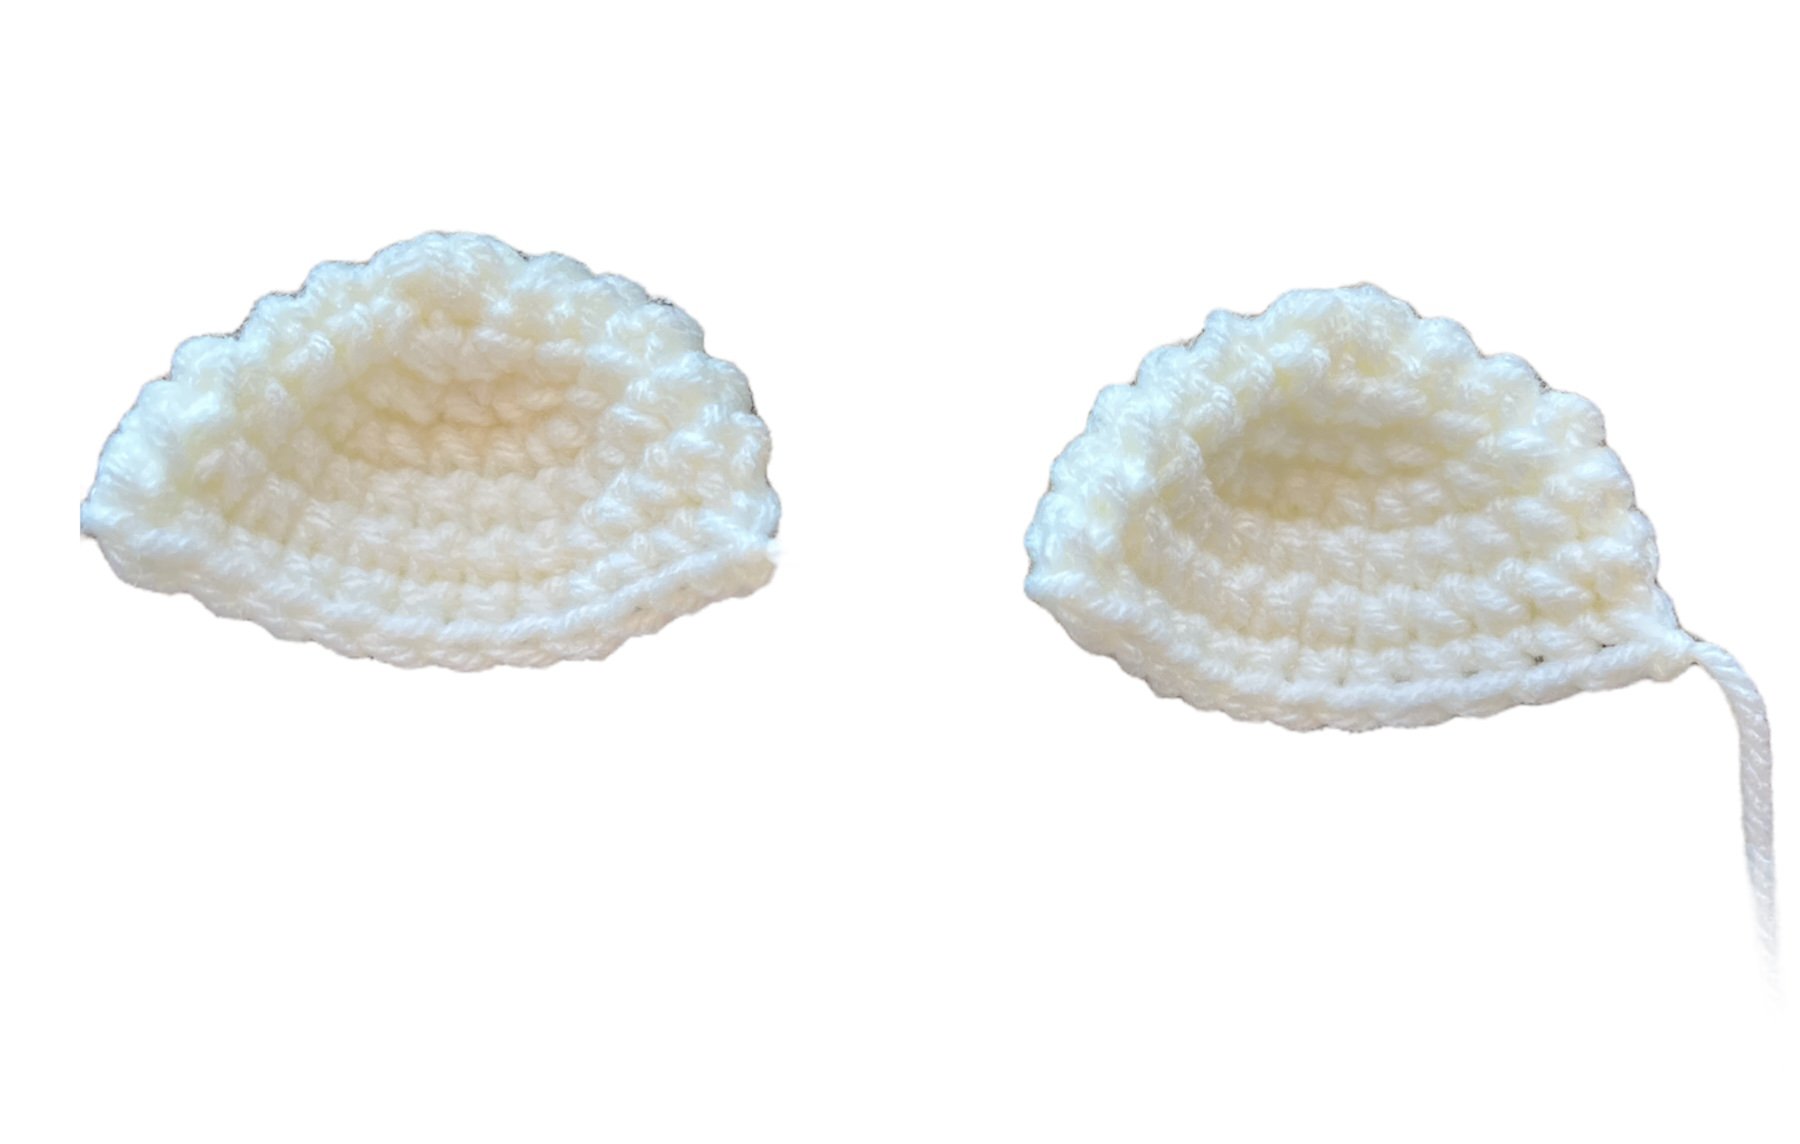
Ears x2 in white
R1: MC 6
R2: Inc x6 (12)
R3: (1sc, inc) x6 (18)
R4: (2sc, inc) x6 (24)
R5-R6: 24sc (24) (2 rounds)
fold the ear in half, sc the ear shut, F/O leave a long tail for sewing.
Arms x2 in white
R1: MC 6 R2: inc x6 (12)
R3: (1sc, inc) x6 (18)
R4-R5:18sc (18) (2 rounds)
R6: (1sc, dec) x6 (12)
R7: 12sc (12)
Stuff the arm firmly only half way.
R8-R16: 12sc (12) (9 rounds)
Fold the opening in half and sc the opening shut. F/O leave a tail for sewing

Legs x2 in white
R1: MC 6
R2: inc x6 (12)
R3: (1sc, inc) x6 (18)
R4: (2sc, inc) x6 (24)
R5-R6: 24sc (24) (2 rounds)
R7: dec x4, 16sc (20)
R8: dec x2, 16sc (18)
R9:(2sc, dec) x4, 2sc (14)
Only stuff the foot
R10-R18: 14sc (14) (9 rounds)
Fold the opening in half and sc the opening shut. F/O leave a tail for sewing


penny the polar bear part 1.
Free crochet along.

Welcome to the first part for Penny the polar bear. Penny is part of a 3 part crochet along. This crochet along has 4 amazing arctic animal patterns from 4 different designers. You can find the other animal on Instagram on the cal page: crochetwizzardcal
If you wish not to wait for the parts you can also purchase the bundle right here!
Part 1: January 24th 2023
Part 2: January 26th 2023
Part 3: January 28th 2023
this pattern is very quick and easy to make. Prefect for beginners. You will learn how to do face sculpting and how to make the head and the body in one piece.
Materials
3.5 mm hook
20 mm safety eyes x2
26 mm safety nose
Stuffing
Crafter's secret big idea color white
Big Twist Color Green Forest
Stitch markers
Scissors
Level: easy
U.S ENG Terms
MC: Magic Circle SC: Single Crochet
R: Rounds
INC: Increase
DEC: Decrease
ST: Stitch
Head/Body with color white
R1: MC 6
R2: INC x6 (12)
R3: (1sc, Inc) x6 (18)
R4: (2sc, Inc) x6 (24)
R5: (3sc, Inc) x6 (30)
R6: (4sc, Inc) x6 (36)
R7: (5sc, inc) x6 (42)
R8-R10: sc all around (42) (3 rounds)
R11: (Inc, 1sc) x7, 28 sc (49) (add a st marker at the last sc of the inc, st 14)
R12: (inc, 2sc) x7, 28sc (56)
R13-R15: sc all around (56) (3 rounds)
R16: (dec, 2sc) x7, 28sc (49)
R17: (dec, 1sc) x7, 28sc (42)
Place the eyes between R9 and R10 with 6 sts between the eyes. Place nose between R13 and R14
R18: (5sc, dec) x6 (36)
R19: (4sc, Dec) x6, (30)
**Face sculpting below** Stuff the head firmly and stuff the cheeks firmly.


R20: (3sc, dec) x6 (24)
R21: (2sc, dec) x6 (18)
R22: (1sc, dec) x6 (12)
R23: (1sc, Inc) x6 (18)
R24: (2sc, Inc) x6 (24)
R25: (3sc, inc) x6 (30)
R26-R28: sc all around (30) (3 rounds)
Stuff the neck firmly to help hold the head up.
R29: (4sc, Inc) x6 (36)
R30: (5sc, Inc) x6 (42)
R31: (6sc, inc) x6 (48)
R32-R39: sc all around (48) (8 rounds)
R40: (6sc, dec) x6 (42)
R41: (5sc, Dec) x6 (36)
R42: (4sc, Dec) x6, (30)
R43: (3sc, Dec) x6 (24)
Stuff the body firmly
R44: (2sc, Dec) x6 (18)
R45: (1sc, Dec) x6 (12)
R46: (1sc, dec) x4 (8)
F/O, sew the hole shut and hide the tail.


Free Valentine’s Day Bee pattern
Free valentine’s day bee crochet pattern.

Happy valentine’s day, here is a free valentine’s day bee pattern. I hope you enjoy this quick and easy pattern!
If you make this pattern, tag cocoknittedcreations on social media, I would love to see your beautiful bee.
COPYRIGHTS: This pattern is my creation, please do not share the pattern with anyone, post it as free on the internet or alternate the pattern any way. You can sell the final product made with this pattern. Please note CocoKnittedCreations as the designer. Happy Crocheting!! cocoknittedcreations.com social media: CocoKnittedCreations Email: cocoknittedcreation@gmail.com
Materials:
Bernat velvet in pink
Bernat Velvet in white
#1 weight in black and white for the eyes
or 18mm safety eyes
4mm crochet hook for the body and wings
2mm crochet hook for the eyes
stuffing
tapestry needle
stitch marker
level: beginner/easy
ENG US Terms
MC: Magic circle
Sc: single crochet
Dec: decrease
Inc: increase
f/o: fasten off
HDC: half double crochet
DC: double crochet
TR: Trible crochet
Chunky bee body in pink
R1: MC 6
R2: Inc x6 (12)
R3: (1sc, inc) x6 (18)
R4: (2sc, inc) x6 (24)
R5: (3sc, inc) x6 (30)
R6-R8: 30sc. (30) (3rounds) Change to white on last st of this round
R9-R10: 30sc (30) (2rounds) change to pink on last st of round 10
R11-R13: 30sc (30) (3rounds) change to white on the last st of round 13
R14-R15: 30sc (30) (2rounds) change to pink on the last st of round 15
R16-R17: 30sc (30) (2rounds)
add the safety eyes on R4, 6 sts apart.
R18: (3sc, Dec) x6 (24)
Start stuffing the body firmly
R19: (2sc,Dec) x6 (18)
R20: (1sc, Dec) x6 (12)
R21: (1sc,dec) x4 (8)
F/o close the opening, weave in the end.
eyes with 2mm hook with black& white weight #1
R1: Mc 6
R2: inc x6 (12)
R3: ( 1sc, inc) x6 (18) *change to white on the last st*
R4: W (2sc, inc) x3, B (2sc, inc) x3 (24)
f/o secure the ends, we will glue the eyes glare in white make 4 MC with 4 sts, f/o. sew to the eyes. Look at the pictures to guide you.
Heart wings in white
In a MC R1: mc 1sc, 2hdc, 3dc, 3tr, 1sc, 3tr, 3dc, 2hdc, 1sc, 2dc. Pull the mc right, it will form the heart. Leave a long tail for sewing.
Assembly: sew the wings onto the back between the two stripes. I sew them upwards but you can sew it the way you prefer. glue the eyes on the face


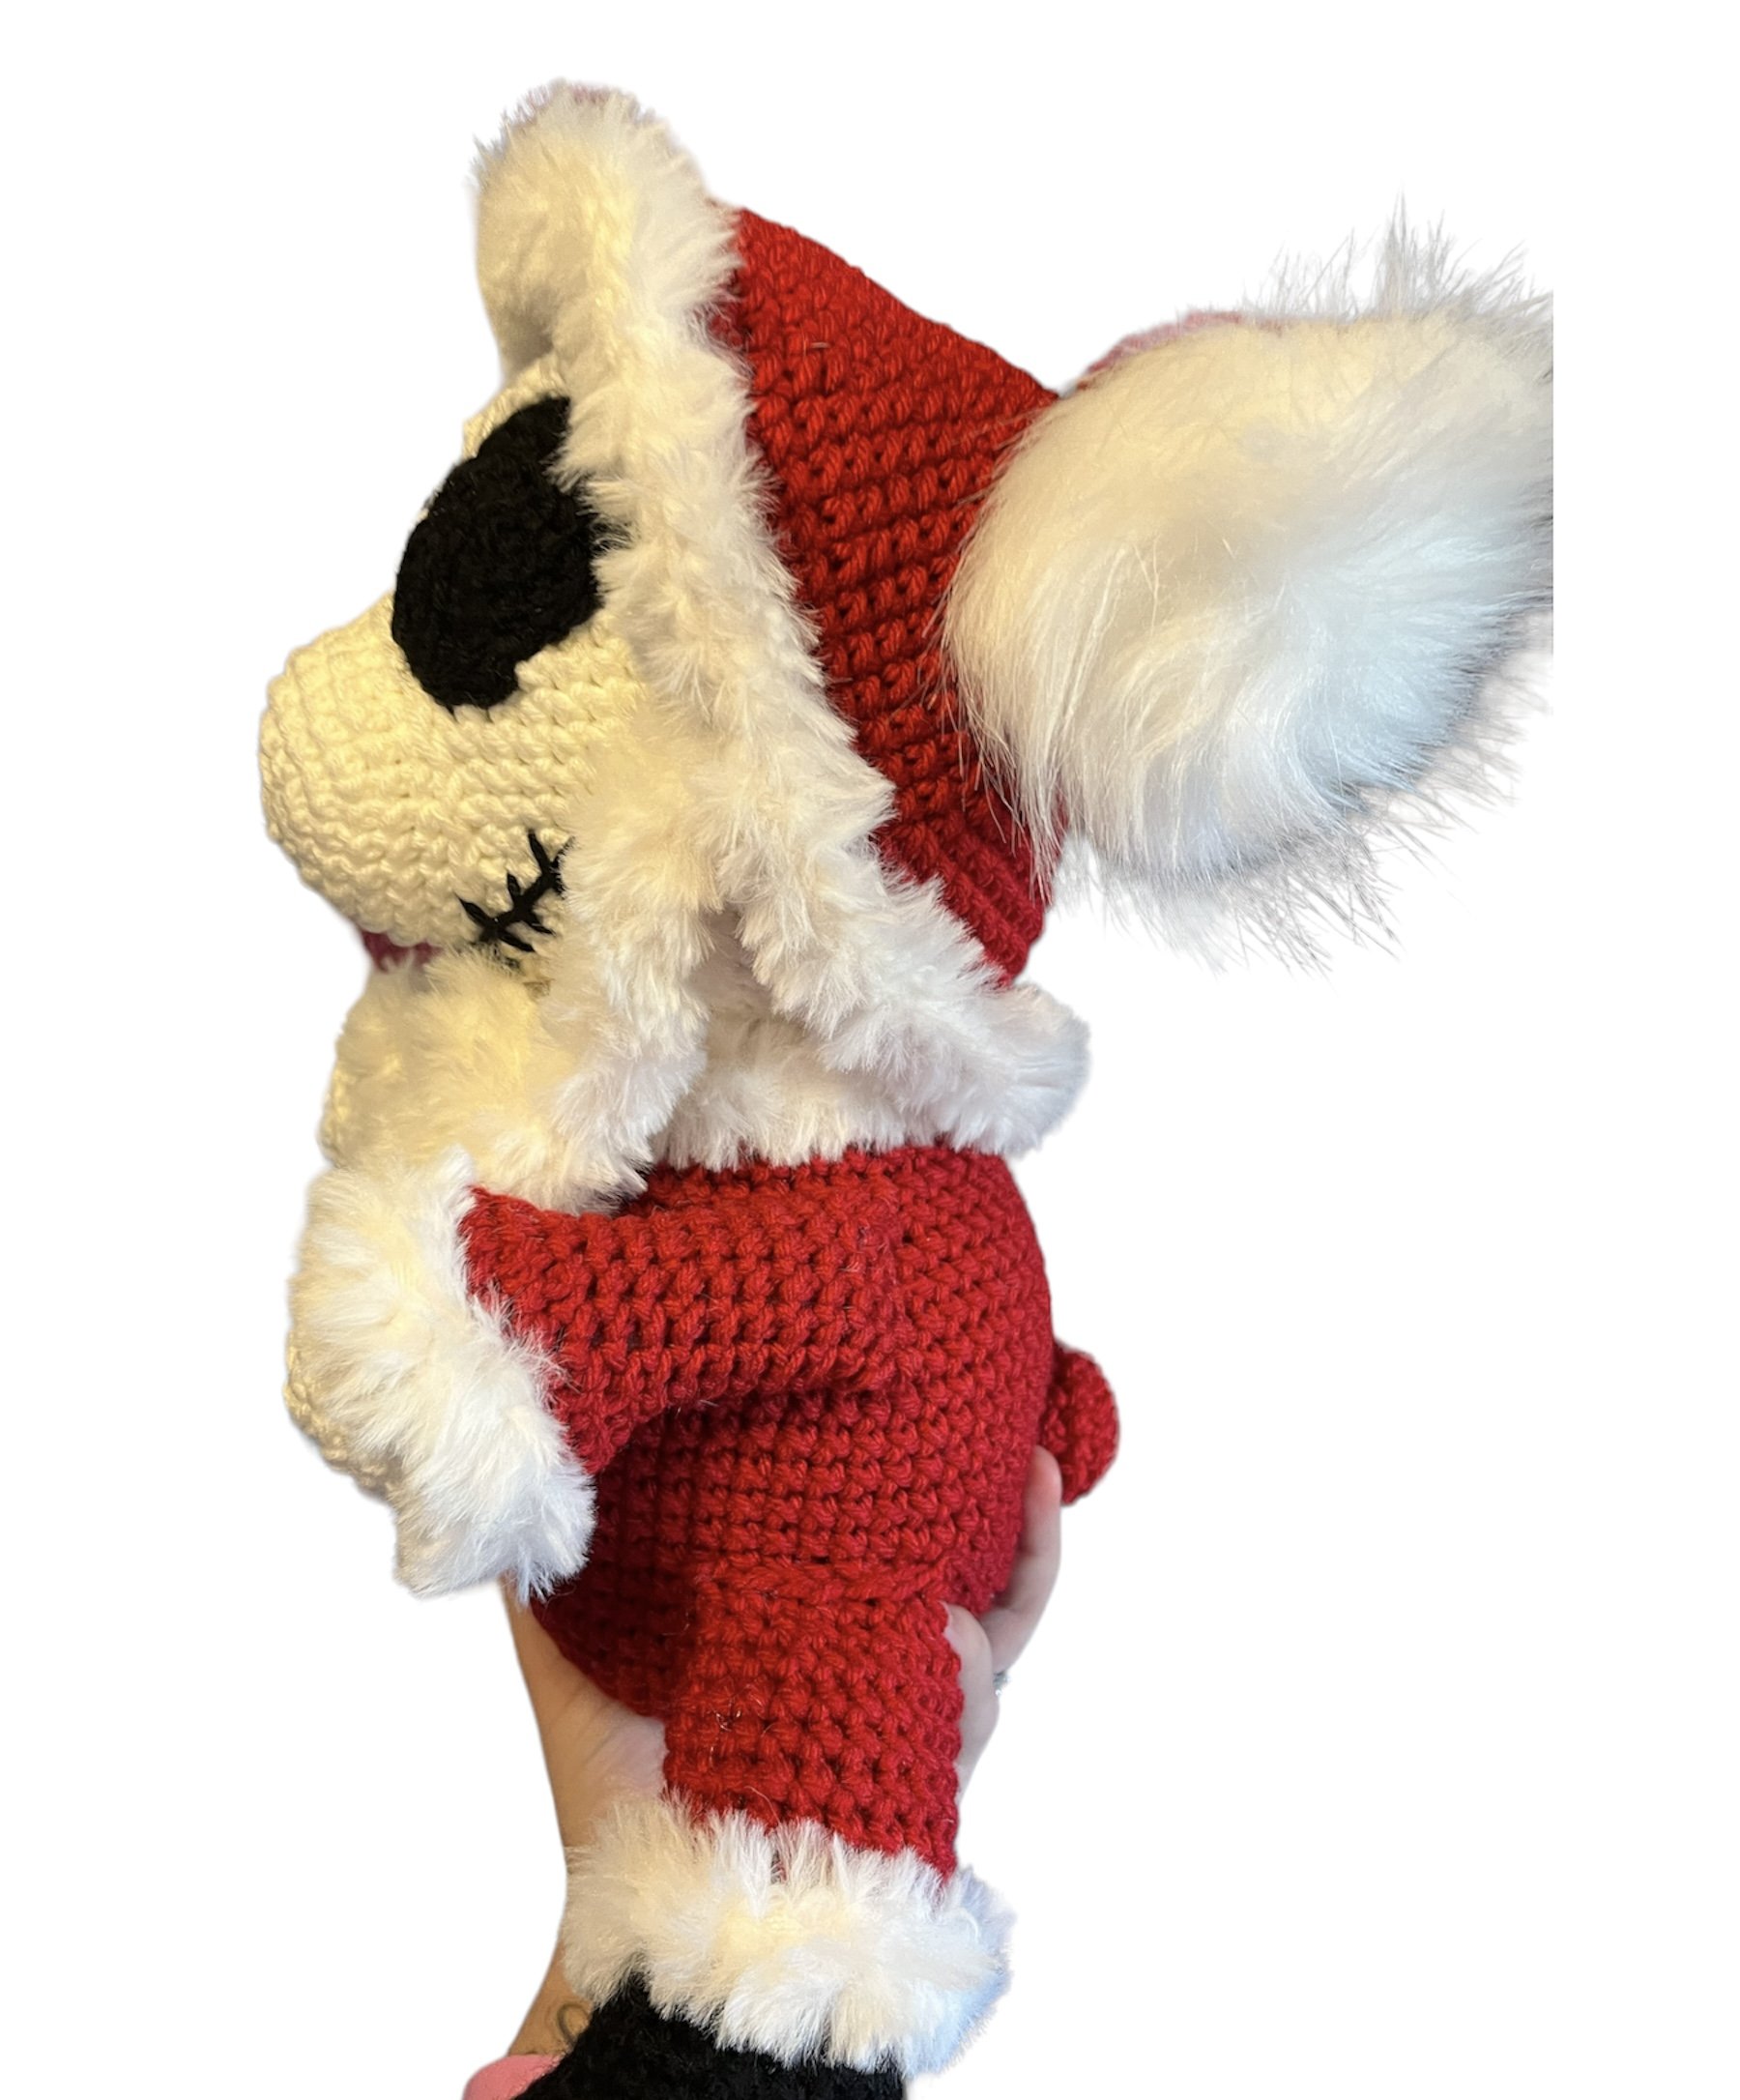
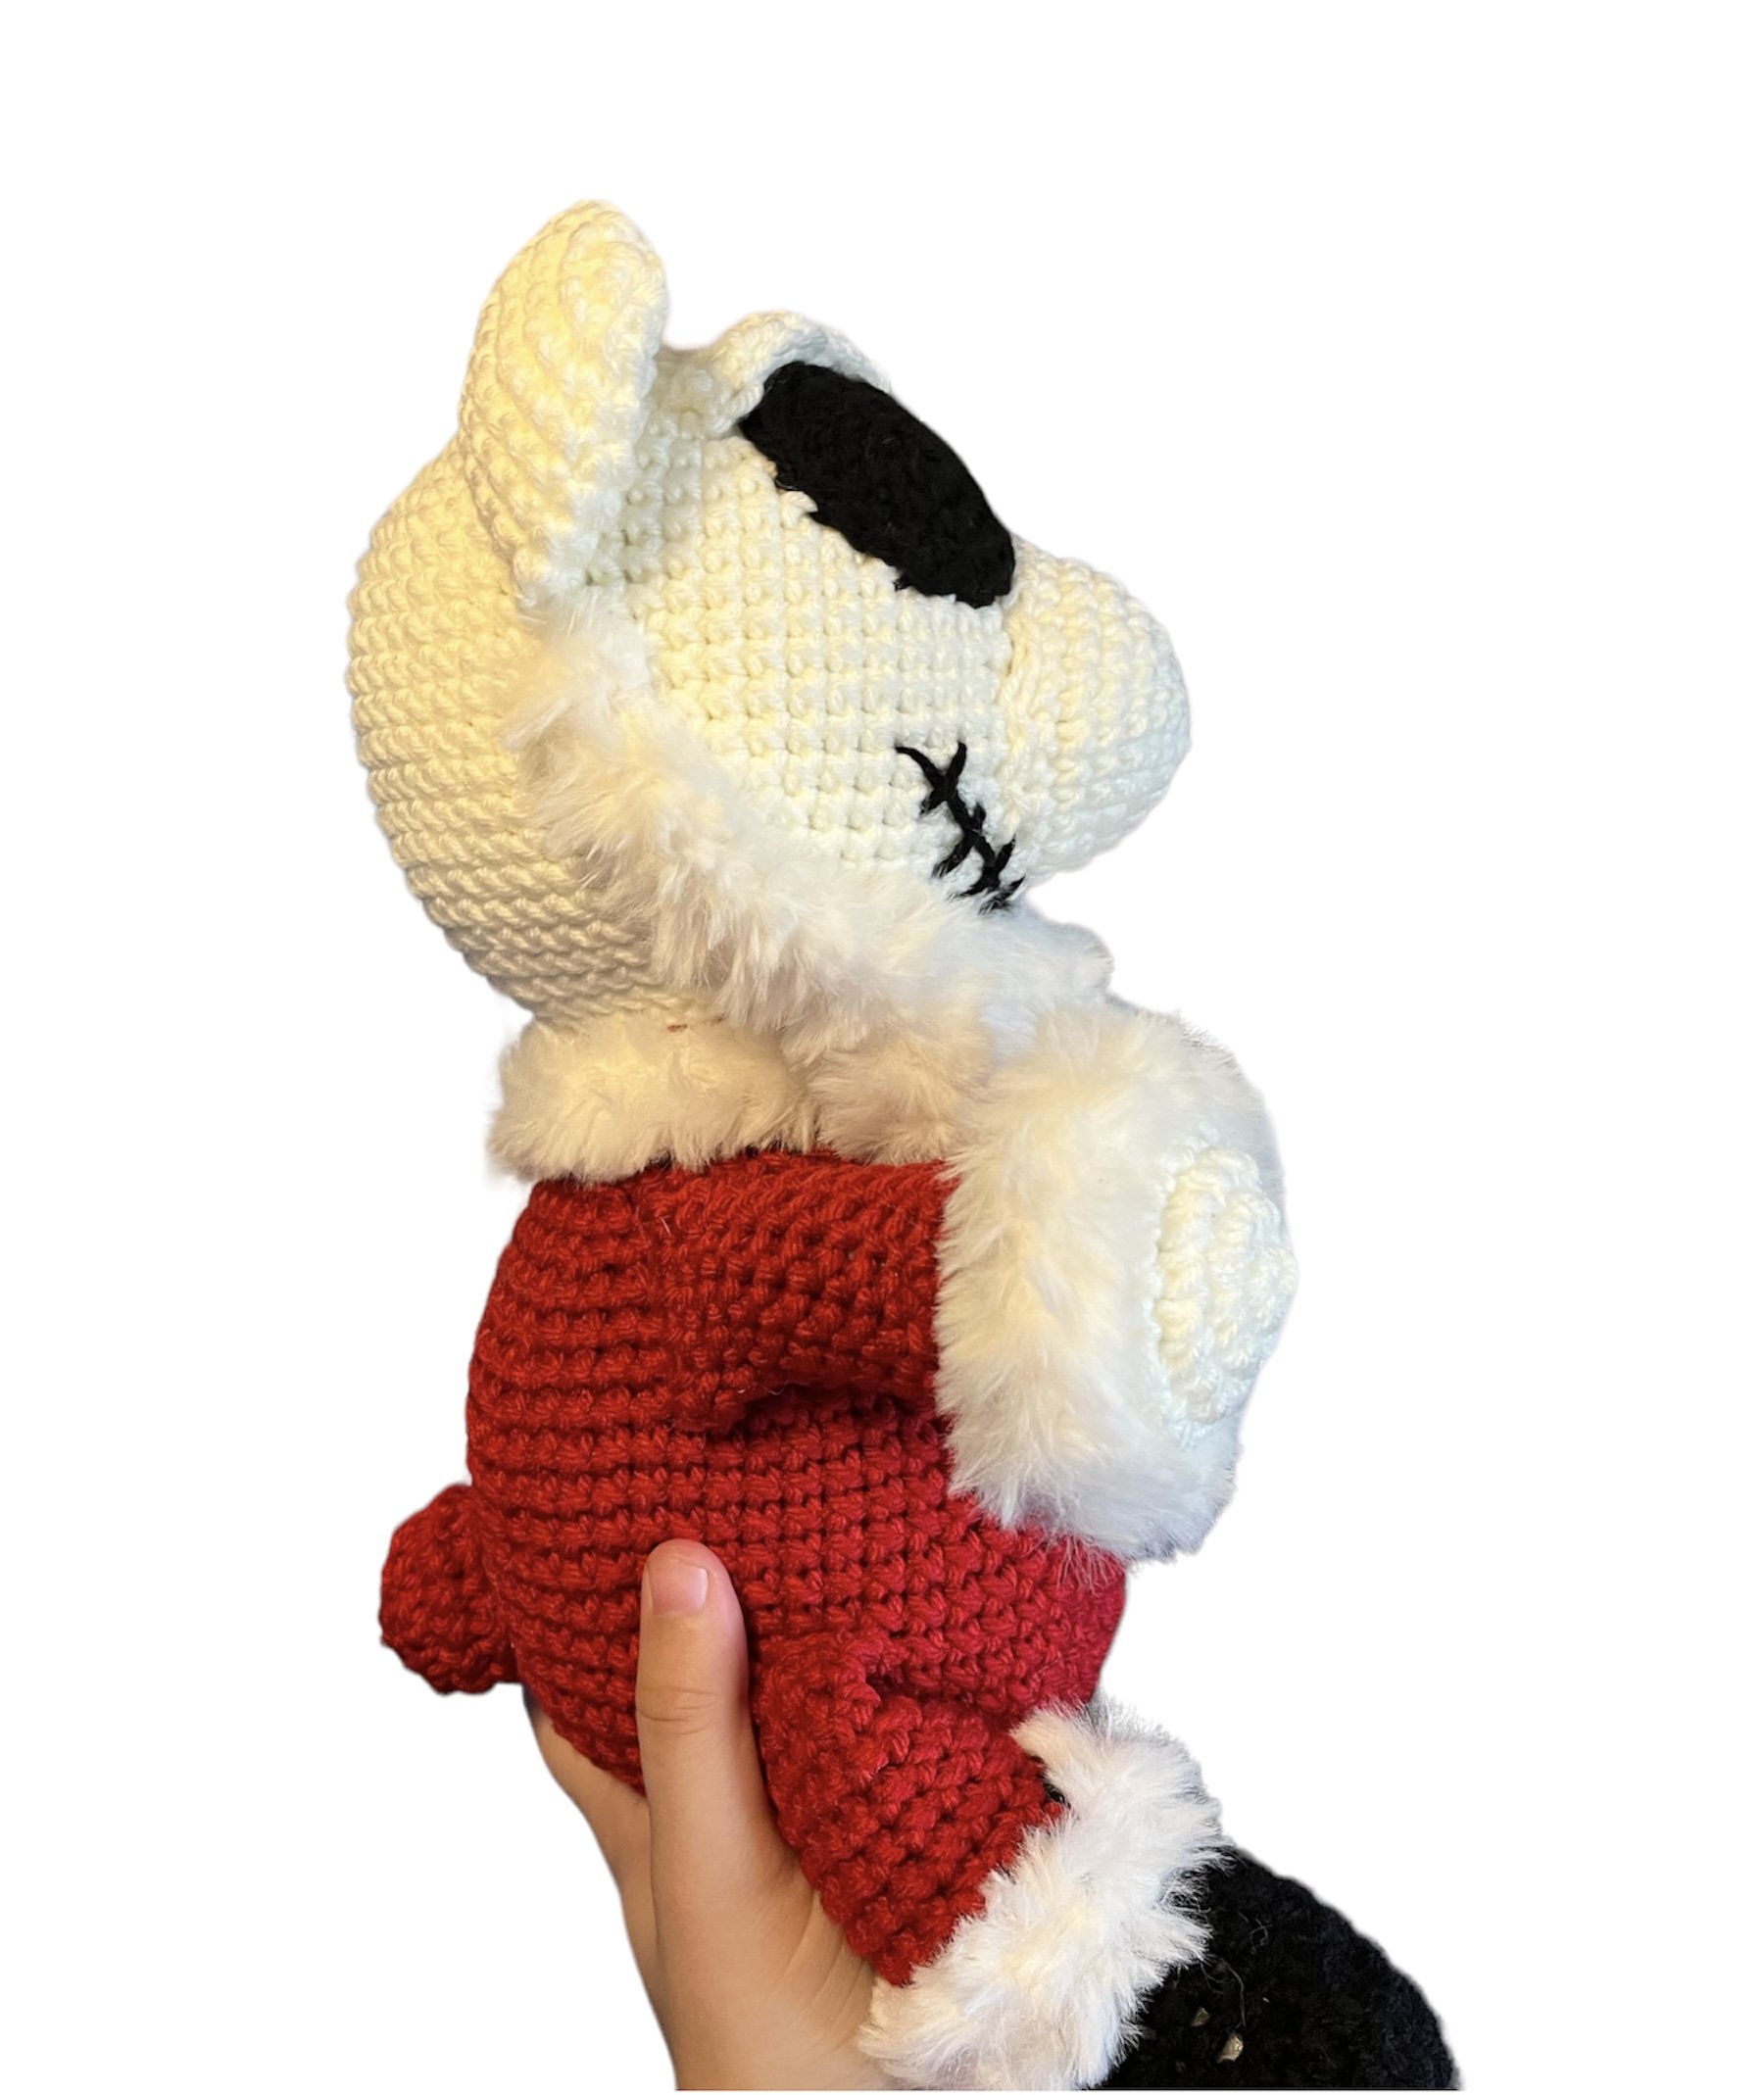
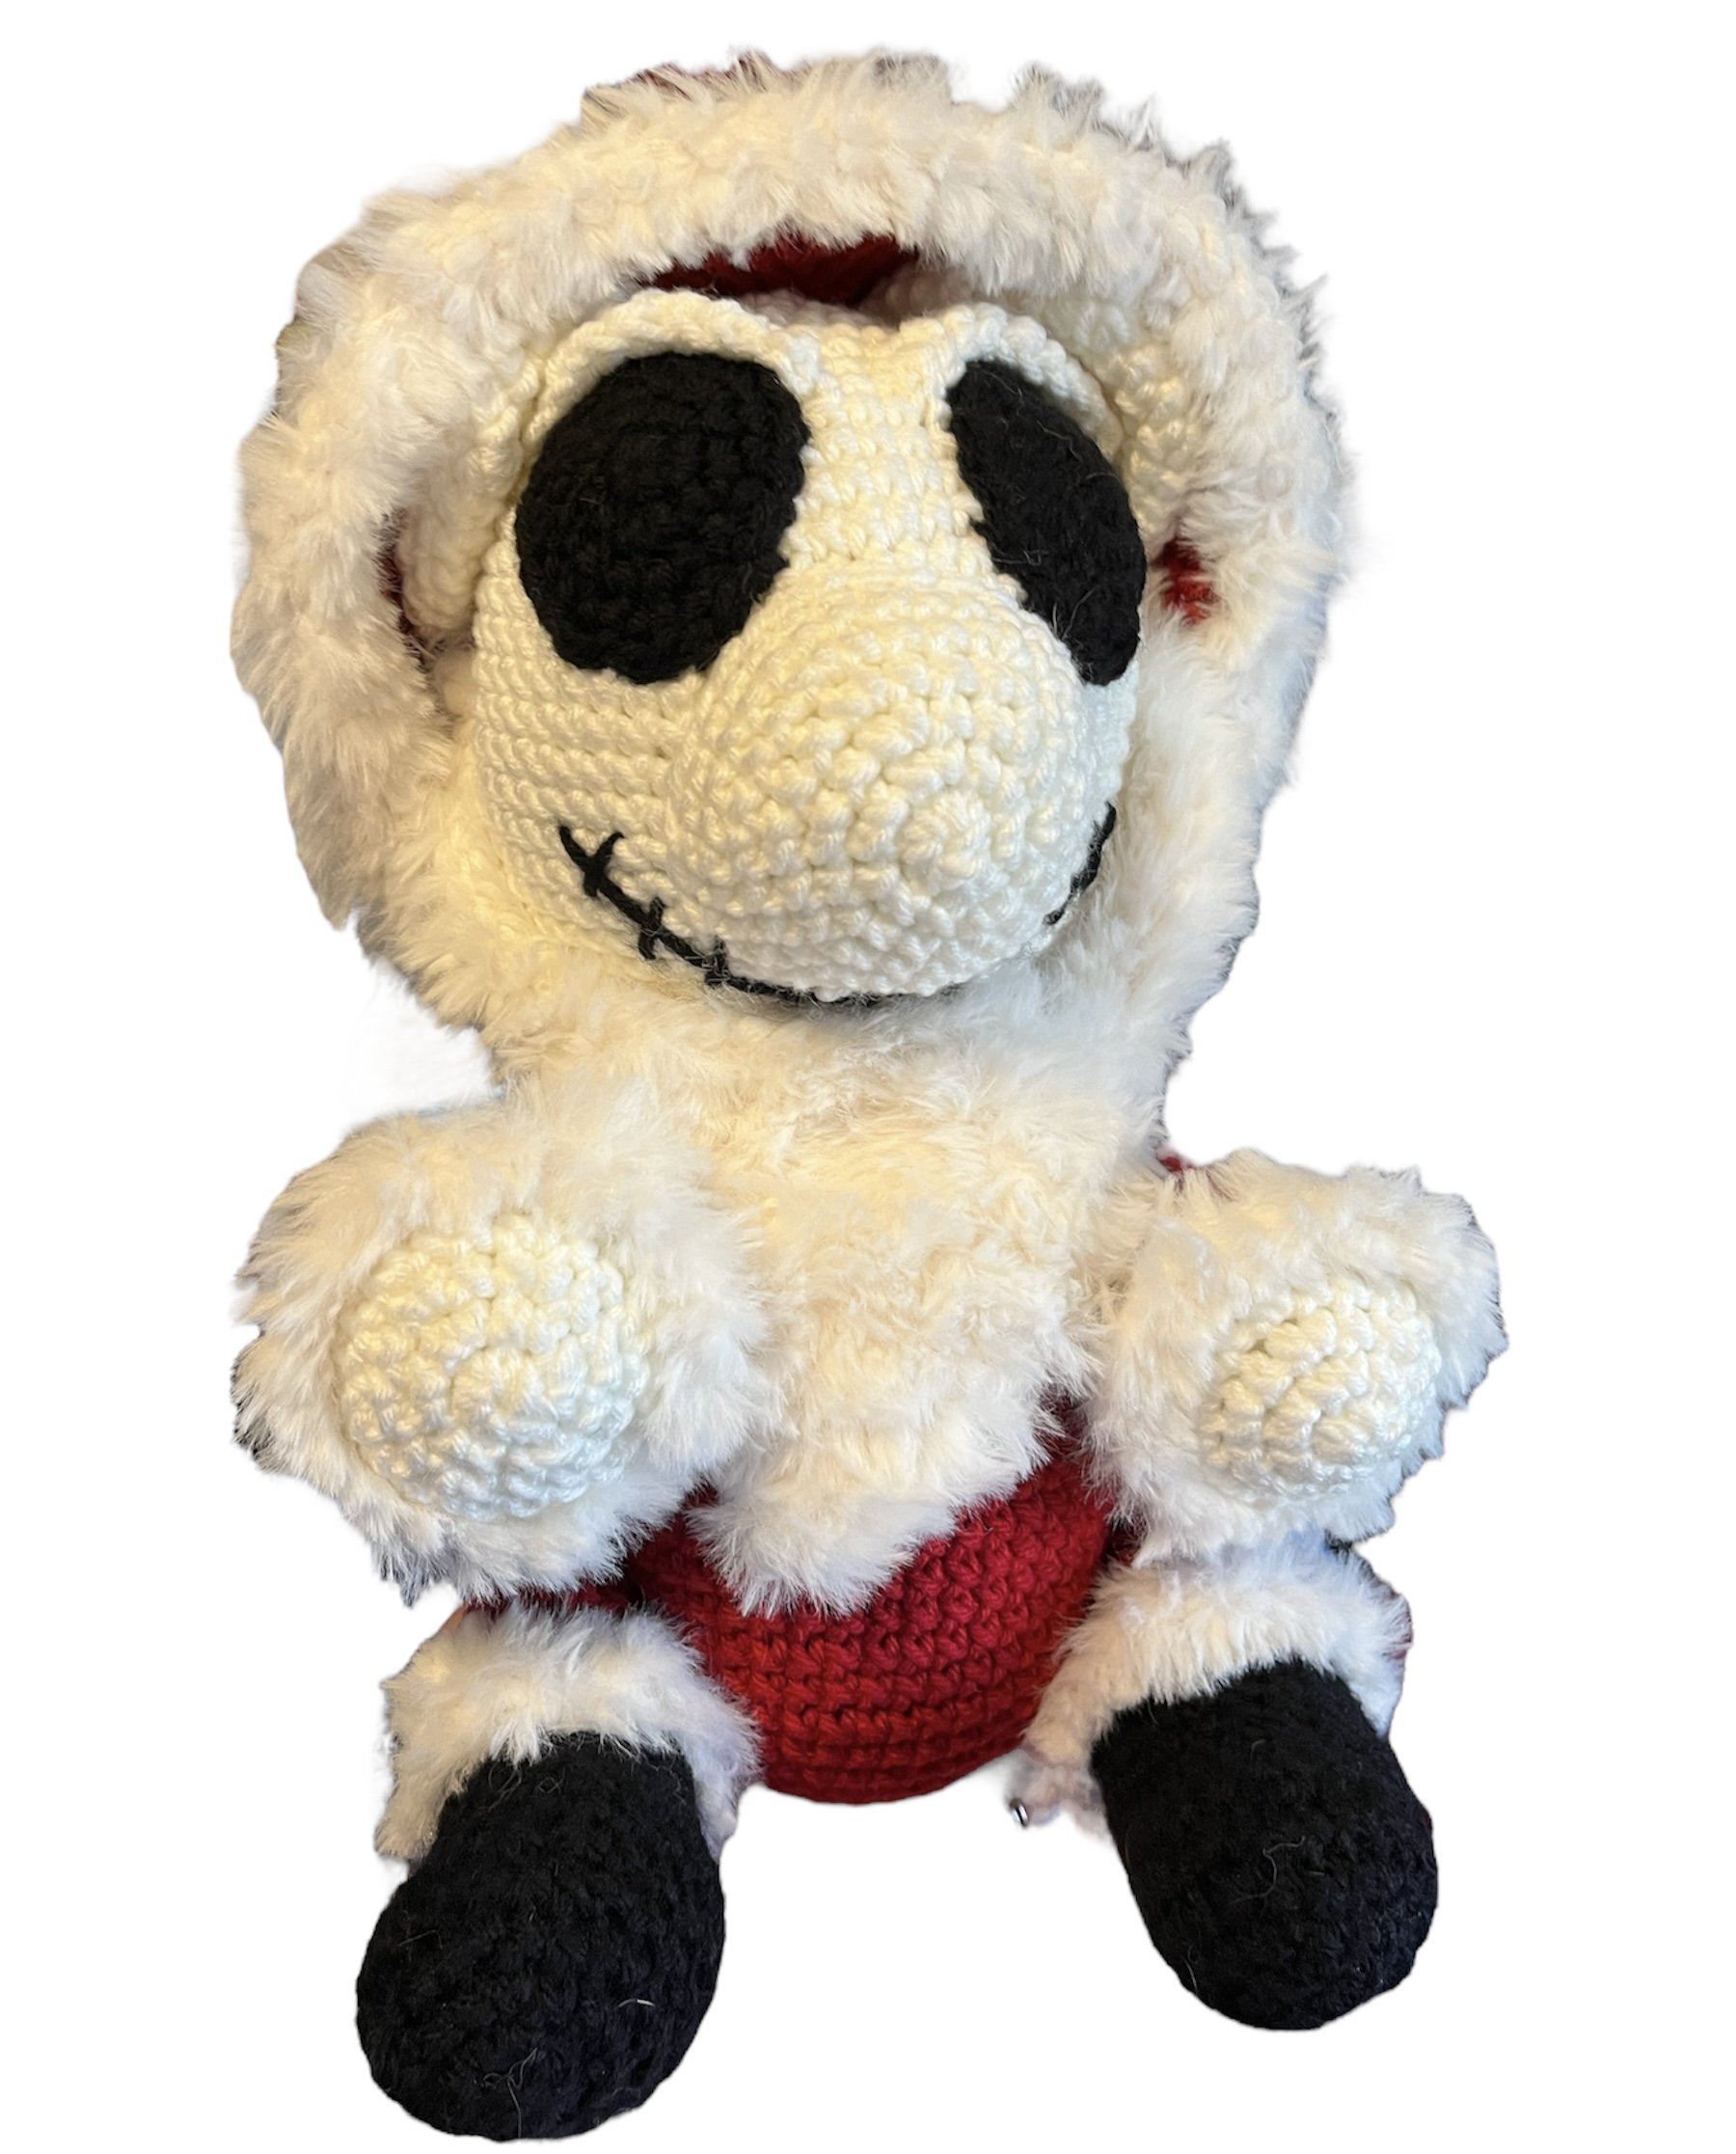
Santa Jack Bear free cal part 4
Santa jack bear, free cal. Part 4

Welcome to the forth part of the Santa jack bear crochet along! This cal is a free cal but if you do not want to wait for the parts you can purchase the bundle right here. The bundle includes the Halloween jack bear and the Santa jack bear! Post your parts as you finish them on Instagram and tag the cal account cocoknittedcreationscal
Part 1 dec 1st-dec3rd
Part 2 dec 4th- dec 6th
Part 3 dec 7th-dec 9th
Part 3 dec 10th-dec 12th
Materials
4mm crochet hook G
stitch marker
scissors
Stuffing
pins fur pompom (optional)
Impeccable loops and threads, white
Red Heart Super Saver, black
Faux fur on white size 6
Red Heart Super Saver, Red
Level: Intermediate
ENG US Terms
SC: Single Crochet
CH: chain
MC: magic circle
R: Round
SLST: Slip Stitch
F/O: Fasten Off
INC: Increase
DEC: Decrease
HDC: Half double crochet
DC: Double crochet
FLO: front loop only
BLO: back loop only
Santa Hat, red
R1: MC 4
R2: 4sc (4)
R3: (1sc, inc) x2 (6)
R4: 6sc (6)
R5: (2sc, inc) x2 (8)
R6: 8sc (8)
R7: (3sc, inc) x2 (10)
R8: 10sc (10)
R9: (4sc, inc ) x2 (12)
R10: 12sc (12)
R11: (5sc, inc) x2 (14)
R12: (6sc, inc) x2 (16)
R13-R14: 16sc (16) (2 rounds)
R15: (7sc, inc) x2 (18)
R16: 18sc (18)
R17: (2sc, inc) x6 (24)
R18: 24sc (24)
R19: (3sc, inc) x6 (30)
R20: 30sc (30)
R21: (4sc, inc) x6 (36)
R22: 36sc (36)
R23: (5sc, inc) x6 (42)
R24: 42sc (42)
R25: (6sc, inc) x6 (48)
R26: 48sc (48)
R27: (7sc, inc) x6 (54)
R28: 54sc (54)
R29: (8sc, inc) x6 (60)
R30: 60sc (60)
R31: (9sc, inc) x6 (66)
R32: 66sc (66)
R33: (10sc, inc) x6 (72)
R34: (11sc, inc) x6 (78)
R35-R36: 78sc (78) (2 rounds) change to white fur on the last st of round 36
R37: 78 sc (78) f/o weave in the ends optional: add a pompom at the tip of the hat.
Beard in white faux fur
R1: ch2, sc in the second ch1 from the hook, ch1 and turn (1)
R2: inc, ch1 and turn (2)
R3: 1sc, inc, ch1 and turn (3)
R4: inc, 1sc, inc, ch1 and turn (5)
R5: inc, 3sc, inc, ch1 and turn (7)
R6: inc, 5sc, inc, ch1 and turn (9)
R7: inc, 7sc, inc, ch1 and turn (11)
R8: inc, 9sc, inc, ch1 and turn (13)
R9: inc, 11sc, inc, ch1 and turn (15)
R10-R11: 15sc, ch1 and turn (15) (2 rounds)
R12: ch 12, sc in the second ch from the hook, 10sc, 15sc across the beard, ch 12, sc in the second ch from the hook, 10sc f/o
Assembly
Sew the body to the head.
Keep stuffing the neck as you are sewing it shut, it will help the head to not wobble around.
Use pins to help hold the head in place.
Sew the legs on row 15
Sew the arms on row 24
Sew the tail between row 9 and row 12. stuff the tail.
Sew the beard on each side of the face, right under the ears.
All finished!! I hope you enjoyed this free crochet along!
please show us on social media your finished bear.


Santa jack bear free cal part 3
Santa jack bear, free cal. Part 3

Welcome to the third part of the Santa jack bear crochet along! This cal is a free cal but if you do not want to wait for the parts you can purchase the bundle right here. The bundle includes the Halloween jack bear and the Santa jack bear! Post your parts as you finish them on Instagram and tag the cal account cocoknittedcreationscal
Part 1 dec 1st-dec3rd
Part 2 dec 4th- dec 6th
Part 3 dec 7th-dec 9th
Part 3 dec 10th-dec 12th
Materials
4mm crochet hook G
stitch marker
scissors
Stuffing
pins fur pompom (optional)
Impeccable loops and threads, white
Red Heart Super Saver, black
Faux fur on white size 6
Red Heart Super Saver, Red
Level: Intermediate
ENG US Terms
SC: Single Crochet
CH: chain
MC: magic circle
R: Round
SLST: Slip Stitch
F/O: Fasten Off
INC: Increase
DEC: Decrease
HDC: Half double crochet
DC: Double crochet
FLO: front loop only
BLO: back loop only
Legs x2 black
R1: MC 6 sc
R2: Inc x6 (12)
R3: (1sc, inc) x6 (18)
R4: (2sc, inc) x6 (24)
R5: (3sc, inc) x6 (30)
R6: dec x6, 18sc (24)
R7: dec x4, 16sc (20)
R8: (3sc, dec) x4 (16)
R9-R12: 16sc (16) (6 rounds)
R13: blo 16sc (16) **change to red on the last st**
Stuff the leg firmly
R14-R18: 16sc (16) (5 rounds)
Stop stuffing the leg
R19: 16sc (16)
R20: (2sc, dec) x4 (12)
R21: 8sc (8)
F/O pinch the two sides together and sc the opening shut. Leave a long tail for sewing. Slst the white fur yarn on round 13 were we crochet through blo. we will crochet through flo with the white fur. f/o weave in the ends.
Arms x2 White
R1: MC 6 sc
R2: Inc x6 (12)
R3: (1sc, inc) x6 (18)
R4: (2sc, inc) x6 (24)
R5: 24sc (24) change to Red on the last st
R6: blo 24sc (24)
R7: 24sc (24)
R8: (2sc, dec) x6 (18)
R9: (1sc, dec) x6 (12)
Stuff the arm firmly
R10-R16: 12sc (12) (7 rounds)
Stop stuffing the arms
R17: 12sc (12)
sc the opening close, f/o leave a long tail for sewing. SLST the white fur yarn on round 6, where we sc through blo, sc through the flo with the fur. F/O weave in the ends.

Santa Jack bear free cal part 2
Santa jack bear, free cal. Part 2

Welcome to the second part of the Santa jack bear crochet along! This cal is a free cal but if you do not want to wait for the parts you can purchase the bundle right here. The bundle includes the Halloween jack bear and the Santa jack bear! Post your parts as you finish them on Instagram and tag the cal account cocoknittedcreationscal
Part 1 dec 1st-dec3rd
Part 2 dec 4th- dec 6th
Part 3 dec 7th-dec 9th
Part 3 dec 10th-dec 12th
Materials
4mm crochet hook G
stitch marker
scissors
Stuffing
pins fur pompom (optional)
Impeccable loops and threads, white
Red Heart Super Saver, black
Faux fur on white size 6
Red Heart Super Saver, Red
Level: Intermediate
ENG US Terms
SC: Single Crochet
CH: chain
MC: magic circle
R: Round
SLST: Slip Stitch
F/O: Fasten Off
INC: Increase
DEC: Decrease
HDC: Half double crochet
DC: Double crochet
FLO: front loop only
BLO: back loop only
Body in red
R1: MC 6 sc
R2: Inc x6 (12)
R3: (1sc, inc) x6 (18)
R4: (2sc, inc) x6 (24)
R5: (3sc, inc) x6 (30)
R6: (4sc, inc) x6 (36)
R7: (5sc, inc) x6 (42)
R8: (6sc, inc) x6 (48)
R9: (7sc, inc) x6 (54)
R10-R18: 54 sc (54) (9 rounds)
R19: (7sc, dec) x6 (48)
R20: 48sc (48)
R21: (6sc, dec) x6 (42)
R22: 42sc (42)
R23: (5sc, dec) x6 (36)
R24: 36sc (36)
R25: (4sc, dec)x6 (30)
R26: 30sc (30)
R27: (3sc, dec)x6 (24)
R28: blo 24sc (24)
F/O leave a tail for sewing. Stuff the body firmly. Shape the body as you stuff so it looks like a pear shape.
Collar in white fur
Through the front loop of round 28 from the body, sc all around.
Tail in red
R1: MC 6 sc
R2: Inc x6 (12)
R3: (1sc, inc) x6 (18)
R4: 18sc (18)
R5: (1sc, dec) x6 (12)
F/O leave a tail for sewing.

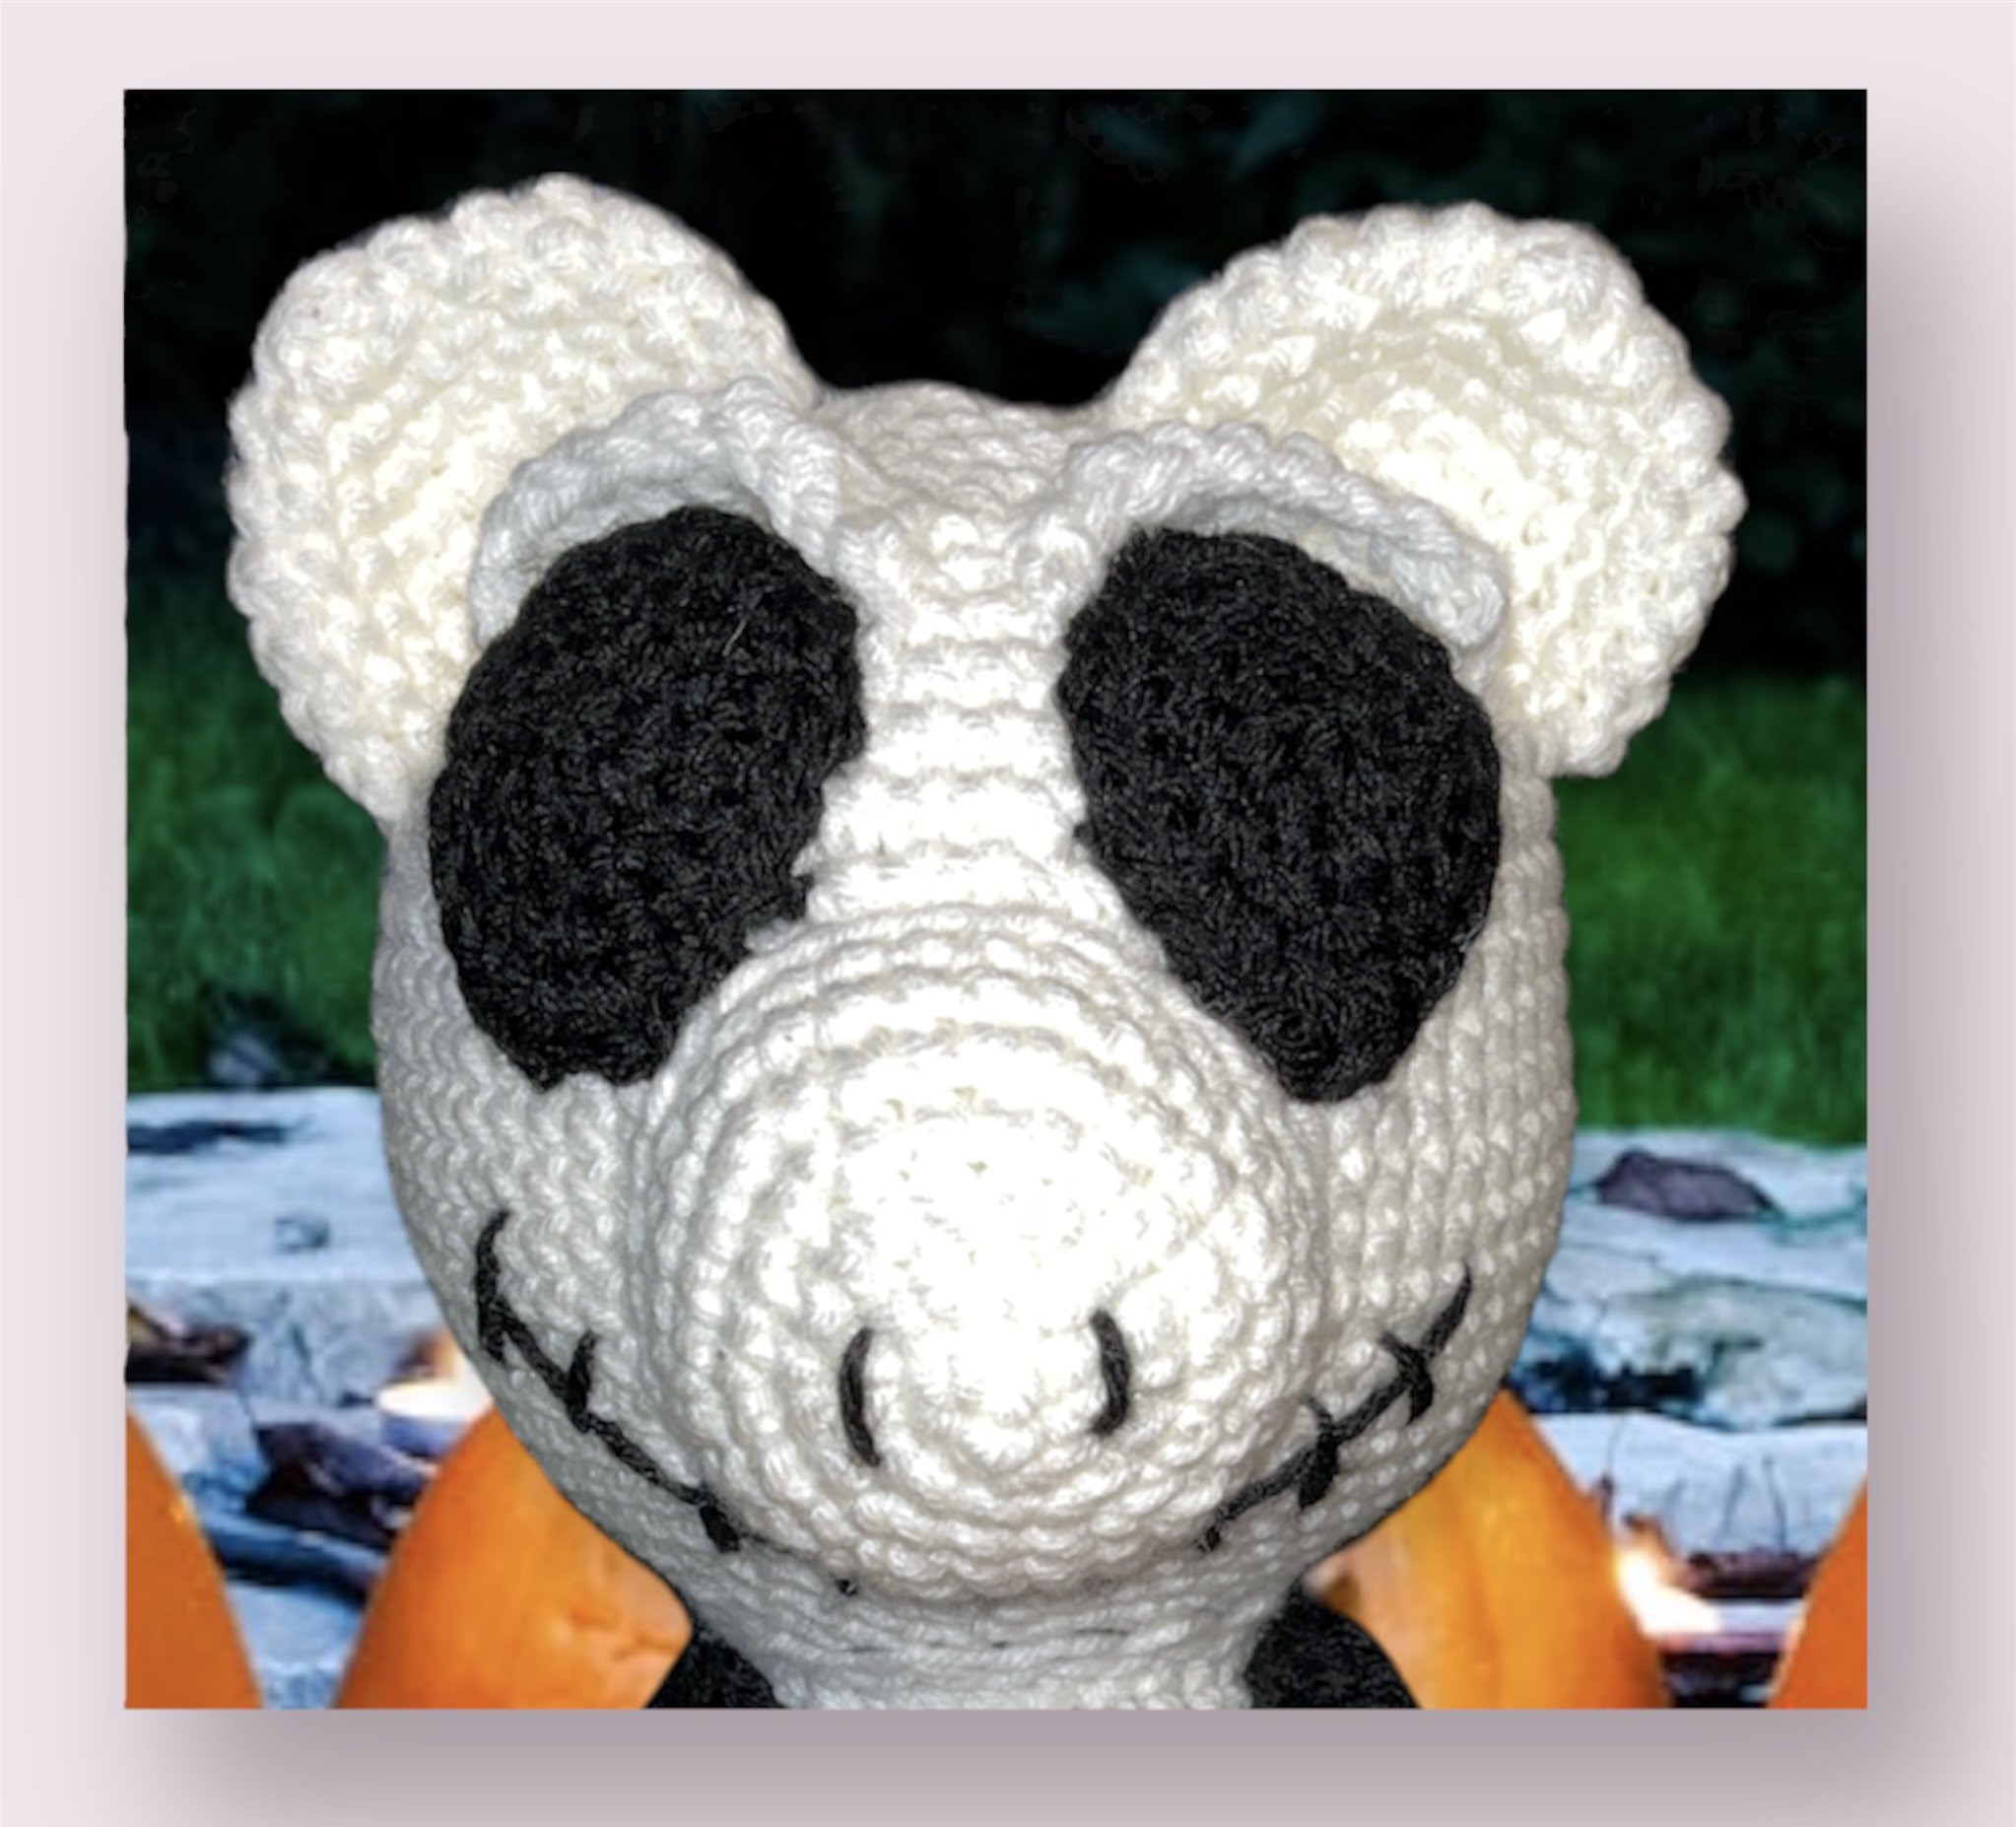
Santa Jack Bear Free Cal Part 1
Santa jack bear, free cal.
Welcome to the first part of the Santa jack bear crochet along! This cal is a free cal but if you do not want to wait for the parts you can purchase the bundle right here. The bundle includes the Halloween jack bear and the Santa jack bear!
Part 1 dec 1st-dec3rd
Part 2 dec 4th- dec 6th
Part 3 dec 7th-dec 9th
Part 3 dec 10th-dec 12th
Materials
4mm crochet hook G
stitch marker
scissors
Stuffing
pins fur pompom (optional)
Impeccable loops and threads, white
Red Heart Super Saver, black
Faux fur on white size 6
Red Heart Super Saver, Red
Level: Intermediate
ENG US Terms
SC: Single Crochet
CH: chain
MC: magic circle
R: Round
SLST: Slip Stitch
F/O: Fasten Off
INC: Increase
DEC: Decrease
HDC: Half double crochet
DC: Double crochet
FLO: front loop only
BLO: back loop only
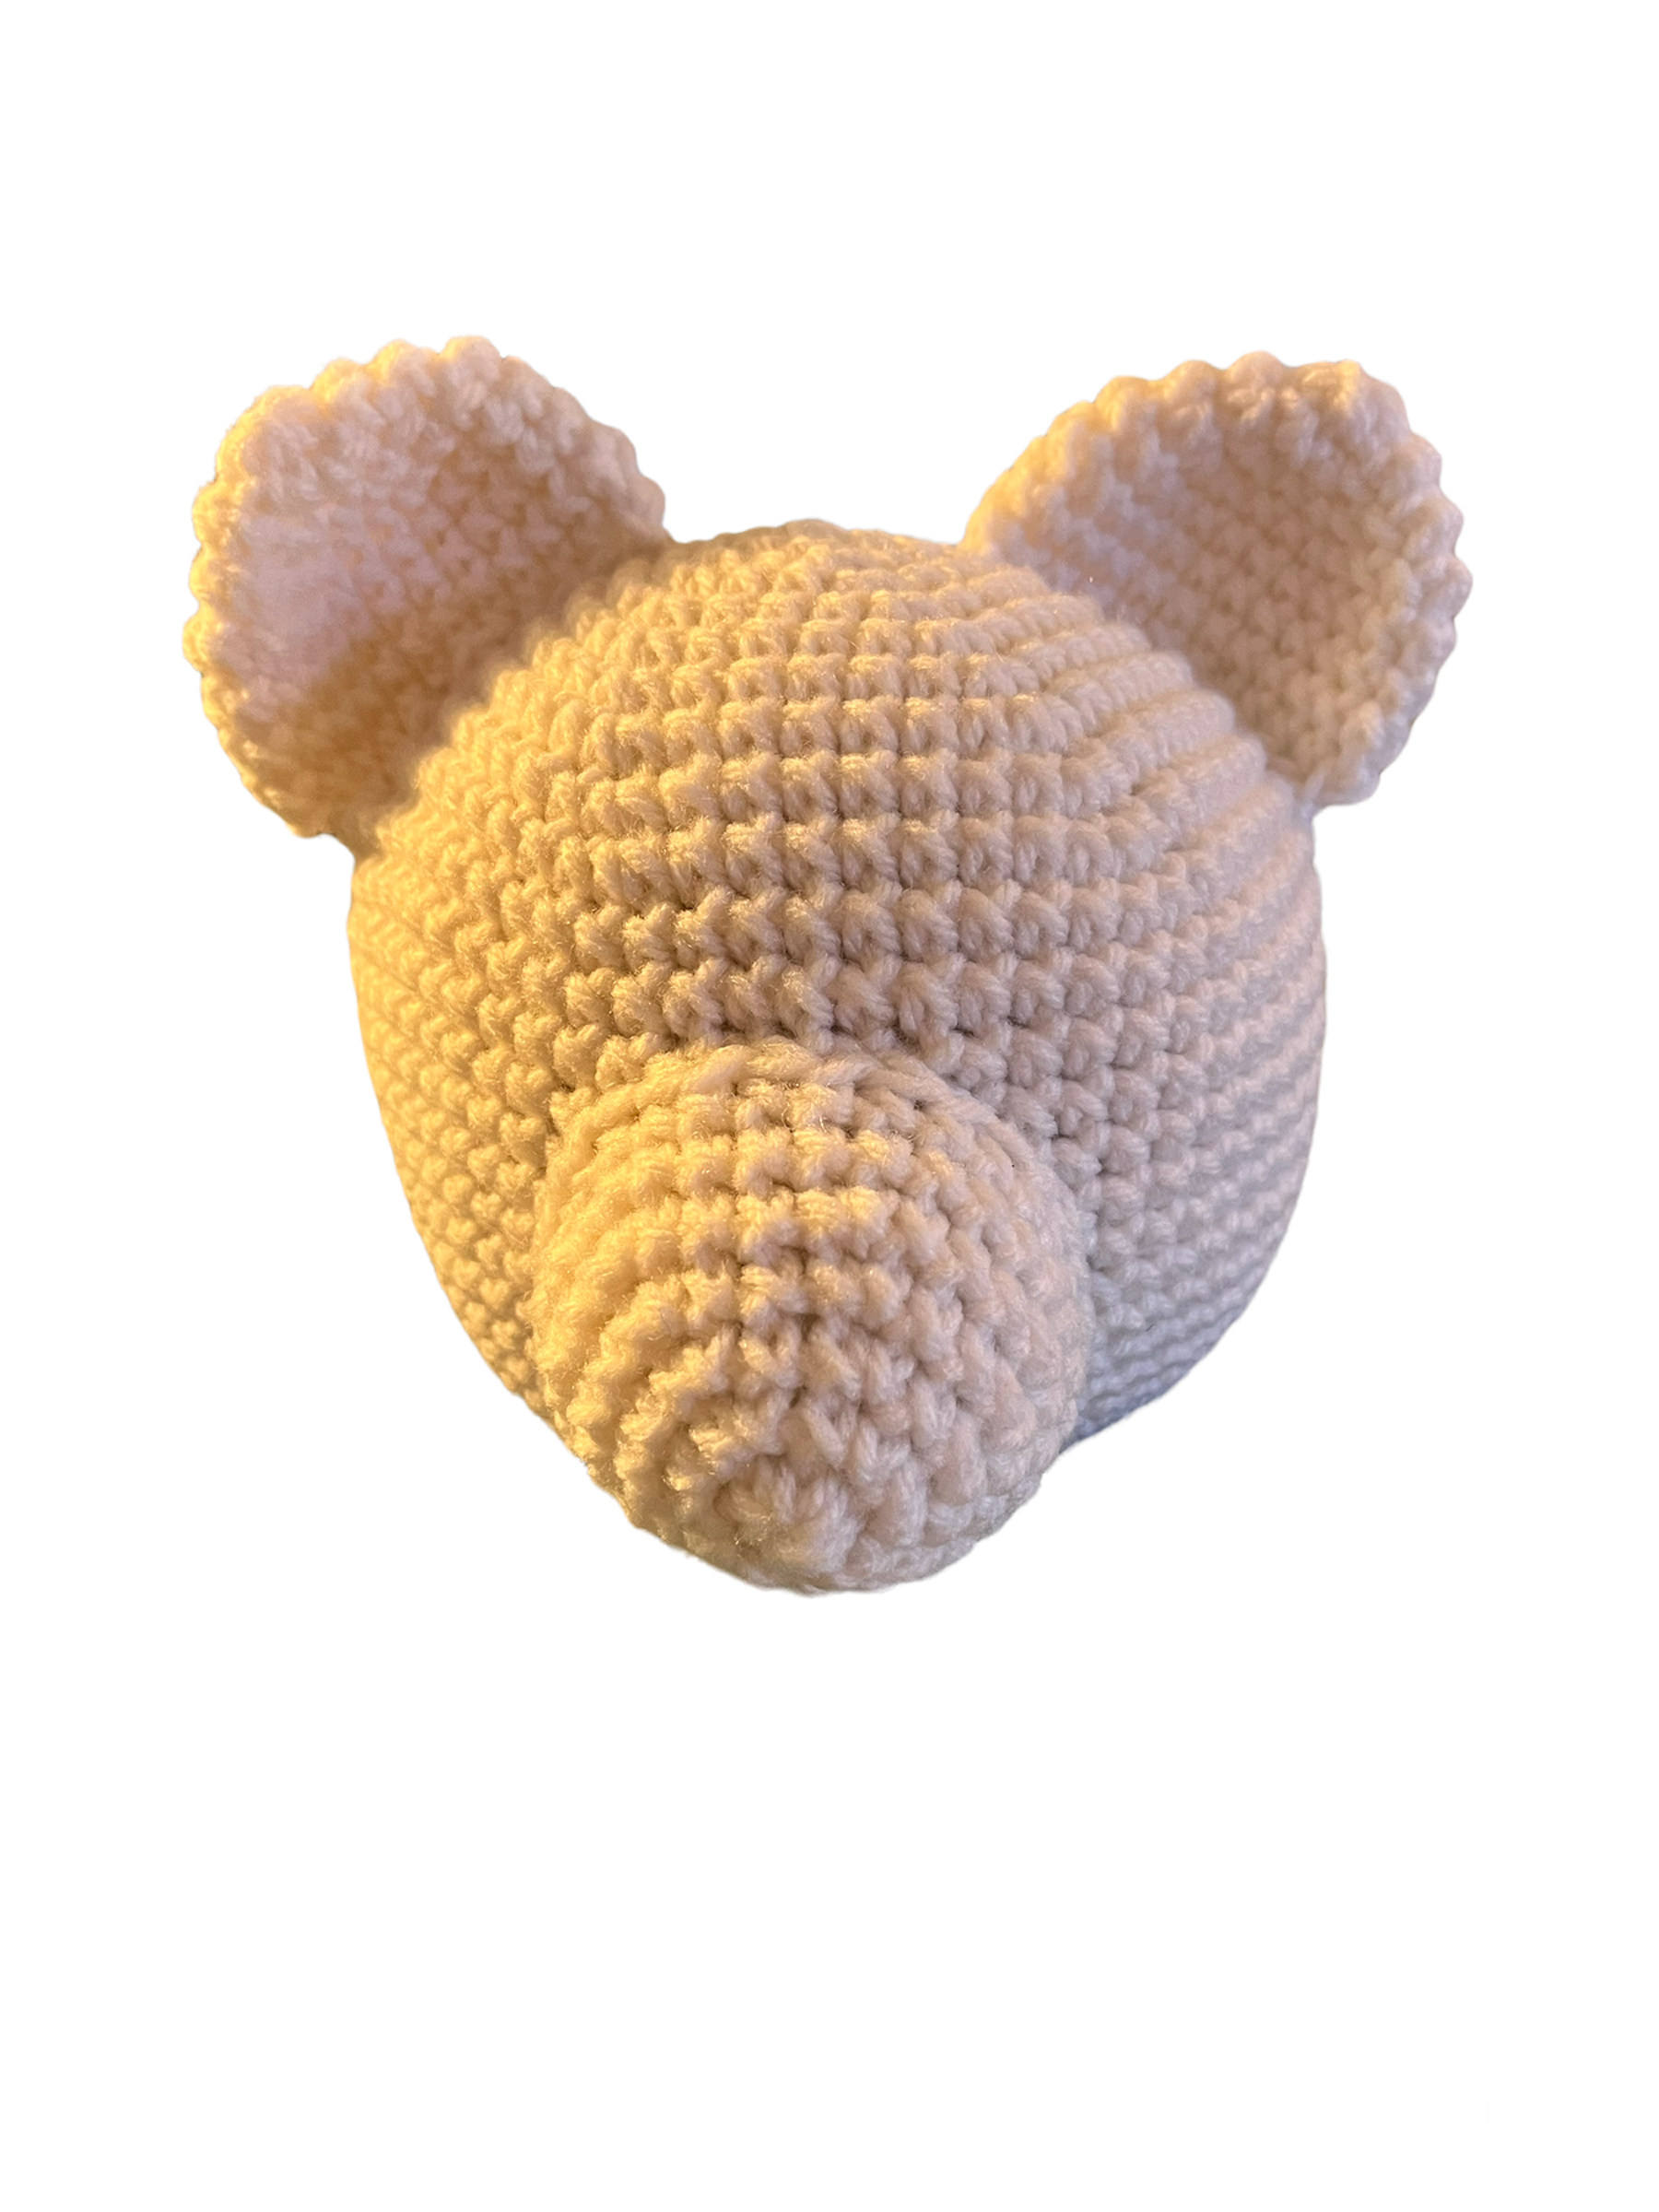
Head in white
R1: MC 6 sc
R2: INC x6 (12)
R3: (1sc, inc) x6 (18)
R4: (2sc, inc) x6 (24)
R5: (3sc, inc) x6 (30)
R6: (4sc, inc) x6 (36)
R7: (5sc, inc) x6 (42)
R8: (6sc, inc) x6 (48)
R9: (7sc, inc) x6 (54)
R10: (8sc, inc) x6 (60)
R11-R19: 60sc (60) (9 rounds)
R20: (8sc, dec) x6 (54)
R21: 54 sc (54)
R22 (7sc, dec) x6 (48)
R23: 48sc (48)
R24: (6sc, dec) 6 (42)
R25: (5sc, dec) x6 (36)
R26: (4sc, dec) x6 (30)
R27: (3sc, dec) x6 (24)
F/O stuff the head firmly. Do not shut the head
Muzzle White
R1: MC 6 sc
R2: inc x6 (12)
R3: (1sc, inc) x6 (18)
R4: (2sc, inc) x6 (24)
R5: (3sc, inc) x6 (30)
R6-R7: 30 sc (30) (2 rounds)
F/O leave a long tail for sewing, stuff the muzzle
Ears x2 White
R1: MC 6 sc
R2: inc x6 (12)
R3: (1sc, inc) x6 (18)
R4: (2sc, inc) x6 (24)
R5-R7: 24 sc (24) (3 rounds)
Fold the ear in half, sc the ear shut. Do not stuff the ears. Leave a long tail for sewing.
eyes x2 in black
R1: MC 6
R2: Inc x6 (12)
R3: (1sc, inc) x6 (18)
R4: 6sc, inc x3, 6sc, inc x3 (24)
f/o leave a tail for sewing
eyebrows x2 R1: ch 10, sc in the second ch from the hook, 1sc, 2hdc, 2dc, 2hdc, 1sc. F/O leave a tail for sewing.
Sew the muzzle between row 13 and row 23. Stuff as you sew. Sew the ears between row 3 and row 12. 2 rows behind the center of the MC and 4 sts apart. Place them in a C shape. Sew the eyes right above the nose.

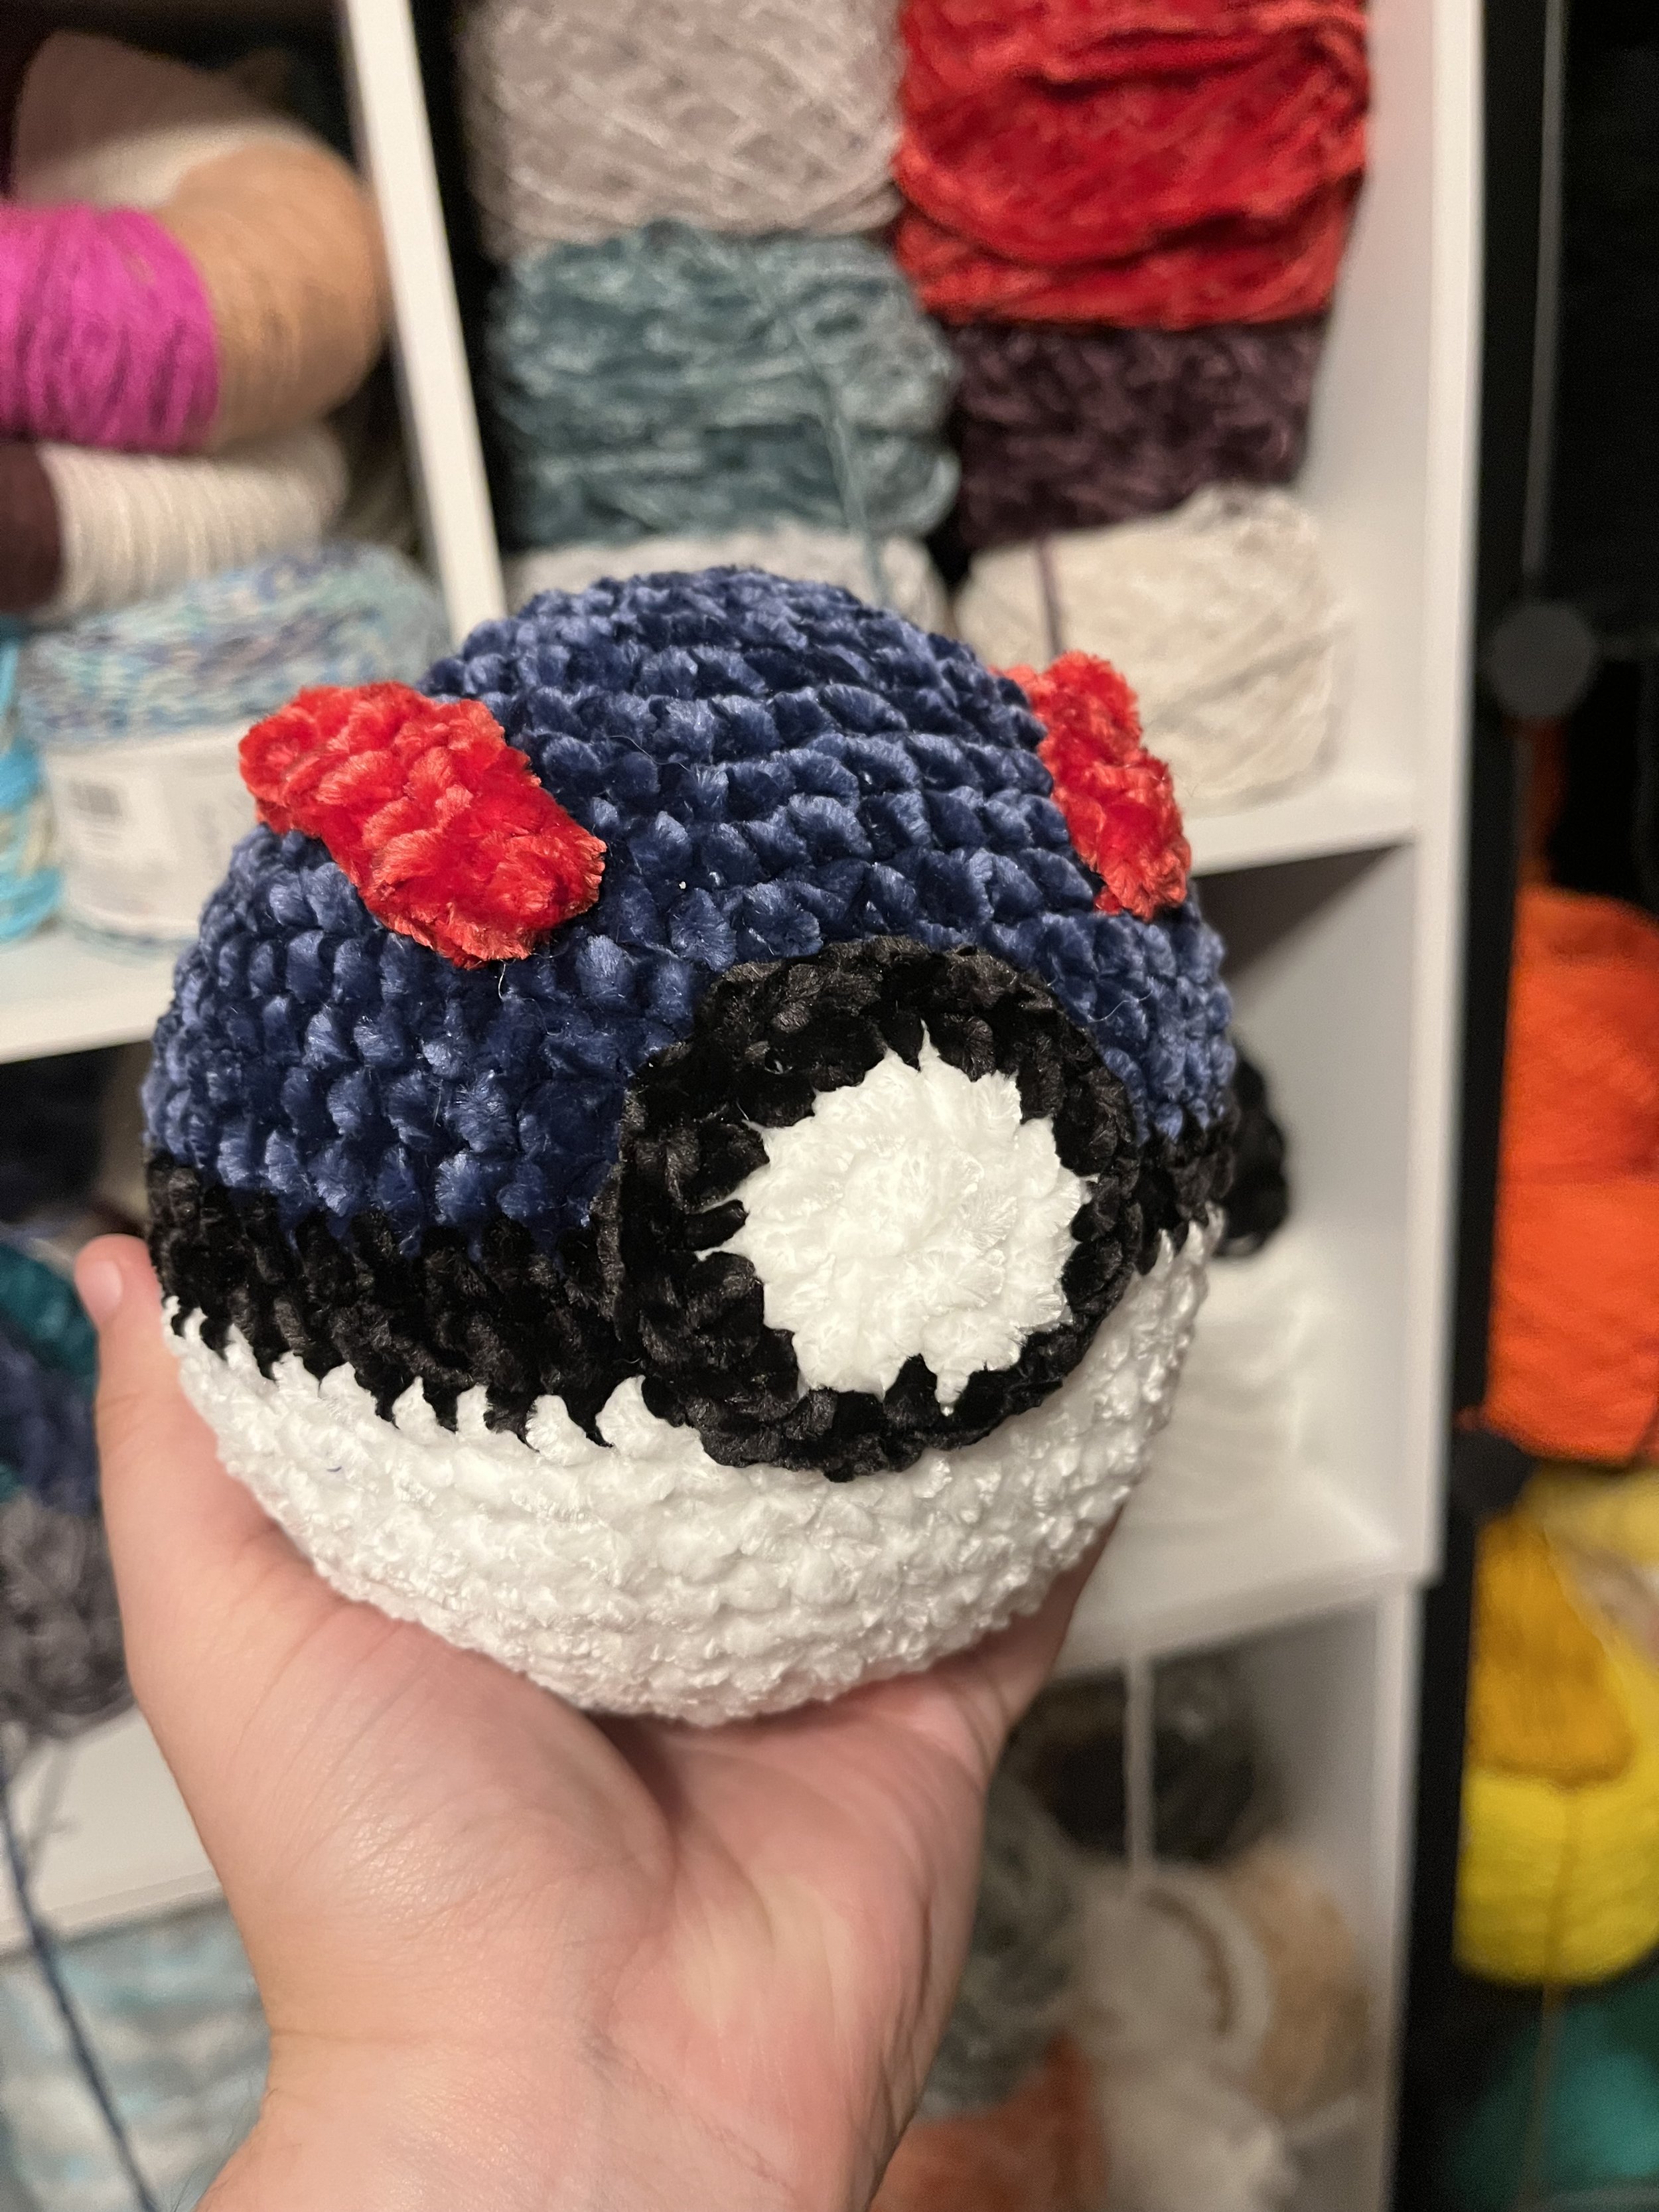
Free Great BALL CROCHET PATTERN
Great ball squishy free crochet pattern

Materials:
4mm crochet hook
stitch marker
tapestry needle
stuffing
scissors
Bernat velvet in red
Bernat velvet in white
Bernat velvet in black
Bernat velvet in blue
Level: easy
ENG US TERMS
MC: magic circle
R: round
INC: increase
DEC: decrease
SC: single crochet
HDC: half double crochet
In blue
R1: MC 6
R2: inc x6 (12)
R3: (1sc, inc) x6 (18)
R4: (2sc, inc) x6 (24)
R5: (3sc, inc) x6 (30)
R6: (4sc, inc) x6 (36)
R7: (5sc, inc) x6 (42)
R8: (6sc, inc) x6 (48)
R9: (7sc, inc) x6 (54)
R10-R13: 54sc (54)
change to black
R14-R15: 54sc (54)
change to white
R16-R19: 54sc (54)
R20: (7sc, dec) x6 (48)
R21: (6sc, dec) x6 (42)
R22: (5sc, dec) x6 (36)
R23: (4sc, dec) x6 (30)
R24: (3sc, dec) x6 (24)
stuff the great ball firmly
R25: (2sc, dec) x6 (18)
R26: (1sc, dec) x6 (12)
R27: (1sc, dec) x4 (8)
finish stuffing the ball
F/O close the opening and weave in the end.
great ball button
in white
R1: MC 8
R2: inc x8 (16)
change to black
R3: (1sc, inc) x8 (24)
F/O leave a long tail for sewing.
Sew the button to the great ball
Two lines for the top of the great ball
in red
R1: ch13, HDC in the second ch from the hook, HDC in the remaining ch.
F/O leave a tail for sewing. Sew the two red line to the top of the great ball. Look at the pictures for guidance.


free Pokeball Squishy crochet pattern
Free crochet pokeball squishy.
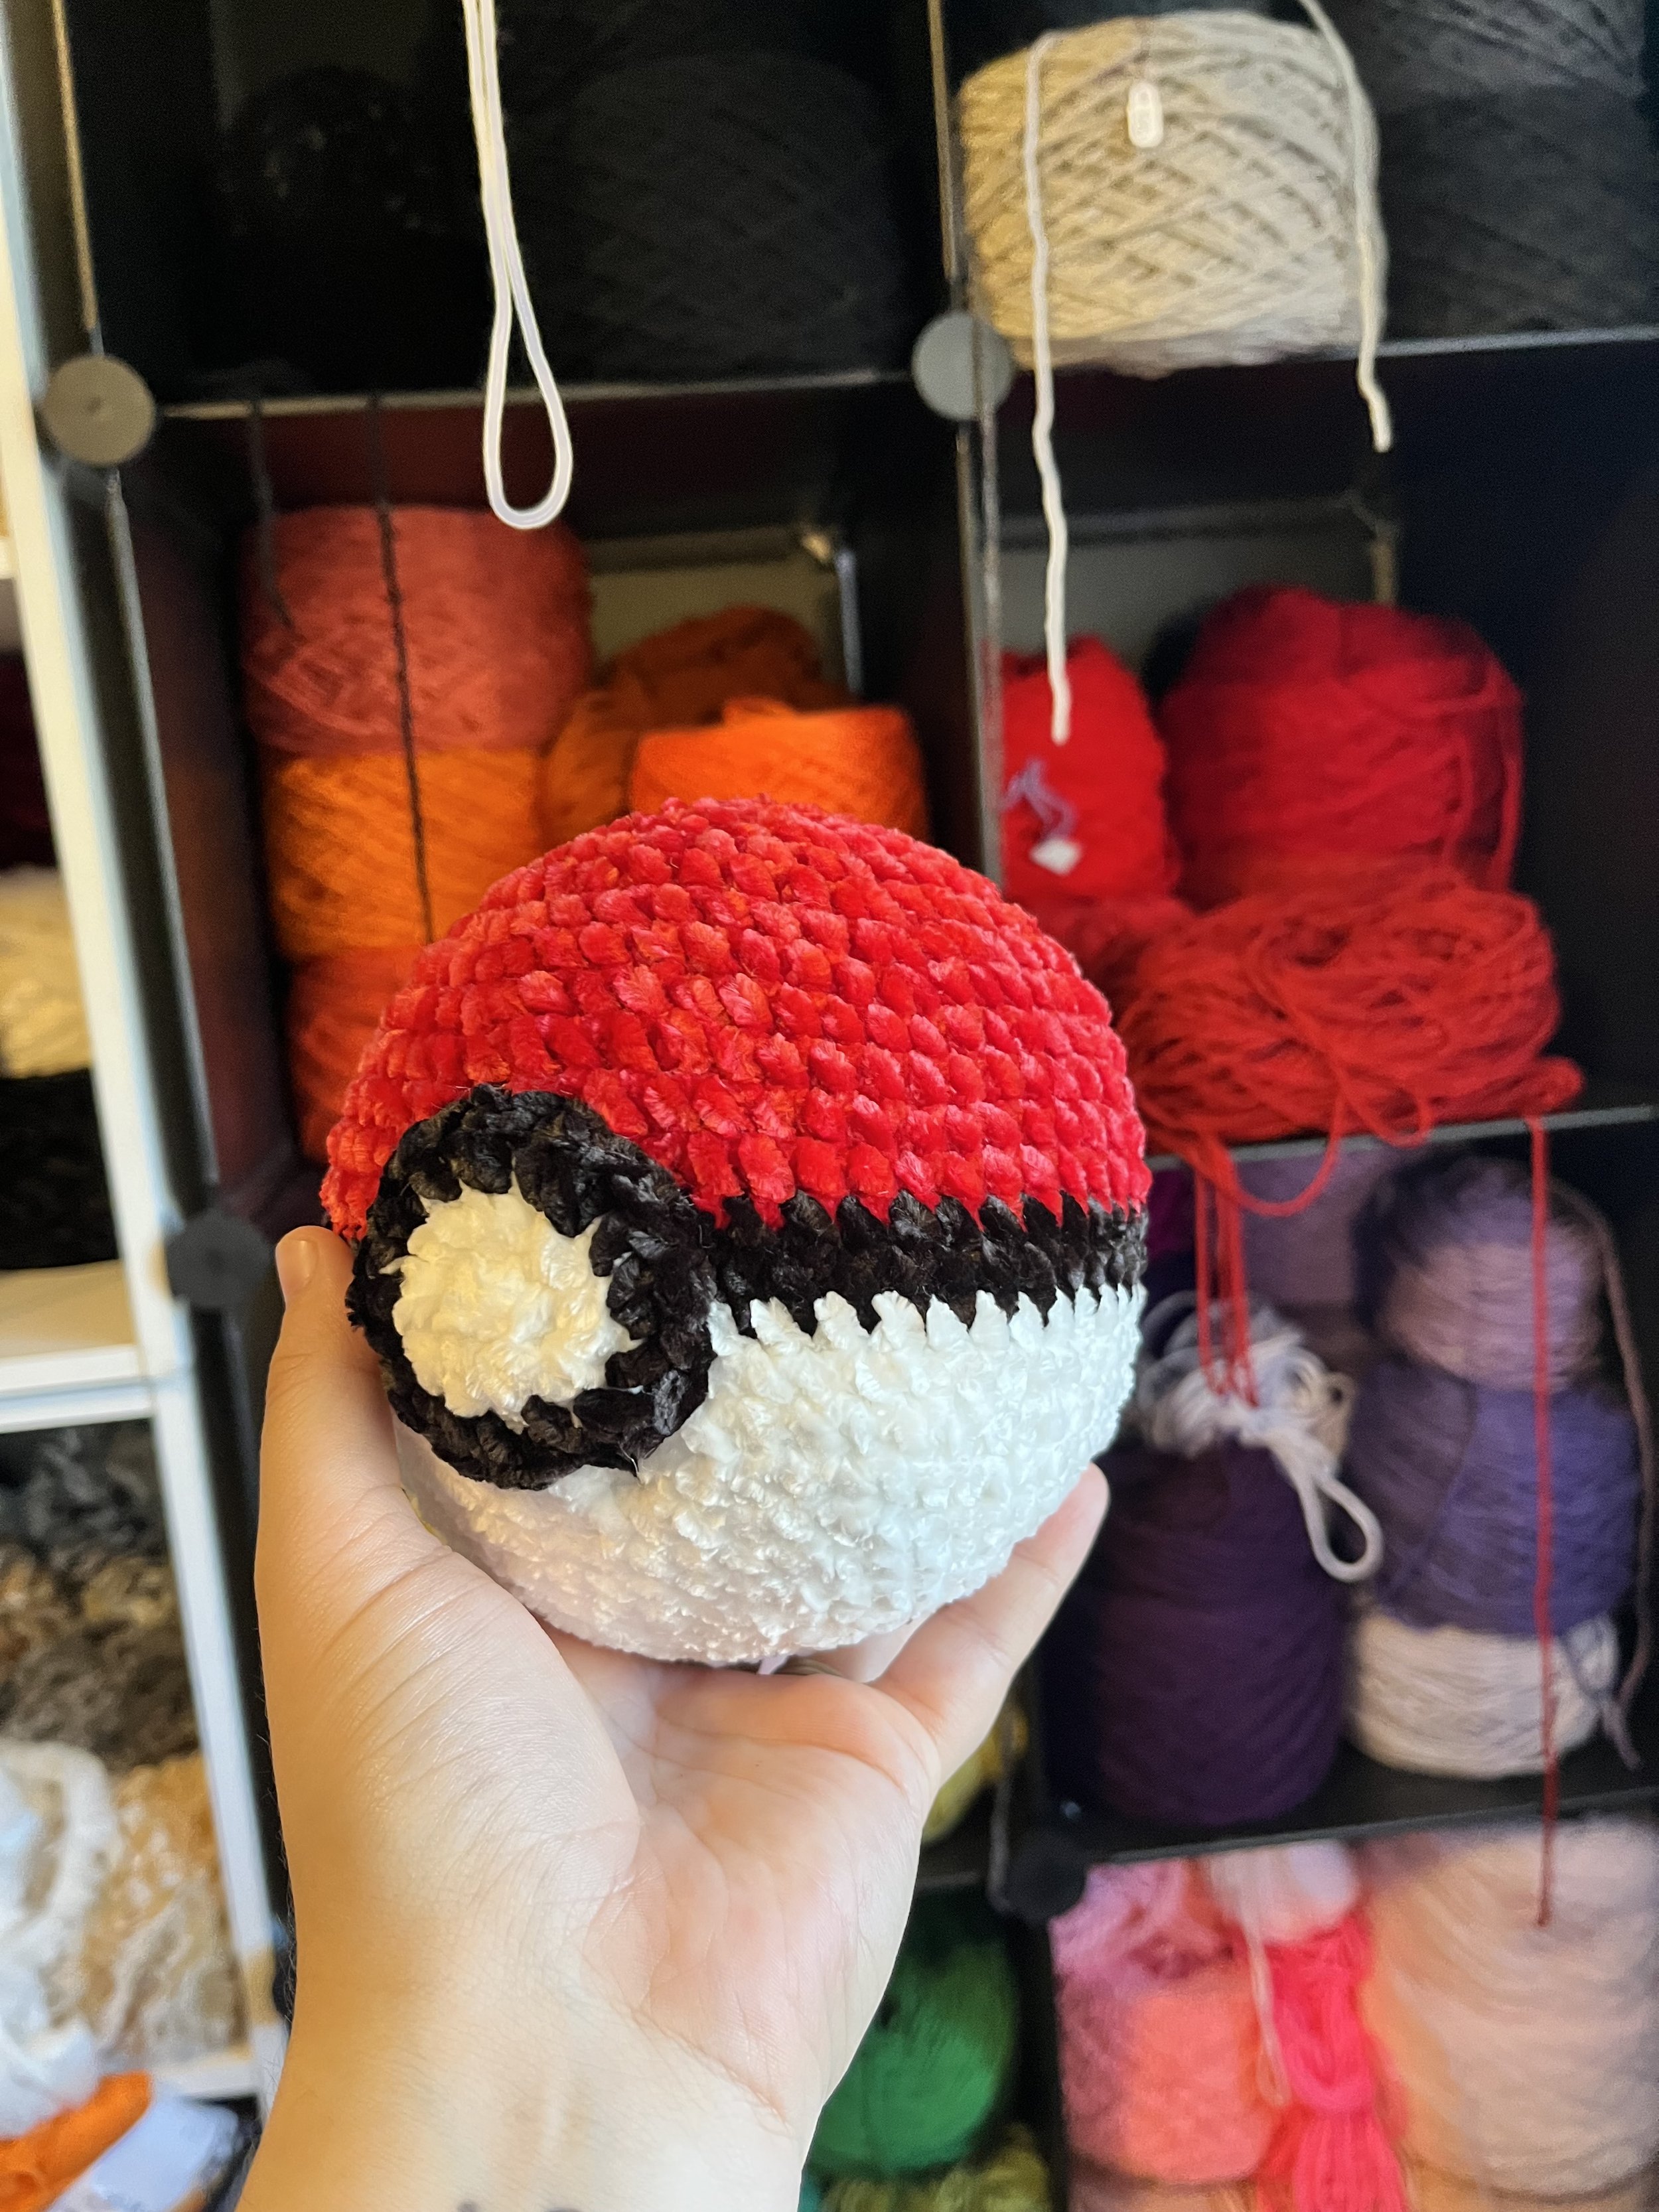
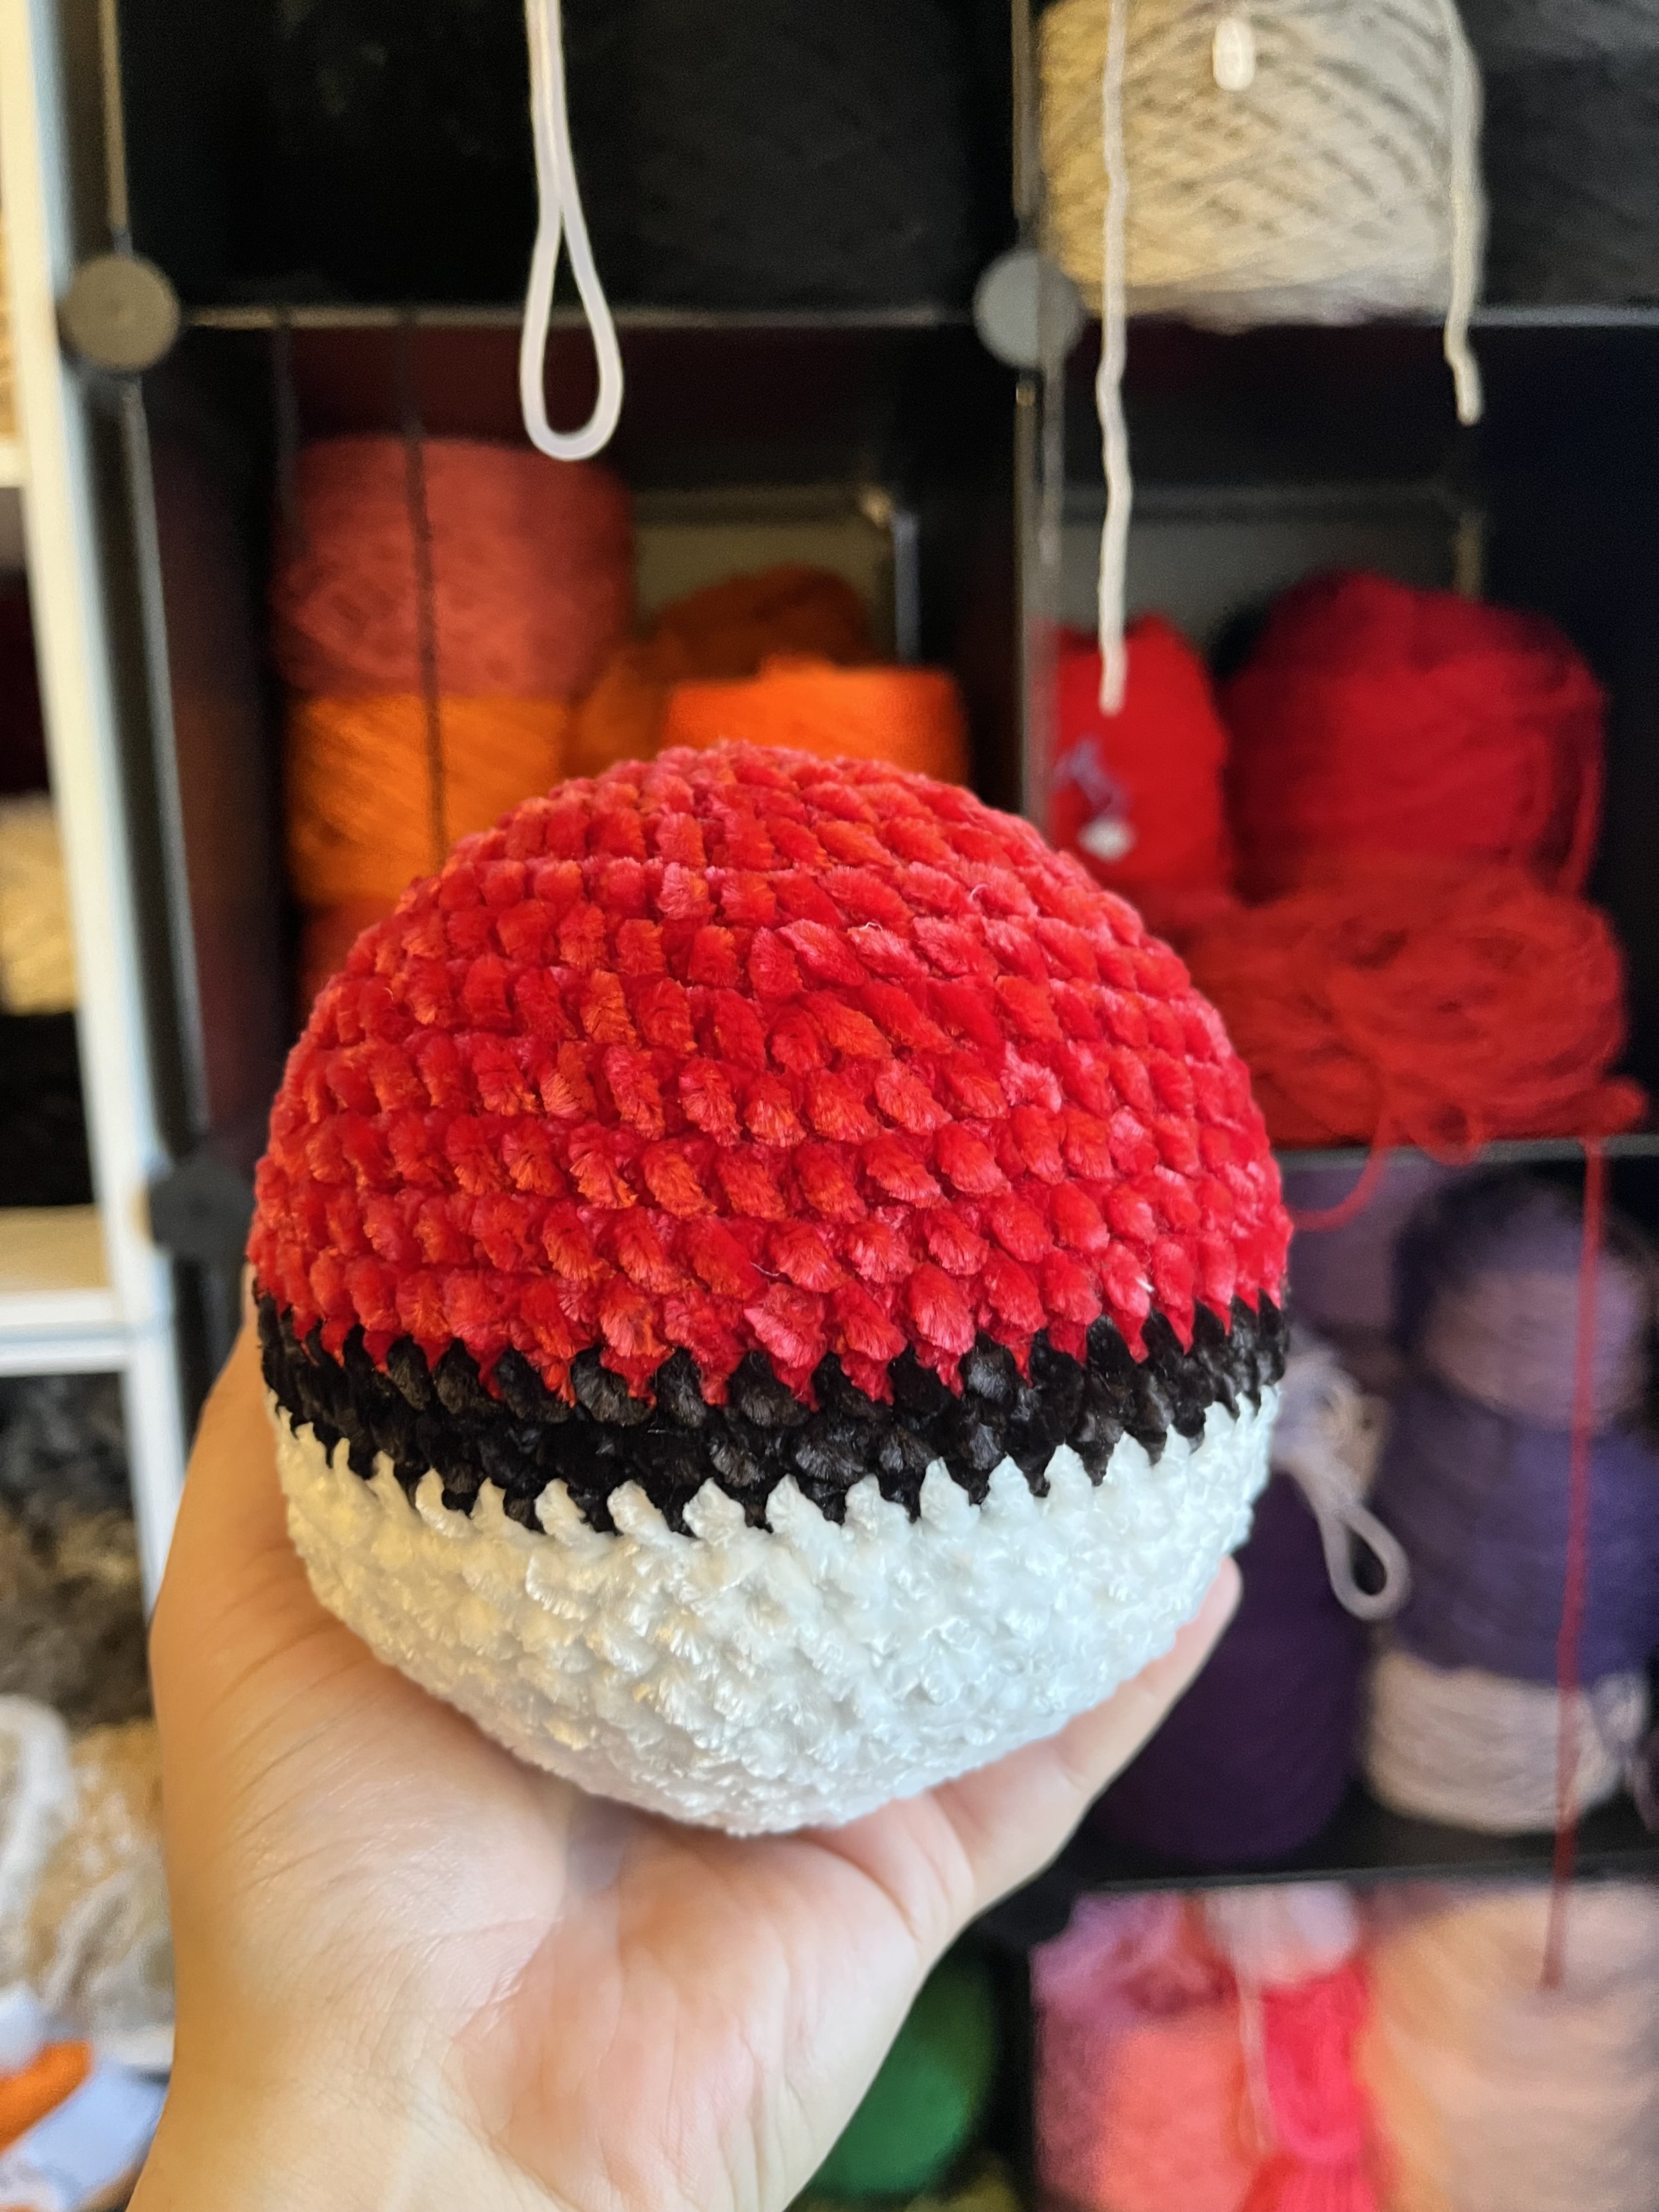
Who doesn’t love a soft squishy toy? Here is a free pattern to make your own pokeball squishy.
Materials:
4mm crochet hook
stitch marker
tapestry needle
stuffing
scissors
Bernat velvet in red
Bernat velvet in white
Bernat velvet in black
Level: easy
ENG US TERMS
MC: magic circle
R: round
INC: increase
DEC: decrease
SC: single crochet
In red
R1: MC 6
R2: inc x6 (12)
R3: (1sc, inc) x6 (18)
R4: (2sc, inc) x6 (24)
R5: (3sc, inc) x6 (30)
R6: (4sc, inc) x6 (36)
R7: (5sc, inc) x6 (42)
R8: (6sc, inc) x6 (48)
R9: (7sc, inc) x6 (54)
R10-R13: 54sc (54)
change to black
R14-R15: 54sc (54)
change to white
R16-R19: 54sc (54)
R20: (7sc, dec) x6 (48)
R21: (6sc, dec) x6 (42)
R22: (5sc, dec) x6 (36)
R23: (4sc, dec) x6 (30)
R24: (3sc, dec) x6 (24)
stuff the pokeball firmly
R25: (2sc, dec) x6 (18)
R26: (1sc, dec) x6 (12)
R27: (1sc, dec) x4 (8)
finish stuffing the ball
F/O close the opening and weave in the end.
Pokeball button
in white
R1: MC 8
R2: inc x8 (16)
change to black
R3: (1sc, inc) x8 (24)
F/O leave a long tail for sewing.
Sew the button to the pokeball

Free Pokeball crochet Ornament
Free Pokeball crochet ornament

The holiday season is upon us. Who is ready to take their Christmas tree out of the box? I sure am. Here is a free crochet pattern to make your own pokeball ornement!!
I hope you have fun and enjoy this pattern. Happy crocheting,
Materials:
red heart super saver in red
red heart super saver in white
red heart super saver in black
3mm crochet hook
tapestry needle
stitch marker
stuffing
Ornament hook
Level: easy
ENG US TERMS
MC: magic circle
R: round
SC: single crochet
DEC: decrease
INC: increase
Starting in red
R1: MC 6
R2: INC x6 (12)
R3: (1sc, inc) x6 (18)
R4: (2sc, inc) x6 (24)
R5-R6: 24sc (24)
change to black
R7: 24sc (24)
change to white
R8-R9: 24sc (24)
R10: (2sc, dec) x6 (18)
R11: (1sc, dec) x6 (12)
stuff the pokeball firmly
R12: dec x6 (6)
f/o close the opening and weave in the tail
Button for the pokeball
In white
R1: MC 8
change to black
R2: 8sc (8)
F/O leave a tail for sewing
Sew the button onto the pokeball.
add an ornament hook to the top of the ball.

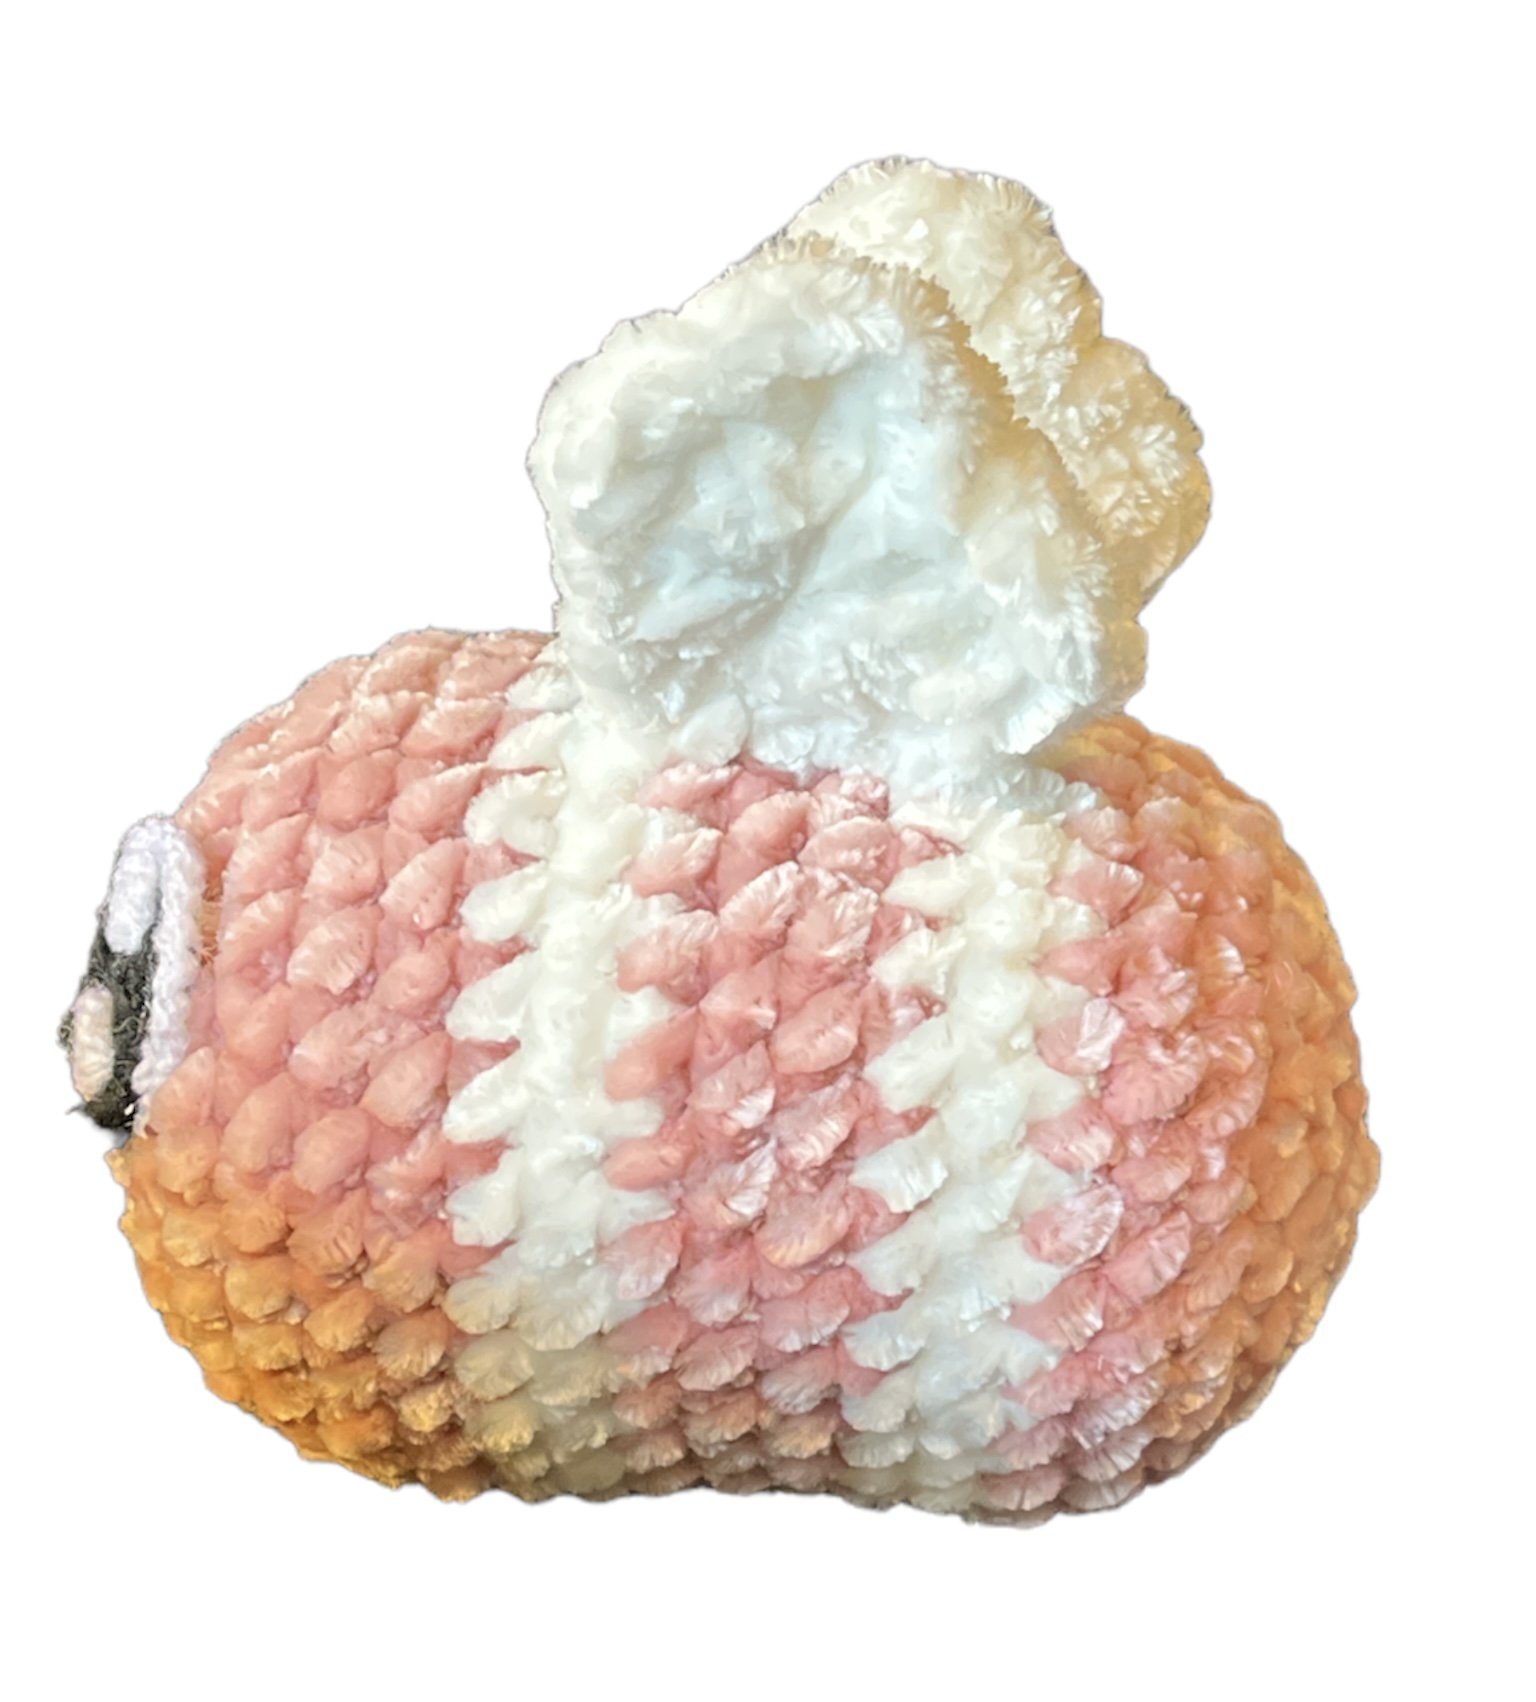
Pumpkin pattern
Crochet Pumpkin
This pumpkin pattern is for a bigger pumpkin. In our previous post you will find the pumpkin pattern to make mini pumpkins for key chains and now you get the medium pumpkin for decorations. Have fun with this free pattern. You can also get the pdf file for on the go in our shop for 1$.

Materials:
Red Heart Super Saver in orange
Red heart Super saver in brown
4mm hook
stuffing
tapestry needle
stitch marker
ENG US TERMS
Level: easy
MC: Magic Circle
SC: Single Crochet
DEC: decrease
INC: increase
F/O: fasten off
R: round
Pumpkin in orange
R1: Mc 6
R2: Inc x6 (12)
R3: (1sc, inc) x6 (18)
R4: (2sc, inc) x6 (24)
R5: (3sc, inc) x6 (30)
R6: (4sc, inc) x6 (36)
R7: (5sc, inc) x6 (42)
R8: (6sc, inc) x6 (48)
R9: (7sc, inc) x6 (54)
R10: (8sc, inc) x6 (60)
R11: (9sc, inc) x6 (66)
R12-R20: 66 sc (66) (9rounds)
R21: (9sc, dec) x6 (60)
R22: (8sc, dec) x6 (54)
R23: (7sc, dec) x6 (48)
R24: (6sc, dec) x6 (42)
R25: (5sc, dec) x6 (36)
start to stuff firmly. Stuff as you go.
R26: (4sc, dec) x6 (30)
R27: (3sc, dec) x6 (24)
R28: (2sc, dec) x6 (18)
R29: (1sc, dec) x6 (12)
R30: dec x6 (6)
F/O and close the opening. Leave an extra long tail to make the creases. Tip for the pumpkin: weave your tail from the top to the bottom pulling tight, and continuing until you have 7 bumps.
stem in dark brown We will be doing an icord for the stem. you will need 6 rounds of icord. f/o leave a tail for sewing.
Sew the stem to the pumpkin.
Now you have a beautiful pumpkin, you can make some in any and all colors.

free pumpkin key chain
free pumpkin key chain
Spooky seasons has arrived. Here is a simple beginner pattern to make a crochet pumpkin key chain. I hope you enjoy it.

Materials:
3mm hook
Big Twist color orange size 4
Big Twist color dark brown size 4
stuffing
tapestry needle
stitch marker
metal ring for key chain. you can find them on amazon.
ENG US TERMS
Level: Beginner
MC: Magic Circle
SC: Single Crochet
Dec: Decrease
INC: Increase
F/O: fasten off
R: Round
special stitch: I cord for the stem
Pumpkin in orange
R1: MC 6
R2: INC x6 (12)
R3: (1sc, inc) x6 (18)
R4: (2sc, inc) x6 (24)
R5-R9: 24sc (24)
R10: (2sc, dec) x6 (18)
start stuffing the pumpkin
R11: (1sc, inc) x6 (12)
finish stuffing the pumpkin
R12: dec x6 (6)
close the opening, leave an extra long tail for making the creases.
Thread your tapestry needle with the extra long tail, pass your needle from the top to the bottom pulling tight and continuing until you have 5 bumps.
Stem in dark brown
we will use the icord technique
we will make 6 rows of icord. f/o sew the stem to the pumpkin
add the key chain ring to the tip of the stem.
your pumpkin is all done!! i hope you enjoyed this free pattern!! happy Halloween and happy crocheting.

Pumpkin jack free crochet pattern

This pattern is my creations. It’s spooky season, what’s better than making a cute pumpkin with jack, king of Halloween.
I am offering you this pattern for free, you also have the option to get the pdf in our store.
Materials:
3 mm crochet hook
tapestry needle
stitch marker
scissors
Stuffing
red heart super saver, black
Red Heart Super Saver, white
Big Twist Value, Burnt Orange
Finished size: 8 inches/ 20cm
Level easy
ENG US TERMS
SC: Single Crochet
CH: chain
MC: magic circle
R: Round
SLST: Slip Stitch
F/O: Fasten Off
INC: Increase
DEC: Decrease
tip for the pumpkin: weave your tail from the top to the bottom pulling tight, and continuing until you have 7 bumps
Head in white
R1: MC 6
R2: INC x6 (12)
R3: (1sc, Inc) x6 (18)
R4: (2sc, Inc) x6 (24)
R5: (3sc, Inc) x6 (30)
R6: (4sc, Inc) x6 (36)
R7: (5sc, inc) x6 (42)
R8: (6sc, inc) x6 (48)
R9-R16: sc all around (48) (8 rounds)
R17: (6sc, dec) x6 (42)
R18: (5sc, dec) x6 (36)
R19: (4sc, Dec) x6 (30)
Start stuffing the head
R20: (3sc, dec) x6 (24)
R21: ( 2sc, dec) x6 (18)
finish stuffing the head firmly. F/O
Pumpkin in burnt orange
R1: Mc 6
R2: Inc x6 (12)
R3: (1sc, inc) x6 (18)
R4: (2sc, inc) x6 (24)
R5: (3sc, inc) x6 (30)
R6: (4sc, inc) x6 (36)
R7: (5sc, inc) x6 (42)
R8: (6sc, inc) x6 (48)
R9: (7sc, inc) x6 (54)
R10: (8sc, inc) x6 (60)
R11: (9sc, inc) x6 (66)
R12-R20: 66 sc (66) (9rounds)
R21: (9sc, dec) x6 (60)
R22: (8sc, dec) x6 (54)
R23: (7sc, dec) x6 (48)
R24: (6sc, dec) x6 (42)
R25: (5sc, dec) x6 (36)
start to stuff firmly. Stuff as you go.
R26: (4sc, dec) x6 (30)
R27: (3sc, dec) x6 (24)
R28: (2sc, dec) x6 (18)
R29: (1sc, dec) x6 (12)
R30: dec x6 (6)
F/O and close the opening. Leave an extra long tail to make the creases. make 7 creases, you will have 7 bumps on your pumpkin.
Eyes x2 in black
R1: MC 6
R2: Inc x6 (12)
F/O leave a long tail for sewing. Sew the eyes between row 10 and row 11 with 6 sts between the eyes.
Eye brows x2 in white
R1: ch6, sc in the second ch from the hook, 1hdc, 1dc, 1hdc, 1sc (5) f/o leave a tail for sewing.
Collar in black
R1: MC 6
R2: Inc x6 (12)
R3: (1sc, inc) x6 (18)
R4: (2sc, inc) x6 (24)
R5: 5sc, ch9, sc in the second ch from the hook, 7sc, 1sc in the next st, ch 9,sc in the second ch from the hook,7sc, 1sc in the next st, ch 9,sc in the second ch from the hook,7sc in the remaining ch, 8sc, ch9, sc in the second ch from the hook, 7sc, 1sc in the next st, ch 9,sc in the second ch from the hook,7sc, 1sc in the next st, ch 9,sc in the second ch from the hook,7sc in the remaining ch, 7sc (24) F/O leave a tail for sewing
Assembly
Sew the collar on the opening of the head, it will close the head, make sure the chains we made are on each side of the head. Look at the pictures to guide you for the nose and mouth. Sew the head onto the pumpkin

free octopus crochet pattern
Free no sew baby octopus, crochet pattern.

hey guys, welcome back. Today we have a no sew octopus pattern. Have fun!!
Materials needed:
3.5mm crochet hook
Bernat velvet color of your choice
Safety eyes x2 size 10mm
tapestry needle
Stitch markers
scissors
stuffing
Level: Beginner
ENG US terms
MC: Magic circle
Sc, single crochet
Inc: Increase
Dec: Decrease
BLO: Back loop only
FLO: Front loop only
slst: Slip Stitch
Head/body in color of your choice
R1: MC 6
R2: Inc x6 (12)
R3: (1sc, inc) x6 (18)
R4: (2sc, inc) x6 (24)
R5-R7: 24sc (24)
R8: blo (2sc, dec) x6 (18)
add the eyes on round 6, 5sts apart
R9: (1sc, dec) x6 (12)
stuff firmly
R10: dec x6 (6)
f/o close the opening
Tentacles with main color
Slst the yarn in the first front loop of round 9
*ch8, 3sc in the second ch from the hook, 3sc in each of the remaining ch, skip 2sts, slst into the 3 sts* repeat between ** 8 times.
f/o weave in the tails.

free chunky whale crochet pattern
Free crochet chunky whale.

Welcome back to our blog, today we have a new free pattern. You will be able to make your very own no sew chunky whale!!
Materials you will need:
3.5 mm crochet hook
bernat velvet in white
bernat velvet in color of your choice
stitch marker
Tapestry needle
Stuffing
Safety eyes 10mm x2
Level: Beginner
ENG US terms
MC: Magic cirlce
Sc: single crochet
Dec: decrease
Inc: Increase
Blo: Back loop only
FLO: front loop only
f/o: fasten off
slst: Slip stitch
special stitch:
Bubble stitch: Yarn over, insert hook into stitch and pull up a loop. Yarn over, pull through two.
Repeat number one in the same stitch/space until you have a total of 6 loops on your hook.
Yarn over, pull through all 5 loops at once.
Slip Stitch in next stitch.
Head/Body in main color of your choice
R1: MC 6
R2: Inc x6 (12)
R3: (1sc, inc) x6 (18)
R4: (2sc, inc) x6 (24)
R5: (3sc, inc) x6 (30)
R6-R8: 30sc (30) change to white on the last stitch of round 8
R9: 8sc, 2sc blo, 8sc, 2sc blo, 8sc, 2sc blo (30)
add eyes on round 8, 6sts apart
R10: (3sc, dec) x6 (24)
R11: (2sc, dec) x6 (18)
R12: (1sc, dec) x6 (12)
stuff the head/body firmly
R13: dec x6 (6)
f/o leave a tail to close the opening.
Fins x2:
Slst the yarn of the main color through the flo or round 9 on each side of the body, right beside the eyes and make a bubble stitch in the first FLO (look at the special st), f/o
back fin:
make a slst with the main color onto the front loop, make a bubble stitch on each front loop, slst in the same st. f/o weave in all the ends.
You have now a chunky whale!! happy crocheting.
Check out our free patterns on our blog and our paid patterns in our store.

Free Chunky Frogs crochet pattern
free chunky frog crochet pattern

Hey guys welcome back to my blog. I have a new free pattern for you today, this chunky frog.
Materials Needed:
Tapestry needle
3.5mm crochet hook
Premier just chenille in lime
Premier just chenille in white
safety eyes size 10mm x2
stuffing
Level: Beginner
ENG US terms
MC: Magic Circle
SC: single crochet
R: round
Inc: Increase
Dec: Decrease
x6: the amount of times you have to do thats in ( )
F/O: Fasten Off
With Lime
Head/body
R1: MC 6
R2: Inc x6 (12)
R3: (1sc, inc) x6 (18)
R4: (2sc, inc) x6 (24)
R5: (3sc, inc) x6 (30)
R6-R9: 30sc (30)
R10: (3sc, dec) x6 (24)
R11: (2sc, dec) x6 (18)
start to stuff
R12: (1sc, dec) x6 (12)
R13: dec x6 (6)
f/o, stuff the head/body firmly. Close the opening
In white
Belly patch
R1: MC 6
R2: inc x6 (12)
R3: (1sc, inc) x6 (18)
f/o leave a tail for sewing
In lime green
Eyes x2
R: MC 6
F/O leave a tail for sewing
place the safety eyes in the magic circle, secure the eyes with the washers.
Assembly:
Sew the belly patch between round 5 and round 10
Sew the eyes on top of the head. 2sts apart.

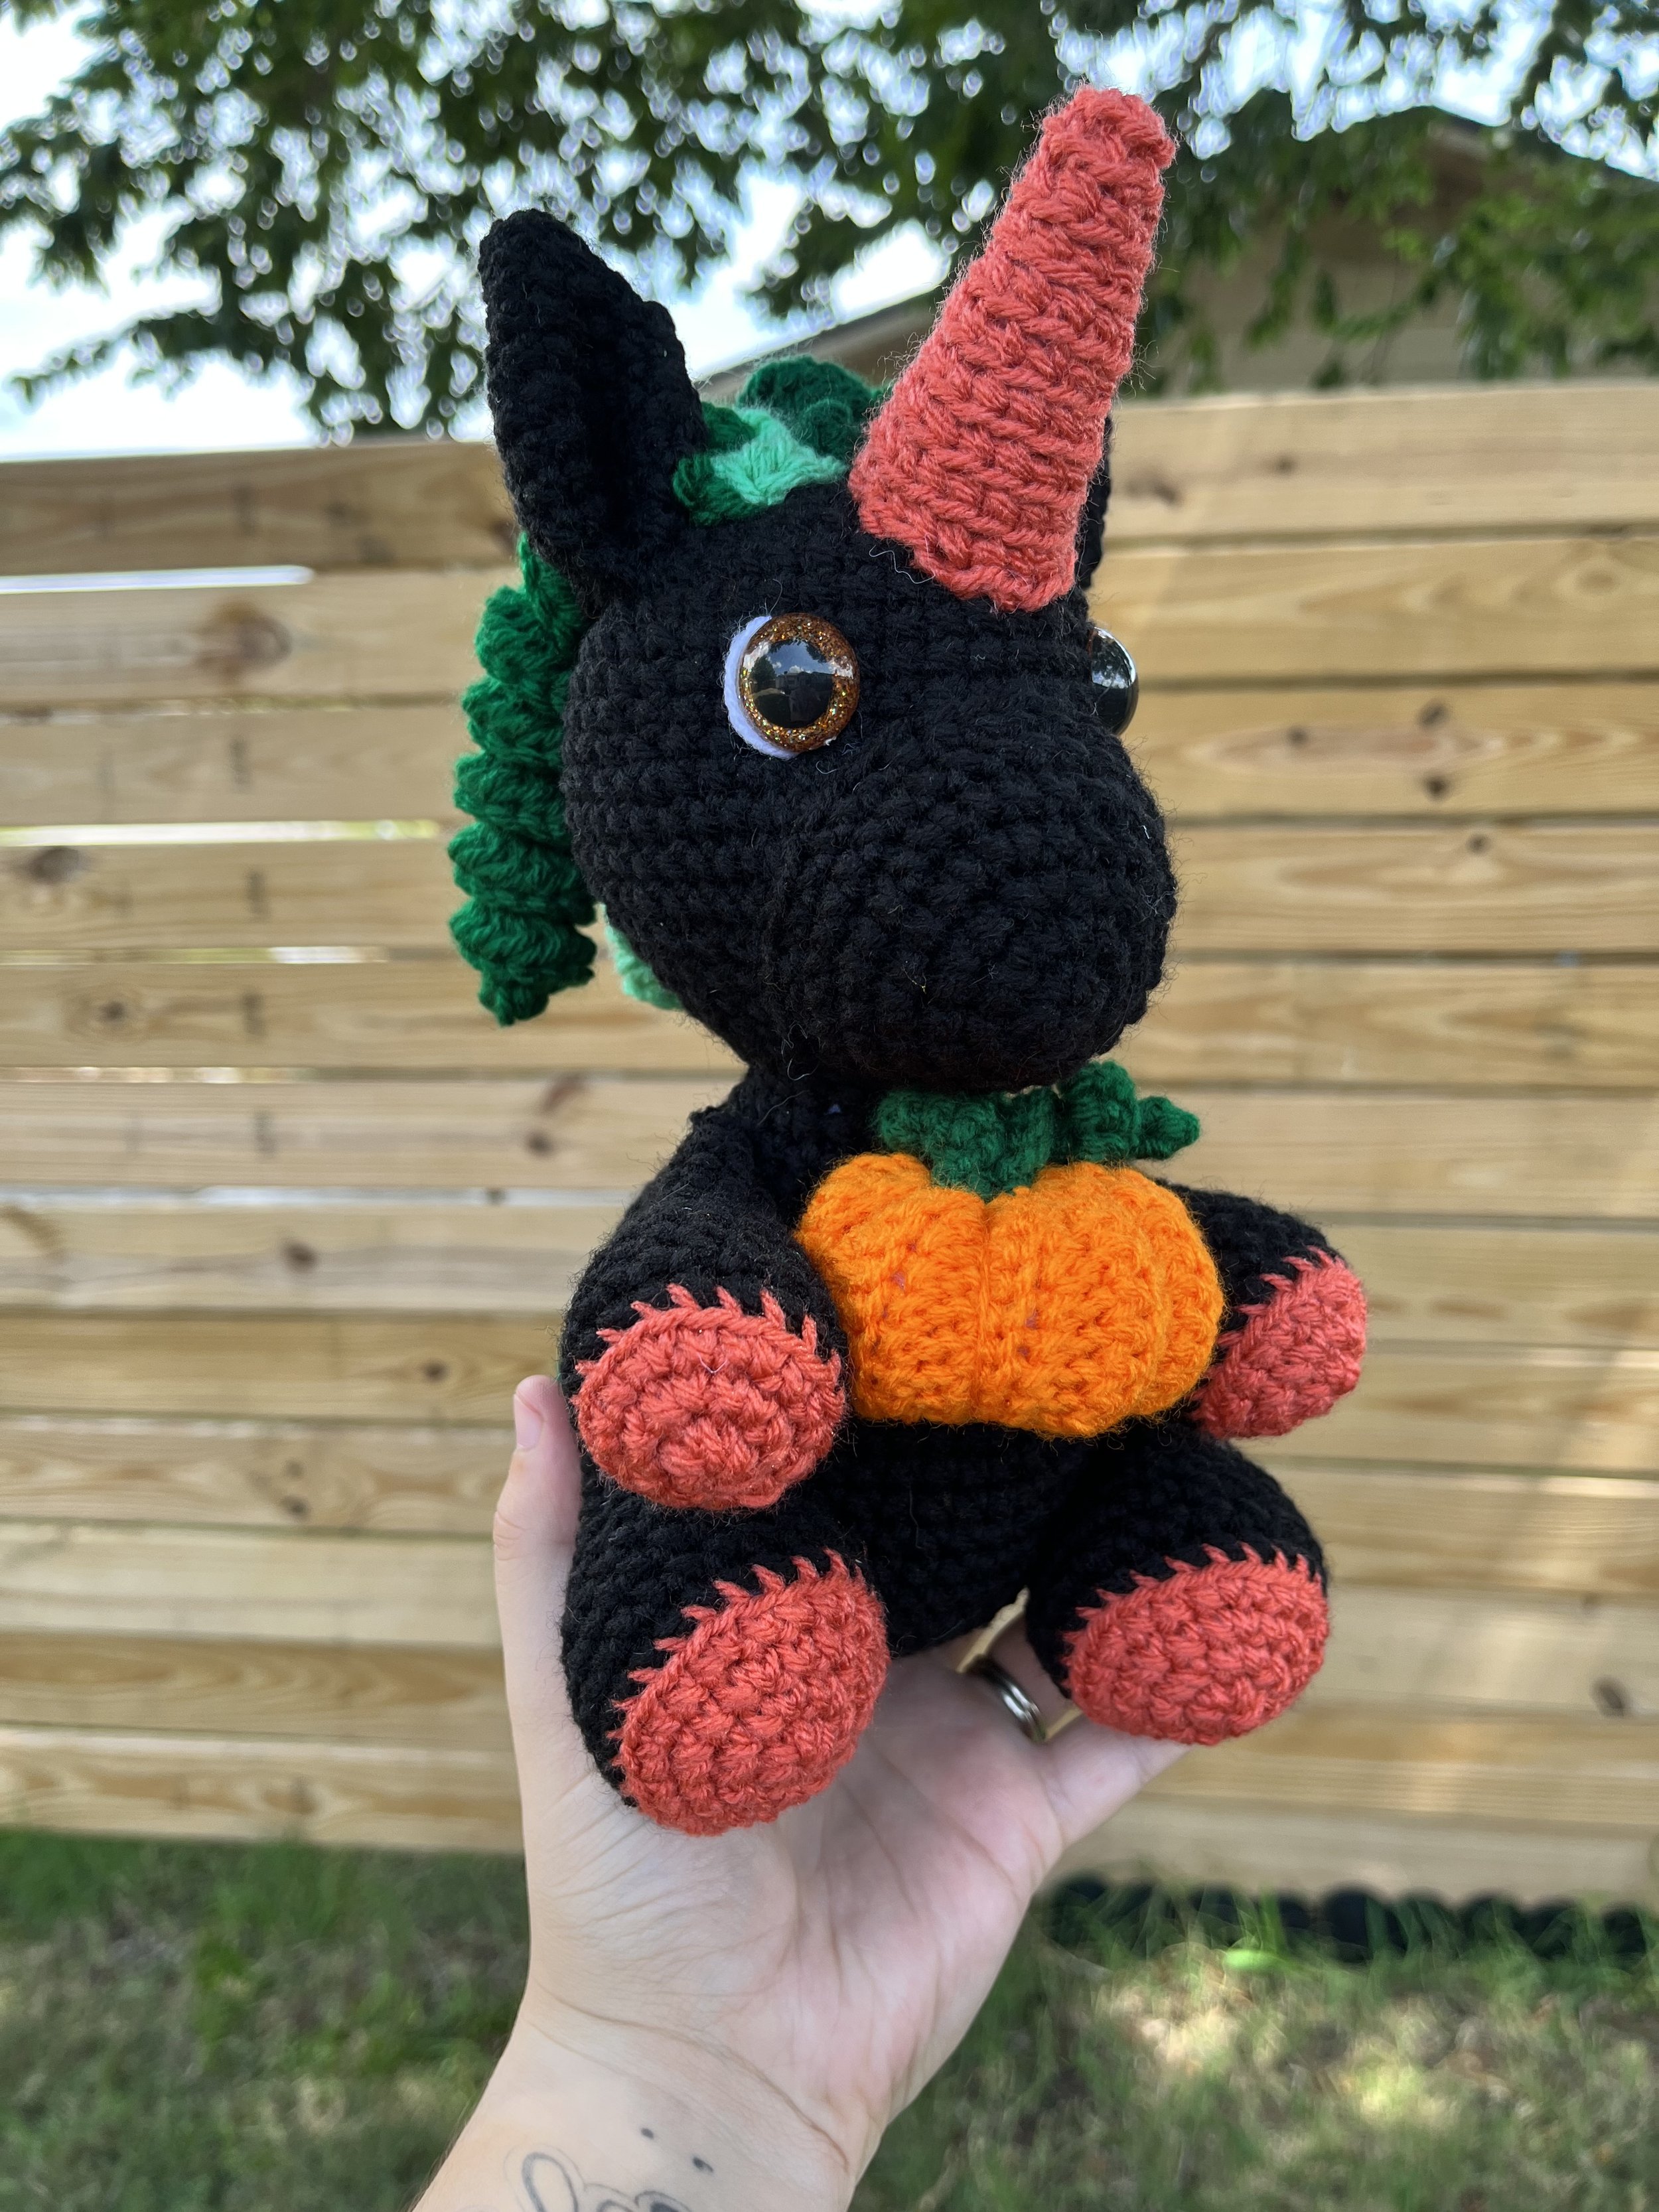
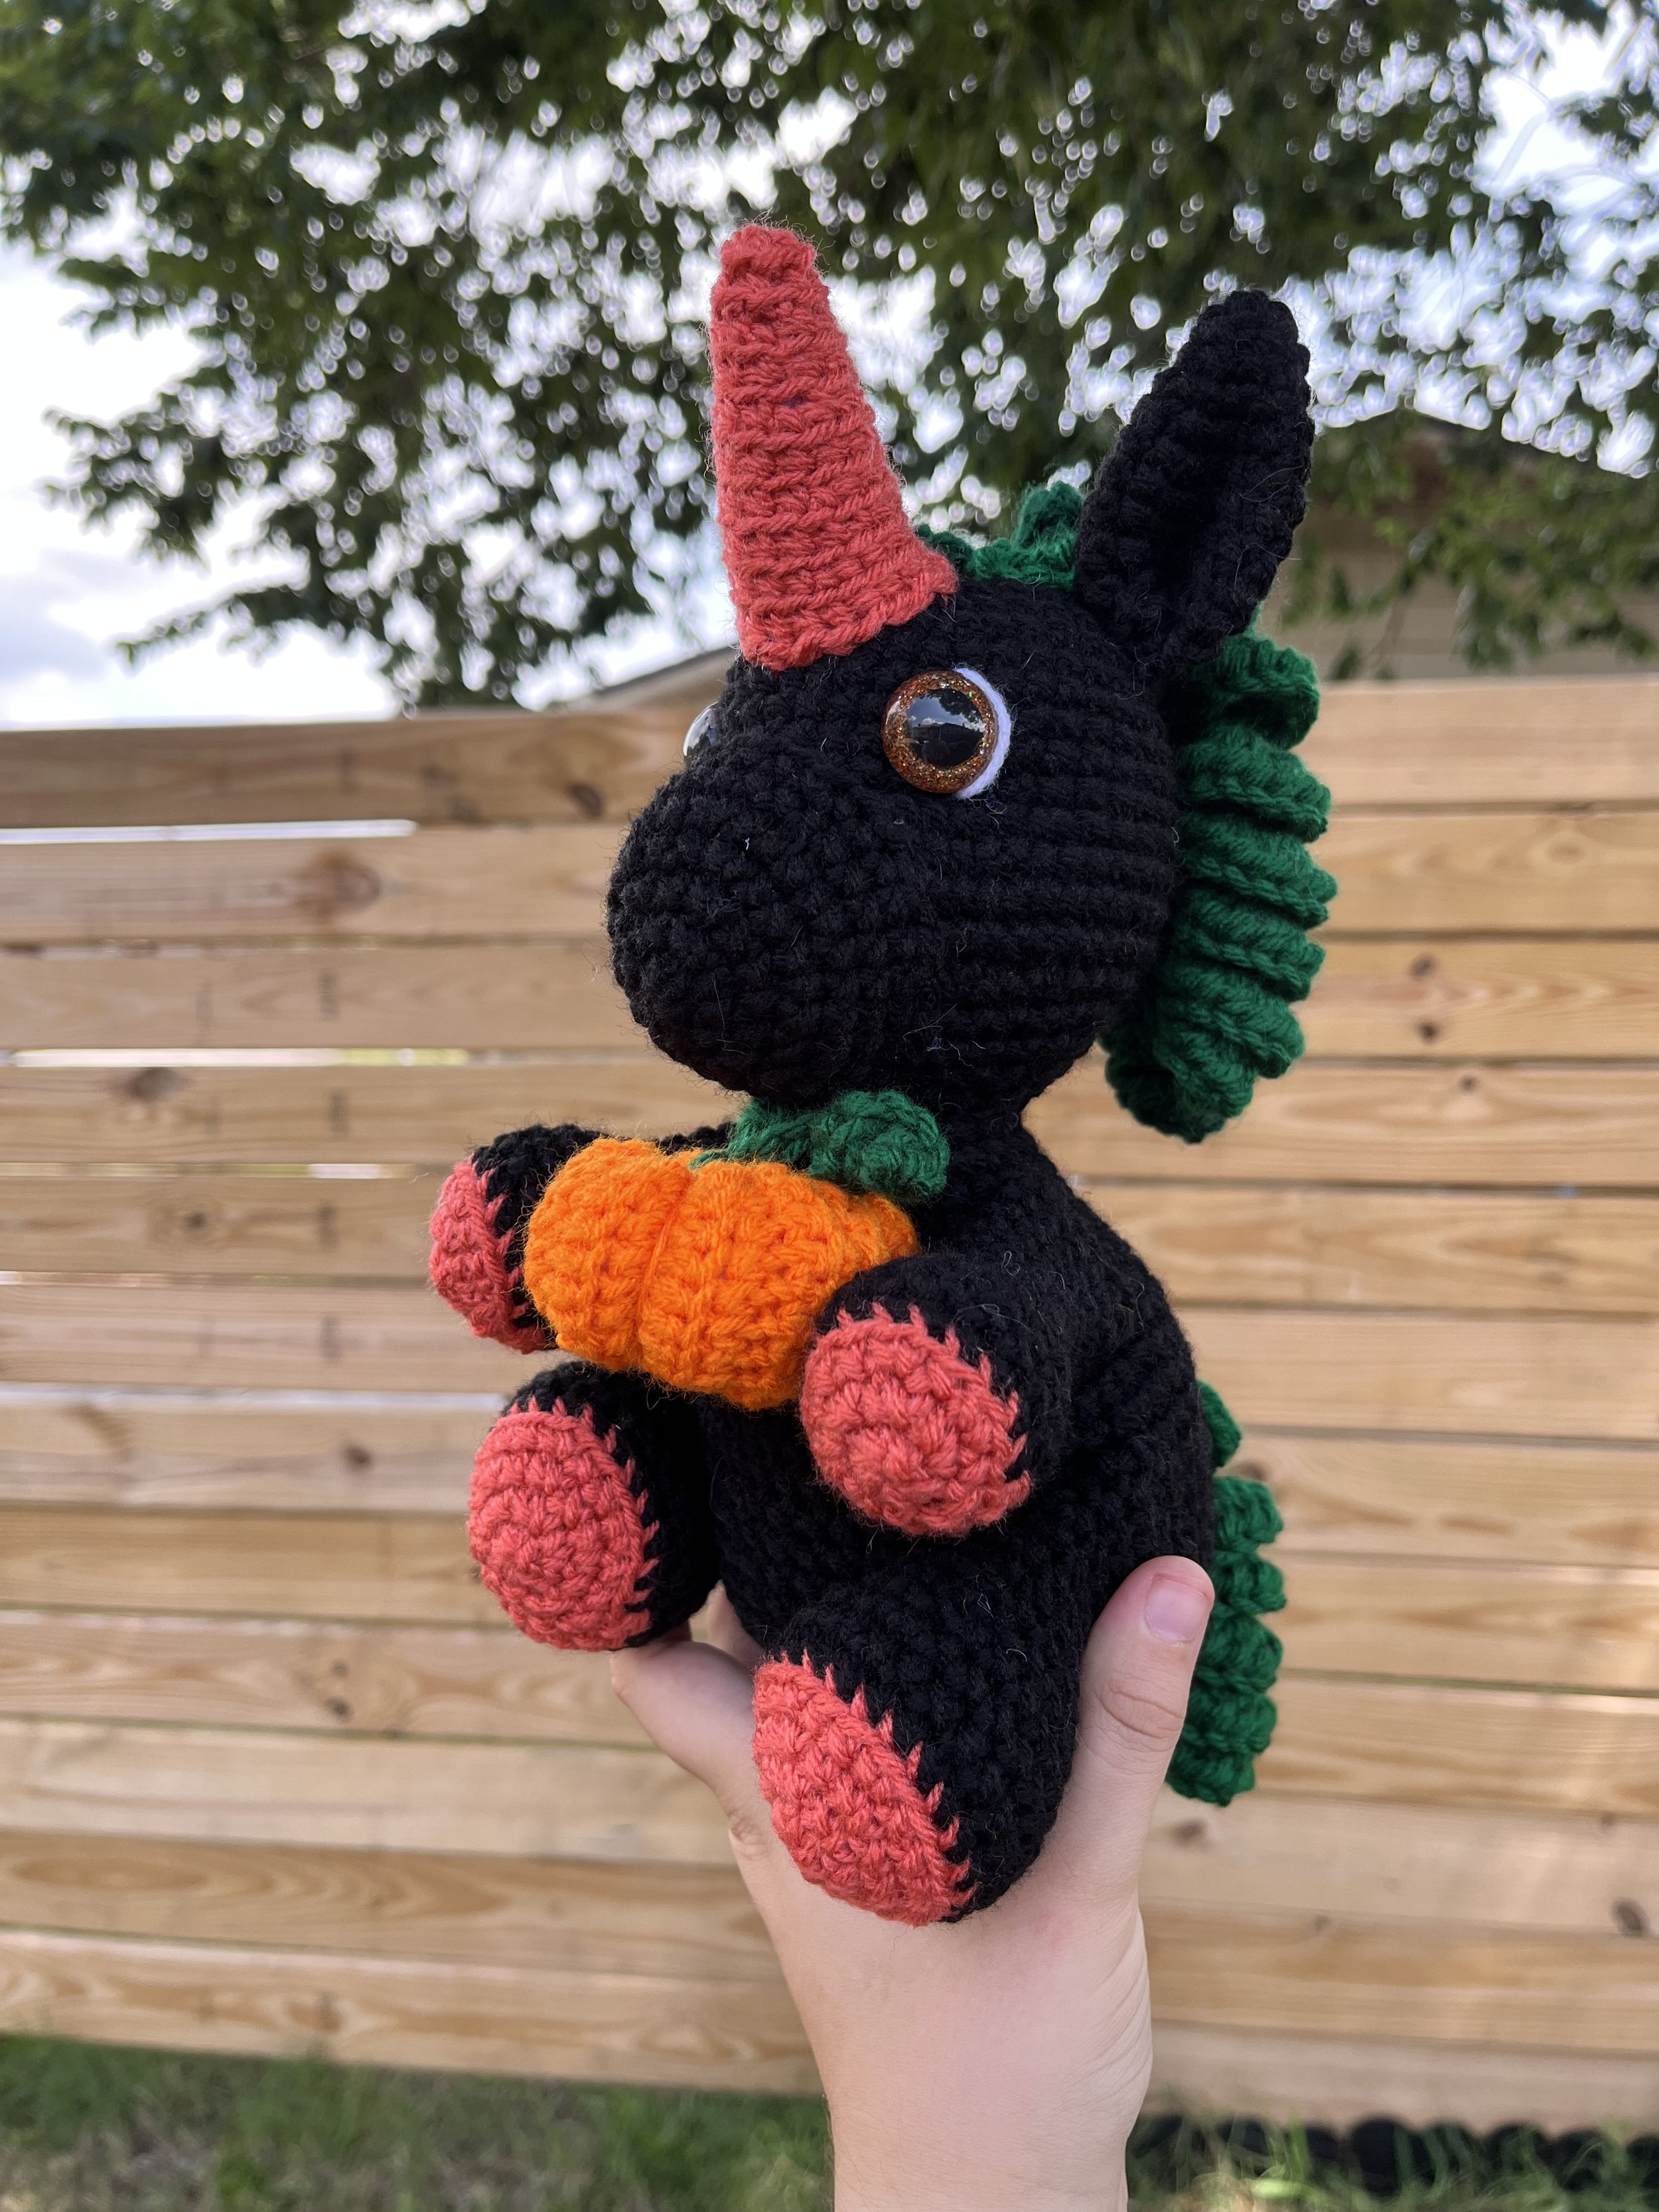
luna the pumpkin unicorn part 3
Go Big Or Gourd Home cal luna the pumpkin unicorn part 3
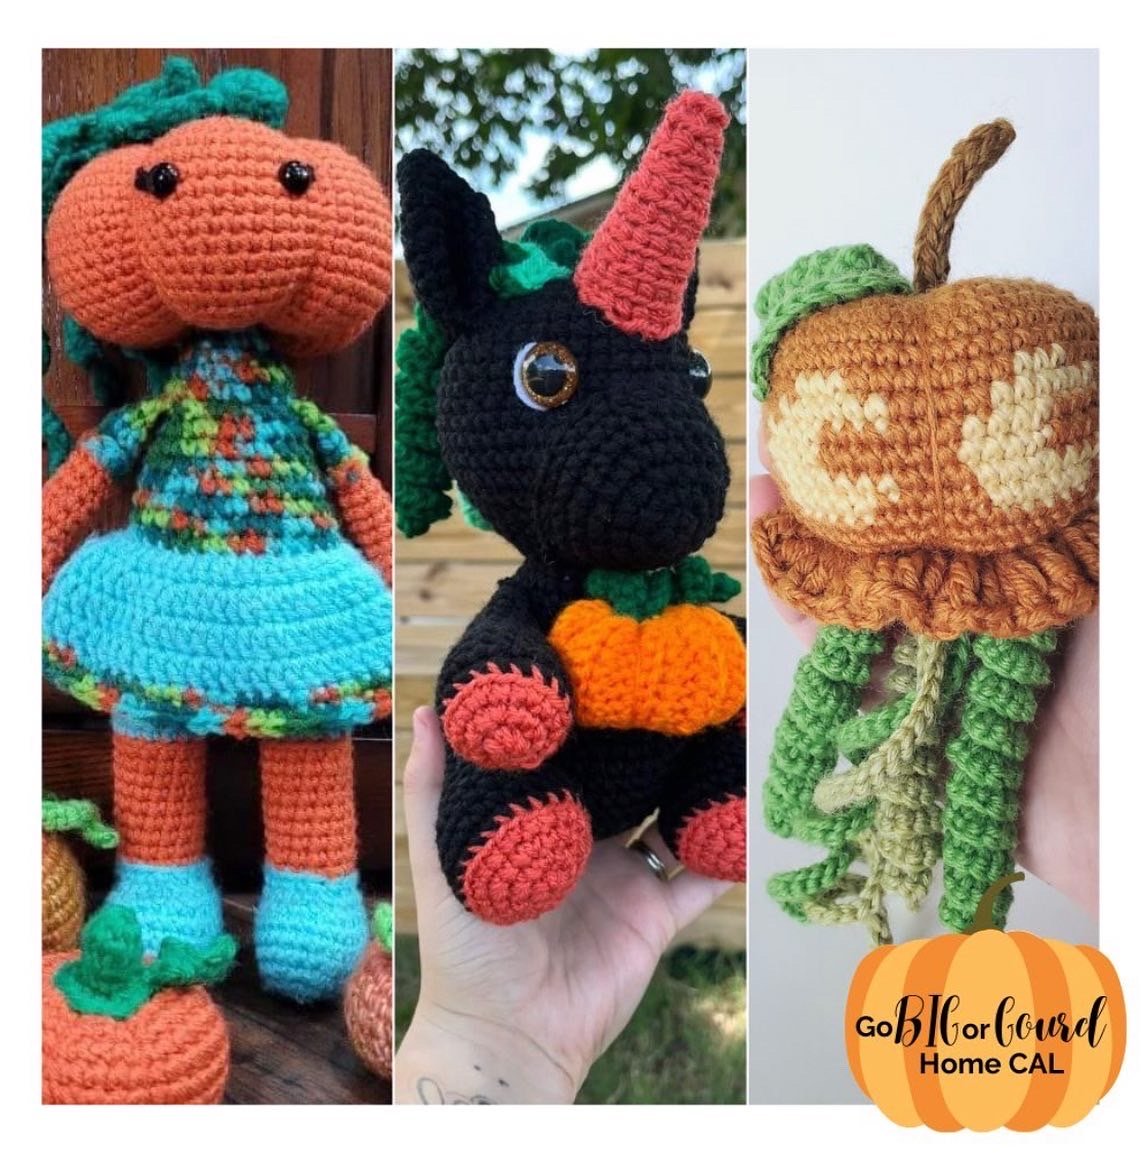

Welcome to the Go Big Or Gourd Home cal. Today we will start part 3 of the Luna the pumpkin unicorn. This design is separated in 3 parts. Here are the date of this designs is august 10th to august 18 2022. If you wish not to wait for the parts you can purchase the bundle with all 3 designs and you can add the rest of the pumpkin lady’s family. Click on the button below for the link of the bundle.
Materials 3.5 mm crochet hook
Red heart super saver color black
Red Heart Super saver color DK Coral
Red Heart Super saver color pumpkin
Red Heart Super Saver color Hunter Green
Big Twist Value Color Varsity Green
Impeccable color Jade
20mm safety eyes.
White thread
Stuffing
Scissors
Stitch Markers
Tapestry needle
ENG US Terms
Level: Easy
MC: magic circle
SC: single crochet
BLO: back loop only
Inc: increase
Dec: decrease
F/O: fasten off
Arms x2 (orange)
R1: MC 6
R2: Inc x6 (12)
R3: (1sc, inc) x6 (18) change to main color (black) in the last st of this round
R4: BLO 18 sc (18)
R5-R7: sc all around (18)
R8: (1sc, dec) x6 (12)
Stuff Firmly
R9: sc all around (12)
Stop Stuffing
R10-R15: sc all around (12)
Fold in half and sc the opening shut. F/O leave a long tail for sewing
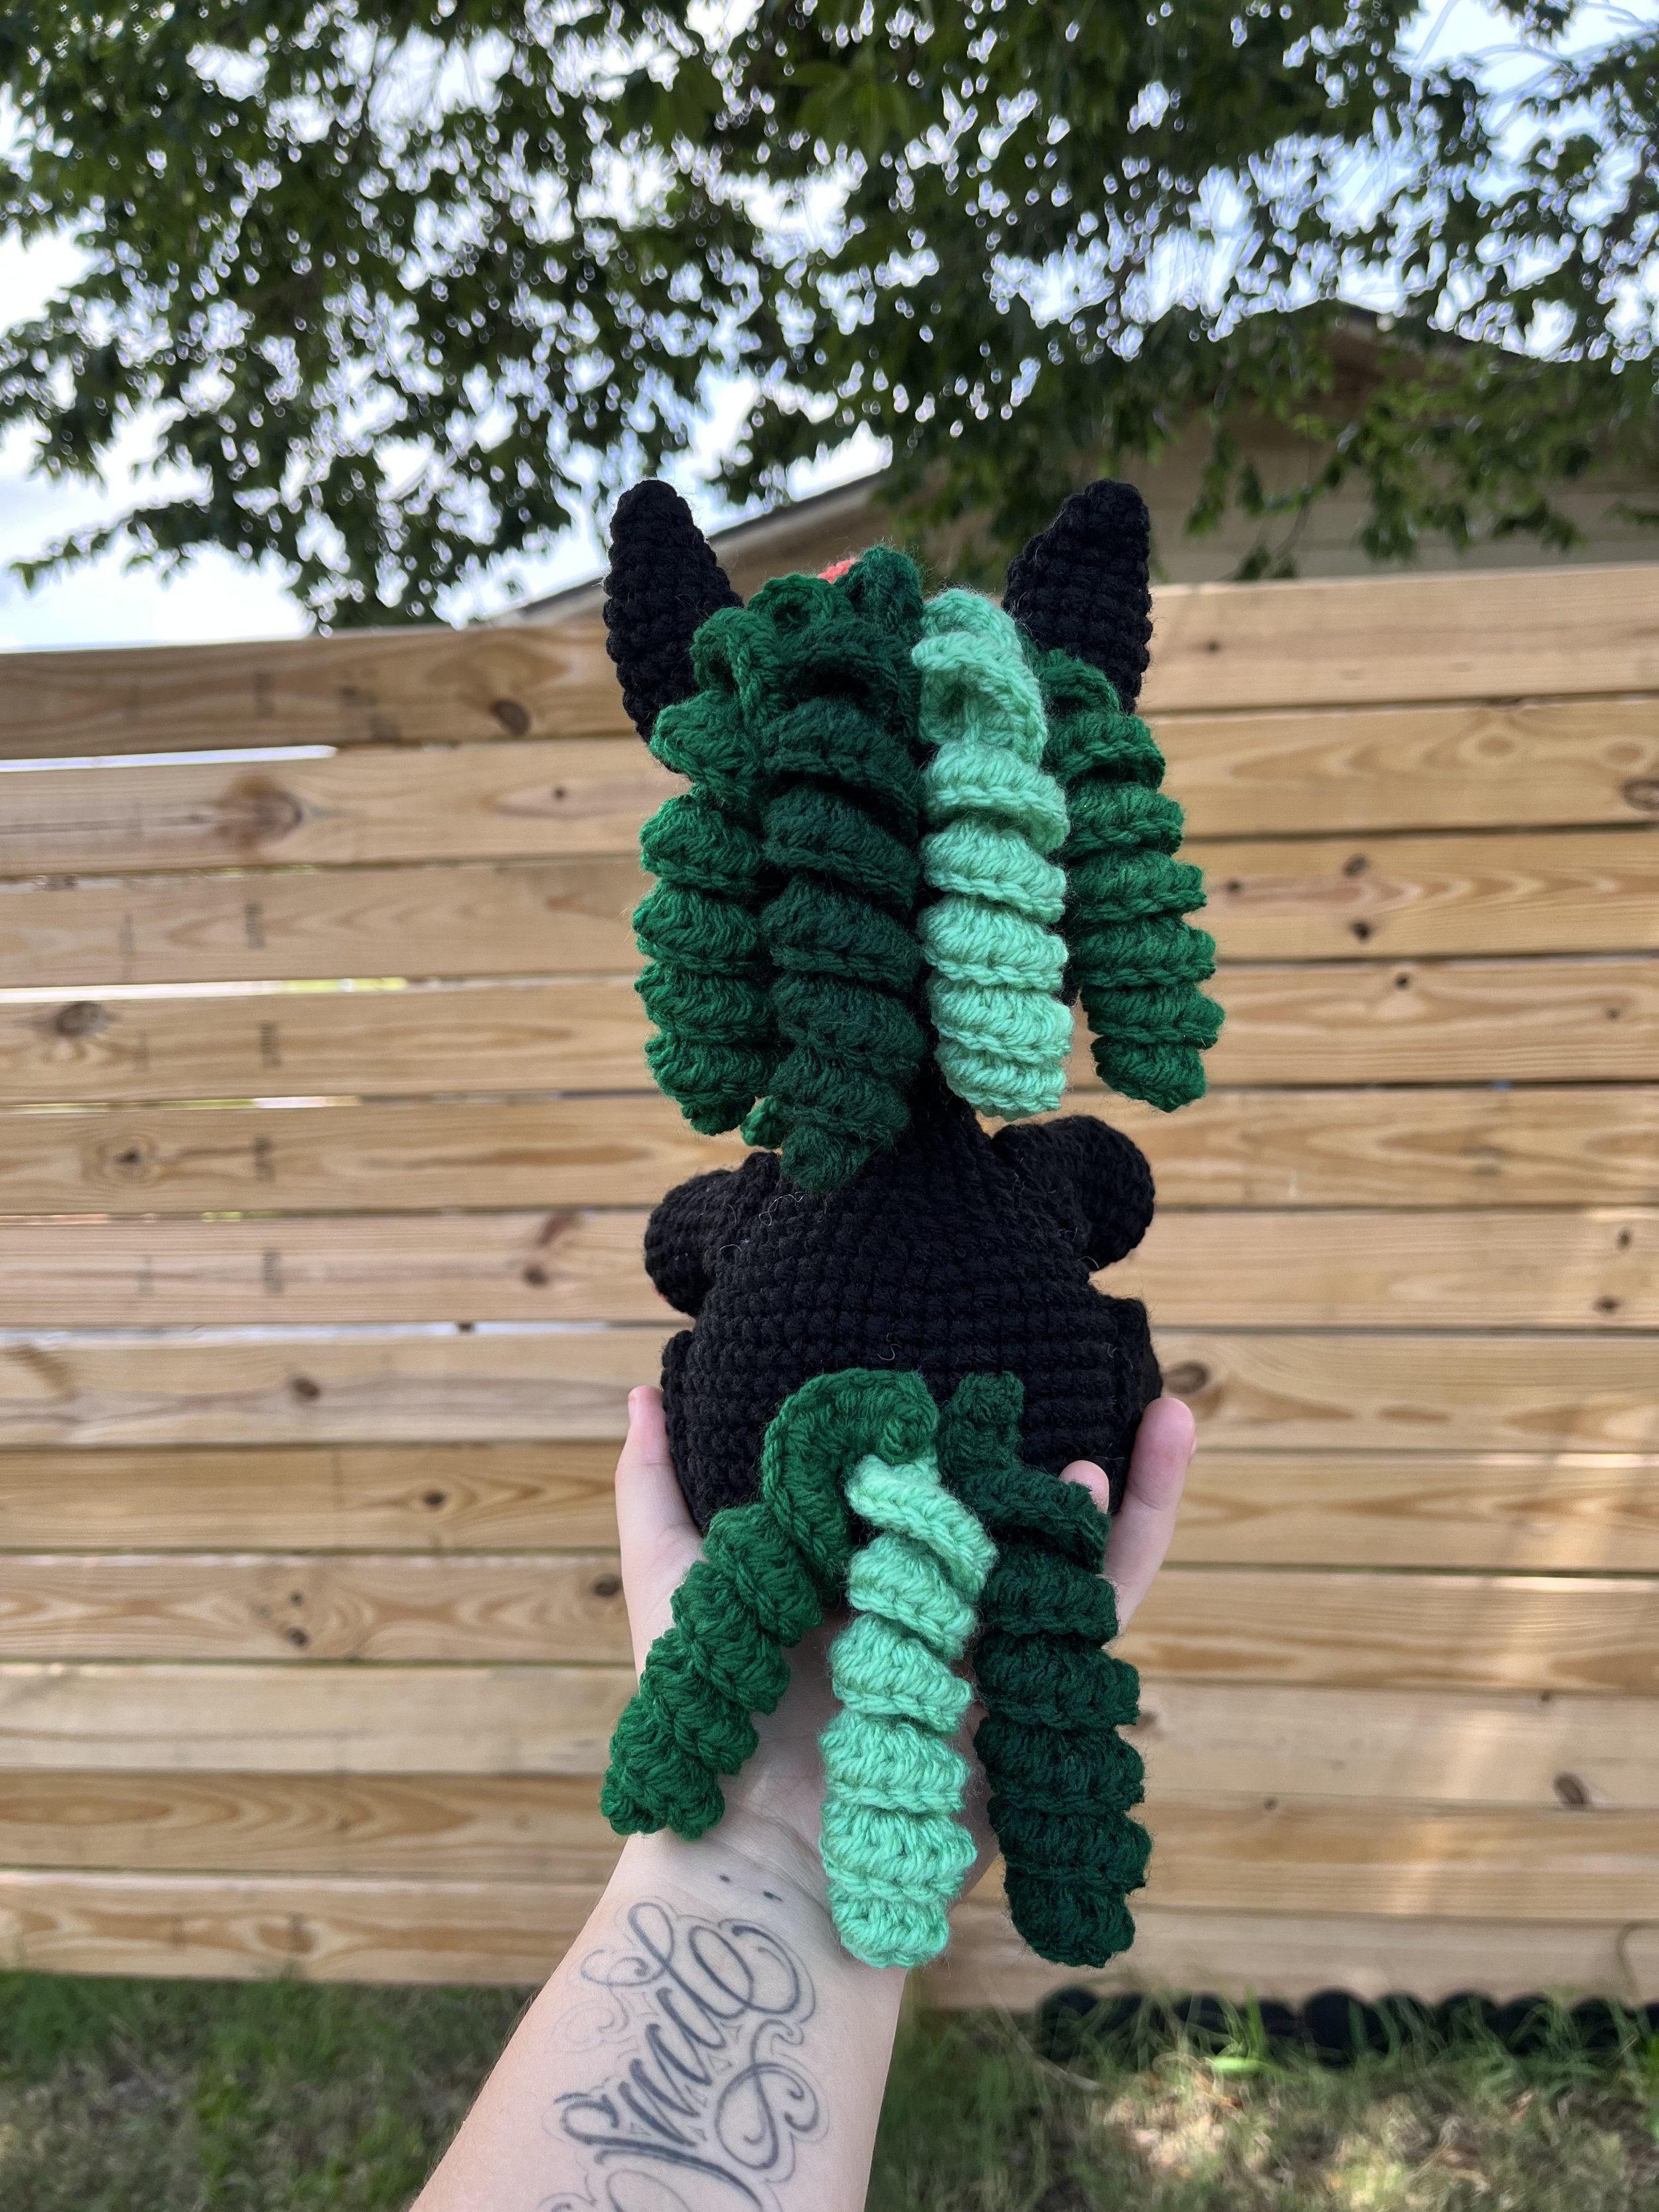
Large Mane x4
R1: CH 35, 3HDC in each ch, slst and F/O. Leave a tail for sewing
Make 1 in Color Jade
Make 2 in color varsity Green
Make 1 in color Hunter Green
Tail Mane x3
R1: CH 25, 3HDC in each ch, slst and F/O. Leave a tail for sewing
Make 1 in color Jade
Make 1 in color varsity Green
Make 1 in color Hunter Green
Pumpkin accessories:
R1: ch 13, sc in the second ch from the hook. Sc in the remaining ch. Ch1 and turn. (12)
R2-R20: 12sc through the blo, ch1 and turn (12)
Leave ab extra long tail for sewing.
Fold the rectangle in half and sew it close. With the tail wave in between of the sts at the top of the pumpkin and pull to close the top. Secure the top by wave in the tail.
Stuff the pumpkin and pass the tail through the middle of the pumpkin to get to the bottom where we will do the same as the top to close it. Pull on the yarn to make a dent into the top when pulling to the other side.
Secure the tail and pass it through the middle again to the top. Do that twice and pull tight and make a knot to secure the yarn. Use the rest of the tail to make the creases in the pumpkin.
With varsity green make 2 vines
R1: ch 10, 2sc in the second ch from the hook, 2sc in the remaining ch.
f/o Sew the vines to the top of the pumpkin
Sew the pumpkin to the arms of the unicorn.
Assembly:
Sew the muzzle 1 Row under the eyes
Sew the ears between row 6 and 7
Sew the large mane in between the ears
Sew the arms between row 25 and row 29 at an angle
Sew the legs between row 32 and row 39 at the same angle as the arms
Sew the tail mane on row 35
Sew the horn between row 4 and row 9, centered between the eyes